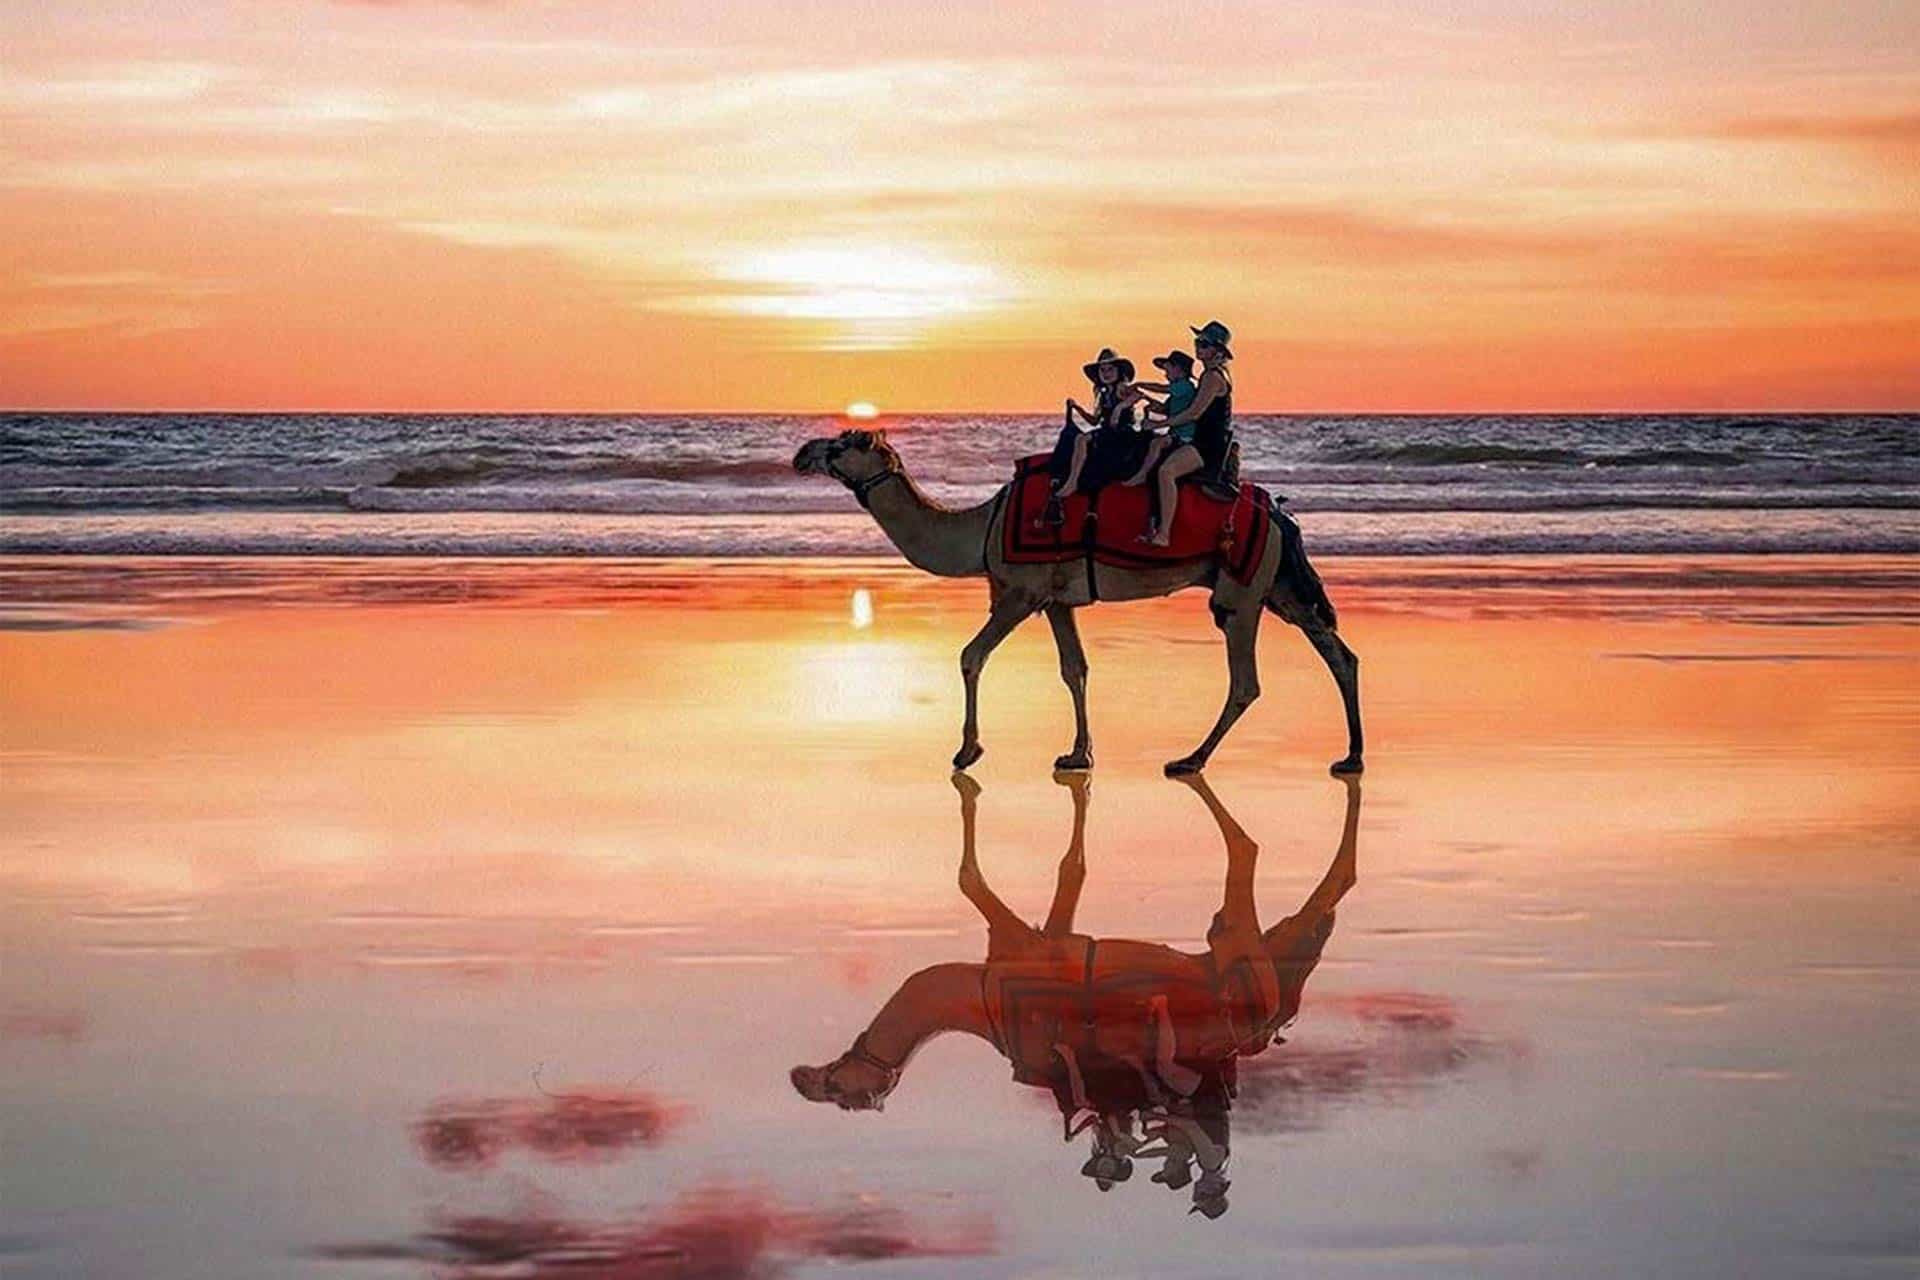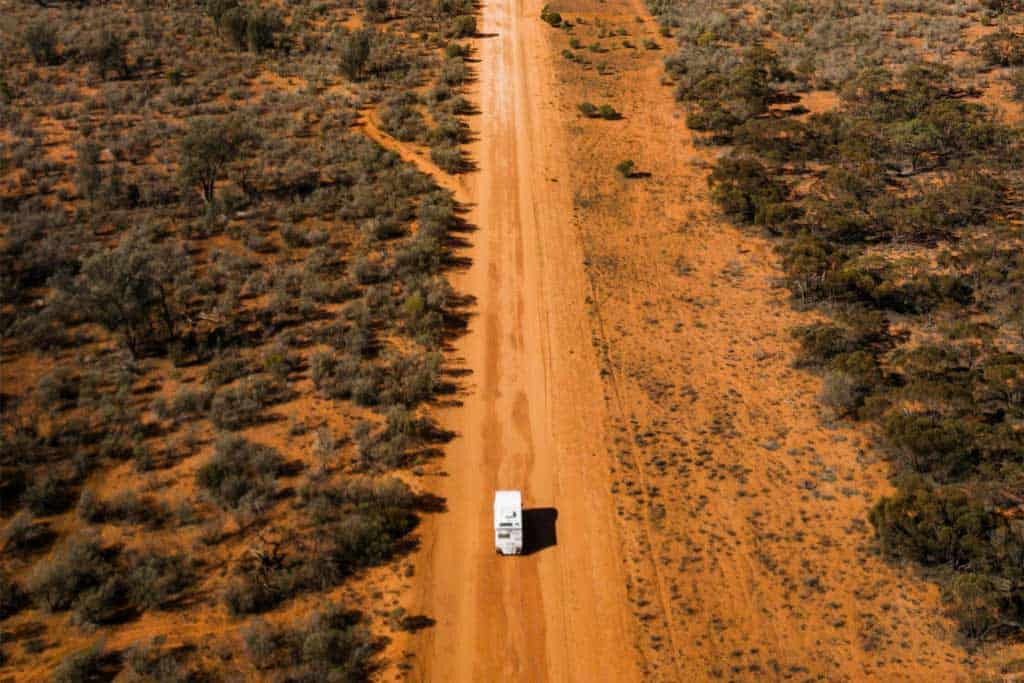
Our Sydney to Melbourne drive itinerary is your new excuse to blast your guilty pleasure playlist and soak up dazzling views.
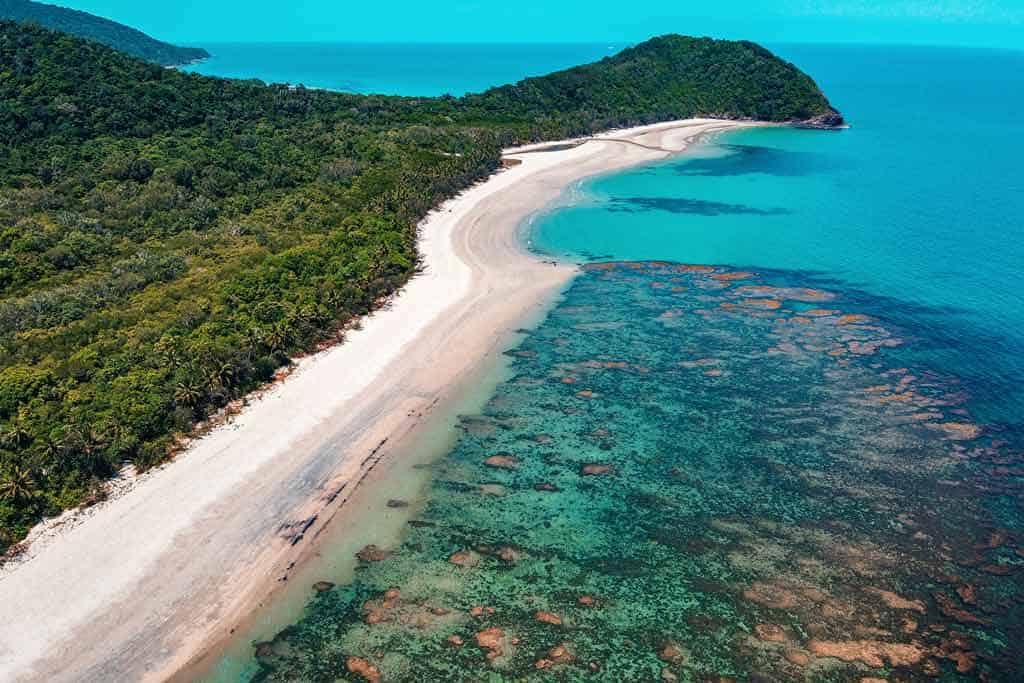
Between Australia’s two most famous cities, Sydney and Melbourne, are stunning beaches, quaint little towns, national parks, white sand beaches, and hidden pockets of paradise.
The best way to explore this stretch? On a road trip, of course!
We take you to some of the loveliest spots along the NSW South Coast and Victoria on this Sydney to Melbourne drive. It’s a road trip packed with pit stops, photo ops, and pure adventure.
Plan more of your trip with our ultimate Australia travel guide!
How long is a Sydney to Melbourne drive?
It depends on which route you pick. There are two main ways to get from Sydney to Melbourne. You can take the inland route via Hume Highway or the coastal road via the Grand Pacific Drive.
If you follow the inland route, the distance from Sydney to Melbourne is 880 km. The coastal one is longer, 1030 km to be exact.
You can drive from Sydney to Melbourne in a day via the inland route. You should leave the city no later than 6 am and have at least two drivers. It will be a long trip (roughly 10 hours) with no more than two short stops.
As for the coastal route, you need to make at least one overnight stop. We don’t think covering over a thousand kilometres in one day (or around 13 to 14 hours of non-stop driving) is wise.
Besides, where’s the fun in rushing?
How many days should I spend on a Sydney to Melbourne road trip?
We recommend two to three days for the inland route. It should give you ample time to explore all the highlights and go on side trips to some less-travelled spots.
If you’re taking the coast road, allow four to five days. Make it seven or nine if you want to venture off the main highway and visit more attractions.
The beauty of road trips is that they’re flexible. This itinerary is just a recommendation, and you can tweak it to suit your schedule and preferences.
If you want a shorter trip, you can skip some stops. Conversely, you can add a few places to your itinerary for a longer journey.
Which is the best driving route for a Sydney to Melbourne road trip?
Both the inland route and coastal route have their unique charm and attractions. Pick the one that best suits your interests, schedule, and budget.
The inland route is shorter and faster, making it ideal for a long weekend getaway.
On the other hand, the coastal route is perfect for beach lovers and leisure road trippers who don’t mind taking their time.
With that said, this Sydney to Melbourne road trip itinerary focuses on the coastal route.
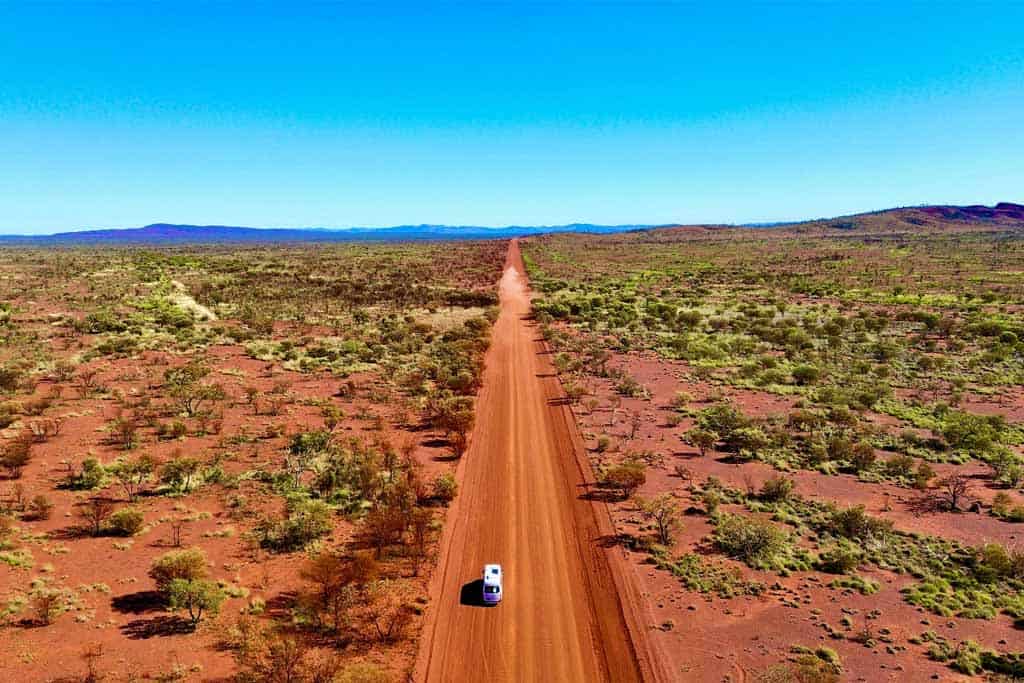
What is along the inland route from Sydney to Melbourne?
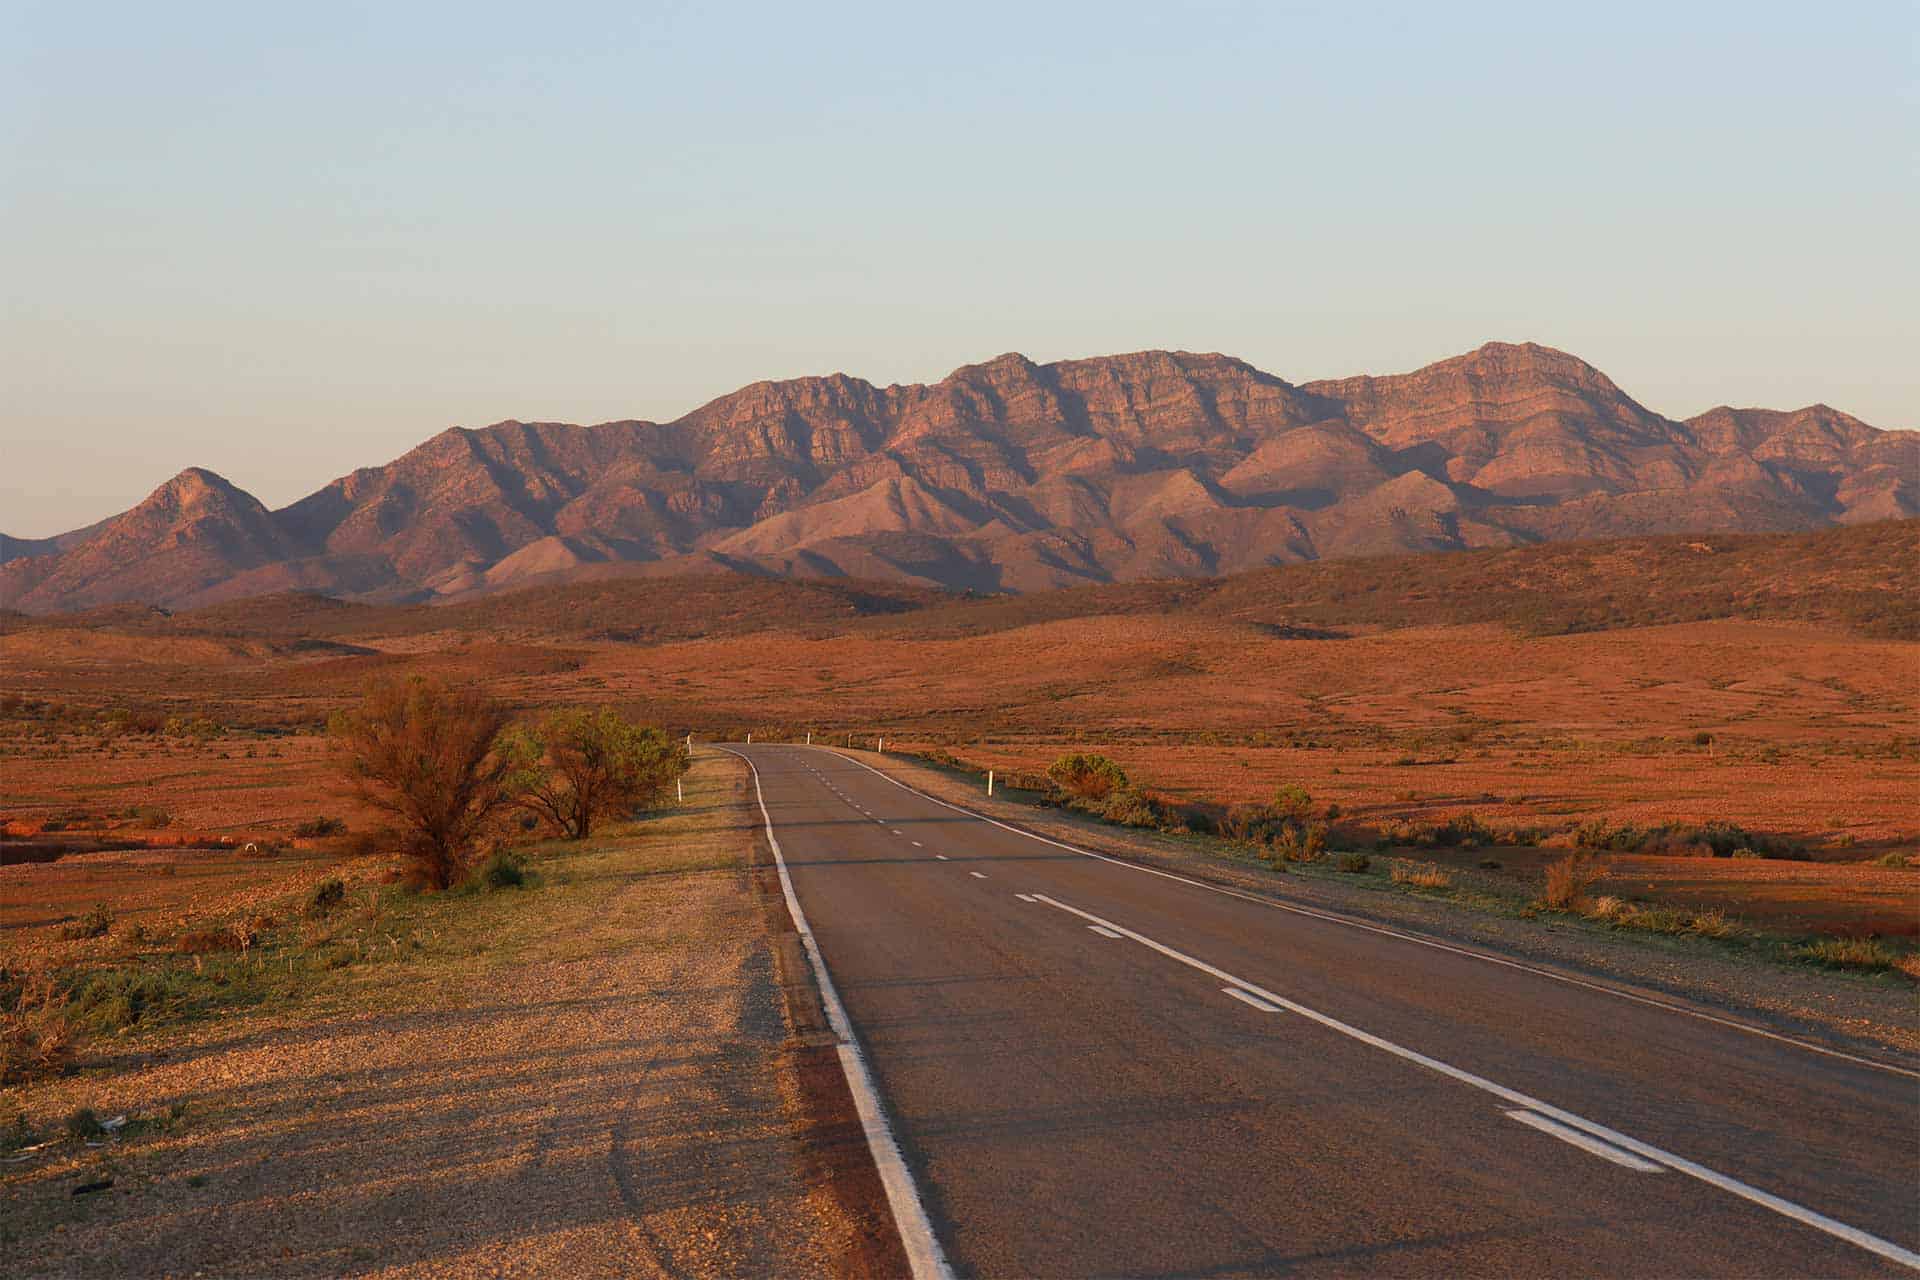
Before we discuss the spots along the NSW South Coast, let’s take a peek at the highlights of the inland route.
Once you head inland, you will meander along the scenic Hume Highway and pass the capital, Canberra, and Goulburn, the country’s first inland city. Don’t forget to drop by the Goulburn Historic Waterworks Museum.
You’ll also cruise by wineries and stop for local produce tastings in Yass and Beechworth. In Wagga Wagga, you’ll find art galleries and botanic gardens.
If you have time to spare, you can take a detour off Hume Highway to the Tarra Bulga National Park.
Read next: 21 Best Things To Do In New South Wales, Australia
When is the best time of year for a Sydney to Melbourne drive?
For lovely weather and top-notch views, hit the road during spring (September-November) or early autumn (March-April).
These months bring milder temperatures, plenty of sunlight, fewer crowds, and likely more affordable rates.
If you plan to join a whale watching cruise, your chance of spotting these gentle giants off the far south coast is higher from September to November.
Spring and autumn have the ideal conditions for bush walking. The weather is pleasant and the scenery is surreal–red and gold in autumn and vibrant green with a sprinkling of bright wildflowers in spring.
Summer (December-February) is excellent for beach stops. But brace yourself for the holiday crowds and traffic queues. It also gets extremely humid, especially in the coastal areas.
Winter (June-August) is quieter and cheaper. But it’s the rainy season, which brings heavy rainfall and sometimes storms.
Read our guides for the best time to visit Sydney or Melbourne for more in-depth info!
Where to start your Sydney to Melbourne drive?
If you flew into New South Wales from another part of the country or the world, you will likely need to hire a car to travel from Sydney to Melbourne.
In such a case, start your road trip in the Sydney CBD. The city centre has many vehicle rentals. You can also fill up your gas tank and buy the supplies (sunscreen, toiletries, snacks) needed for your journey.
The road on the Sydney to Melbourne coastal drive is well-maintained, so you won’t need a 4WD. If you’re travelling with family or friends, you might want a bigger vehicle like a campervan or caravan.
Be sure to start your trip early to avoid the rush hour.
The best way to get around is to rent a car and explore on your own! We recommend Rental Cars, which has the largest range of vehicles for the best value on the market.
Sydney to Melbourne Drive Itinerary
Ready to swap city buzz for salty breezes and stunning beaches? Let’s explore the wonders of New South Wales and the mesmerizing Melbourne road trip stops on this Sydney to Melbourne coastal drive.
Day 1: Sydney to Jervis Bay
- Total distance: 199 Km
- Driving time: 3 hours
Your first day on the road will be an easy ride, with lookout stops to admire the views along the New South Wales coastline.
Royal National Park
Just an hour south of Sydney is the world’s second-oldest national park. Boasting sandy beaches, lush forests, and a web of scenic trails, the park covers 15,000 hectares, quite a feat to explore in just one visit.
Because you’re on the road and there’s more to see along the way, spend just a few hours here. You can walk to Wattamolla and perhaps swim in the lagoon in good weather.
Find some epic hikes on our list of the best Royal National Park walks!
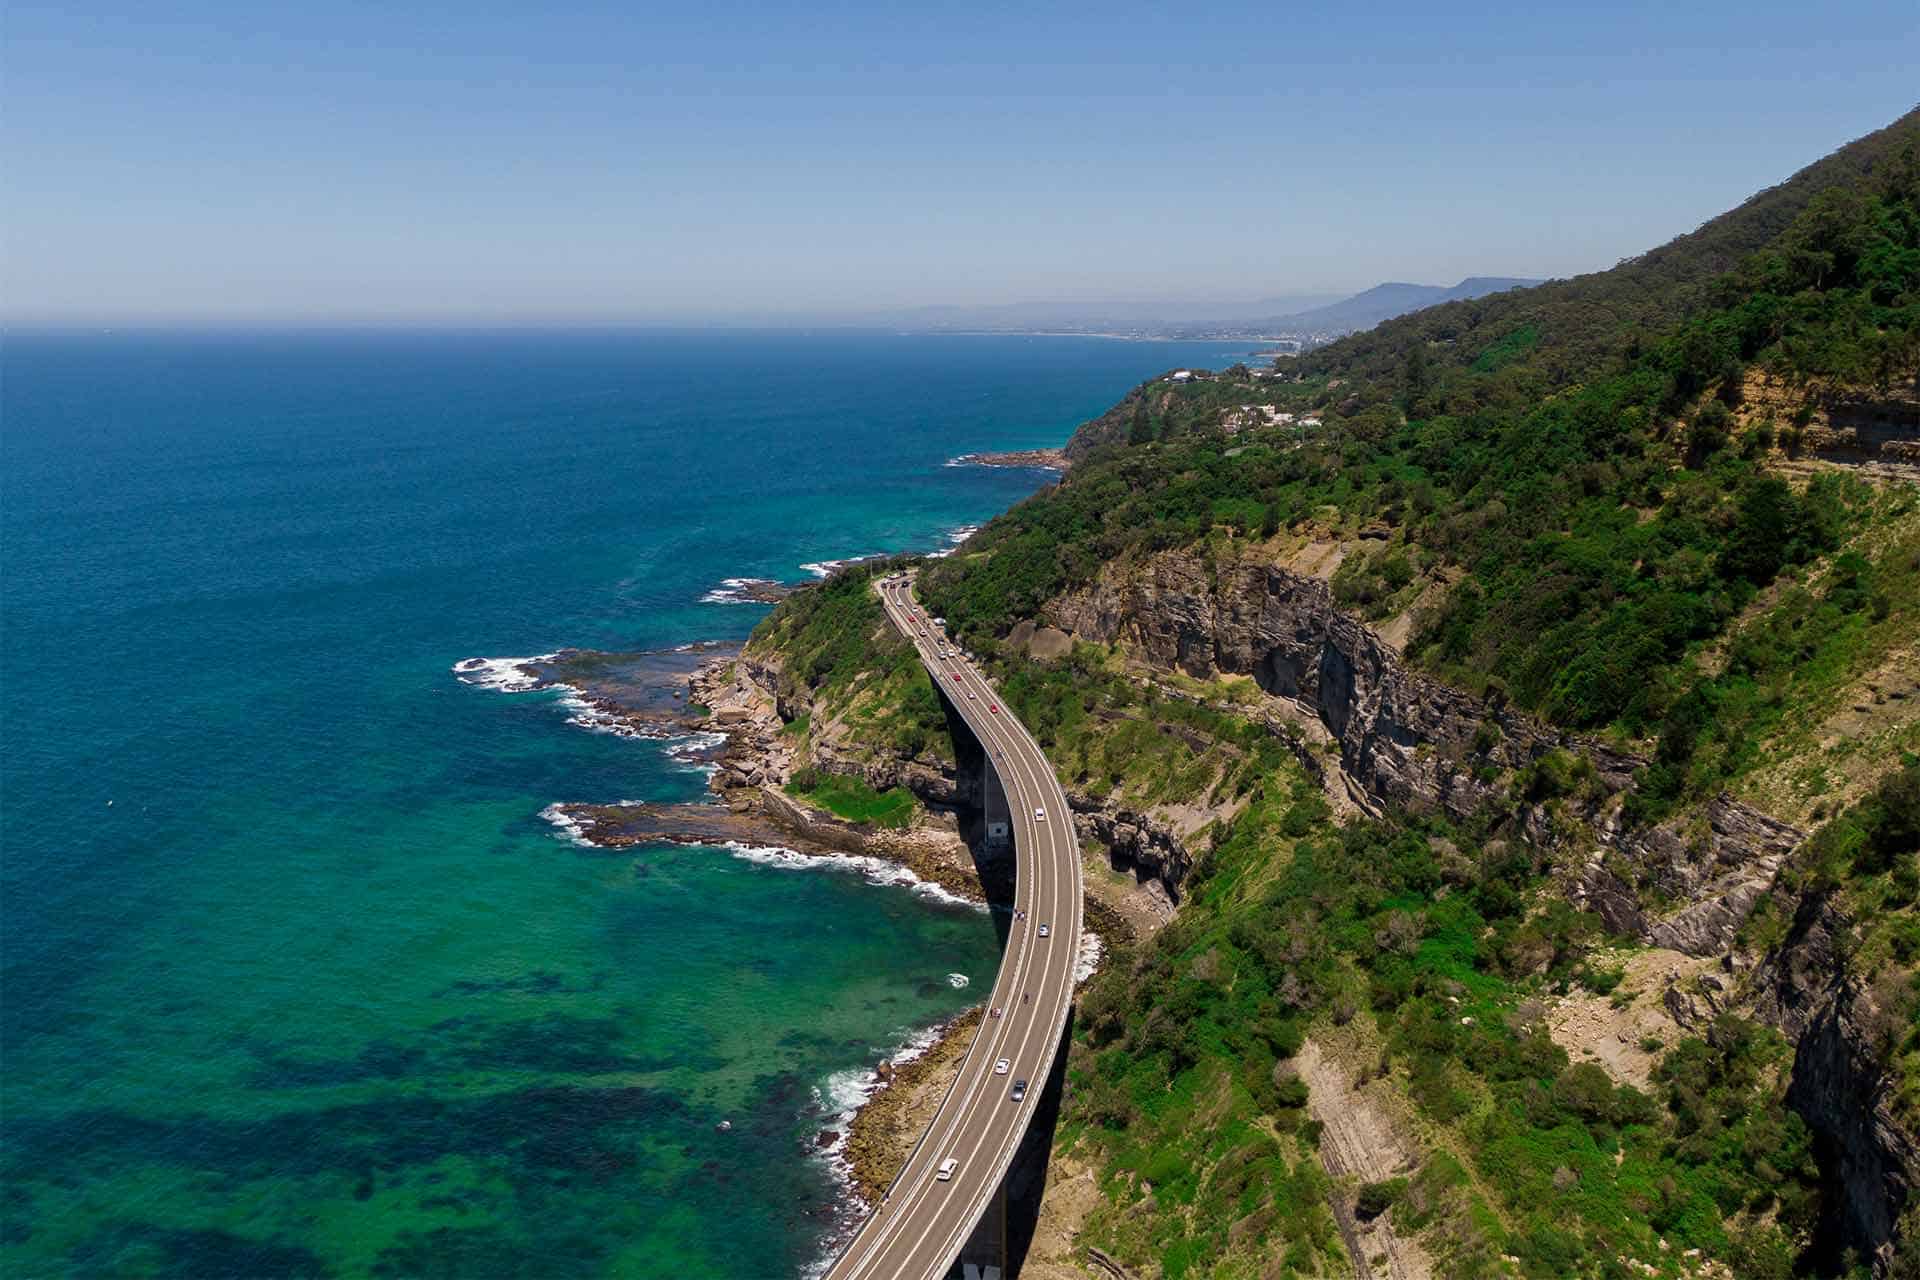
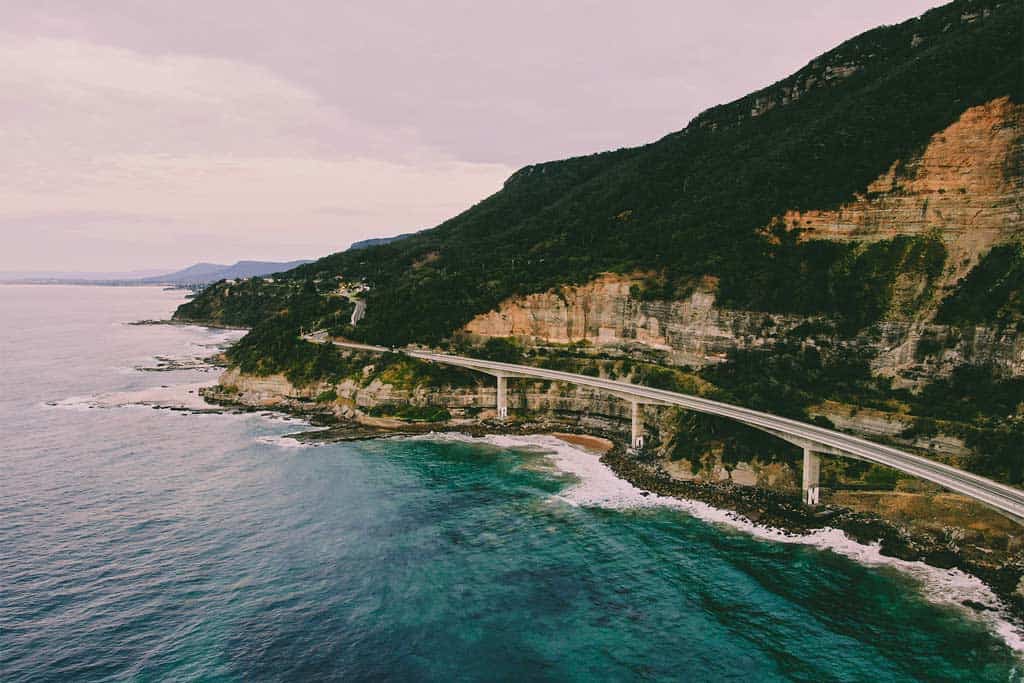
Grand Pacific Drive
While not exactly a stop (it’s more of an experience), the Grand Pacific is one of the highlights of a Sydney to Melbourne coastal drive.
The 140-km scenic road begins at the entrance of the Royal National Park, passes the iconic Sea Cliff Bridge, and ends in Shoalhaven.
Be sure to stop at Bald Hill Lookout in the village of Otford. The lookout, a popular hang-gliding point, offers gorgeous views of the ocean and the New South Wales coast.
Kiama
Halfway through your drive to Jervis Bay, stop at Kiama, a quaint coastal town an hour from the Royal National Park.
Kiama is famous for its blowhole, which sprays water 30 metres into the sky. You can spot it from the road. But it’s more spectacular to see up close. It’s only a 5-minute drive (or 20-minute walk) from the town centre.
Another local attraction to keep an eye out for on your Sydney to Melbourne coastal drive is the Cathedral Rocks. You’ll find the best views of these ancient rock formations from Highway 179.
Detour: Consider visiting the historic Seven Mile Beach National Park for surfing, swimming, and strolling the secluded strip of white sand. Exit Princes Highway and follow the access road to Gerringong, then head south through Gerroa to Seven Mile Beach.
Read next: The Ultimate Guide to the 10 Best Kiama Beaches
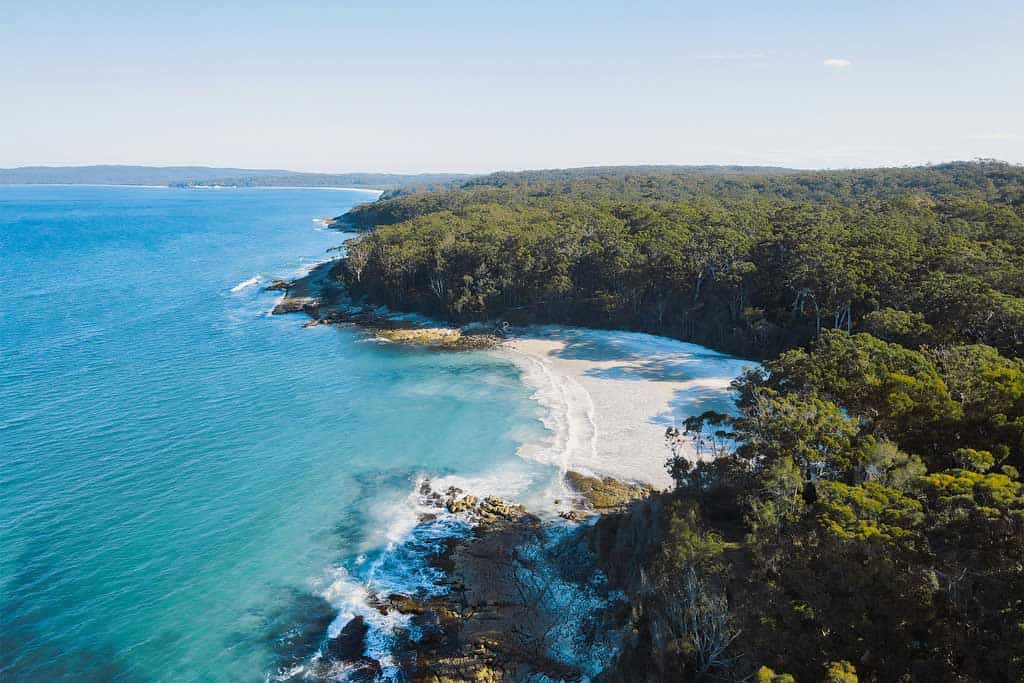
Where to stay in Jervis Bay
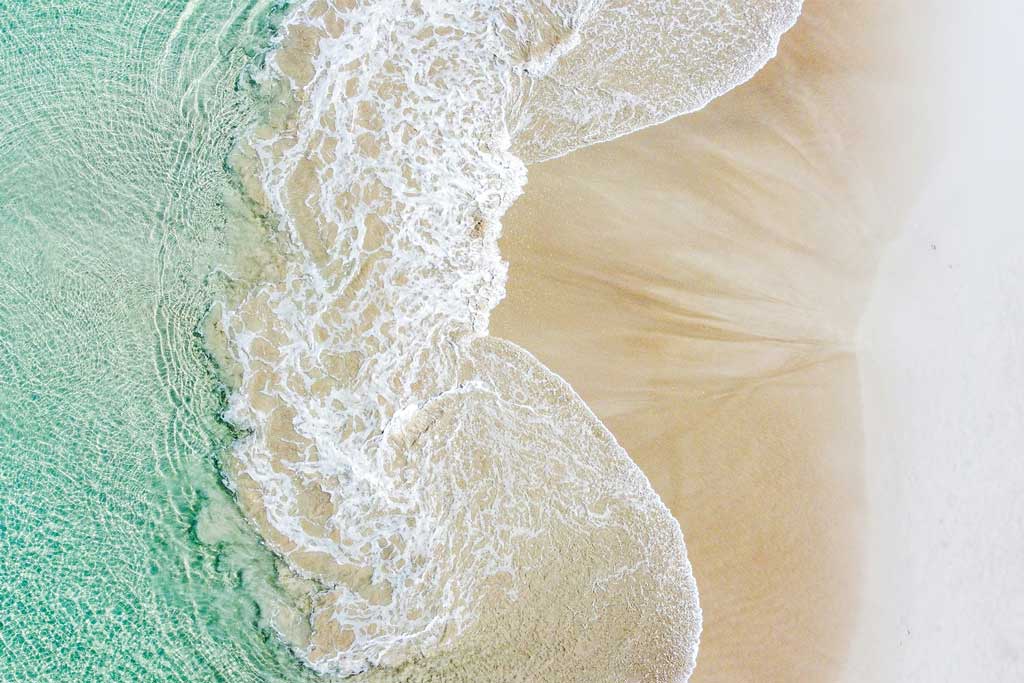
Tonight’s stop is Jervis Bay, an hour away from Kiama. The bay is a 102-square-kilometre sprawl of white sand beaches, sleepy seaside villages, and a network of walking tracks. It’s also known for its national parks, especially the Booderee National Park.
Explore Hyams Beach, famous for its powdery white sand. For something awe-inspiring and educational, go beach stargazing.
After a full day of adventure, you should be ready to spend the night in one of the bay’s cozy lodgings. Here are some suggestions:
Budget – Jervis Bay Holiday Park
The property features villas and apartments, with some having balconies with river views. Facilities include Wi-Fi, a solar-heated swimming pool, barbeque, and free parking.
Mid-Range – Jervis Bay Motel
Located in the heart of Huskisson, this motel has lovely vistas of the white sand bay and is within walking distance to the beach, cafes, and shops. There’s free off-street parking and an electric vehicle charging station.
Alternative Stay: If you’re driving a campervan or caravan, you might want to stay at a campsite. The bay has plenty of these, like Cave Beach Camping Ground and Green Patch Campsite. Be sure to book early as they get full quickly, especially during summer.
Day 2: Jervis Bay to Batemans Bay
- Total distance: 141.2 Km
- Driving time: 2 hours
Today’s drive is short but full of interesting scenery. You can spend the morning exploring Jervis Bay before you proceed with your Sydney to Melbourne drive.
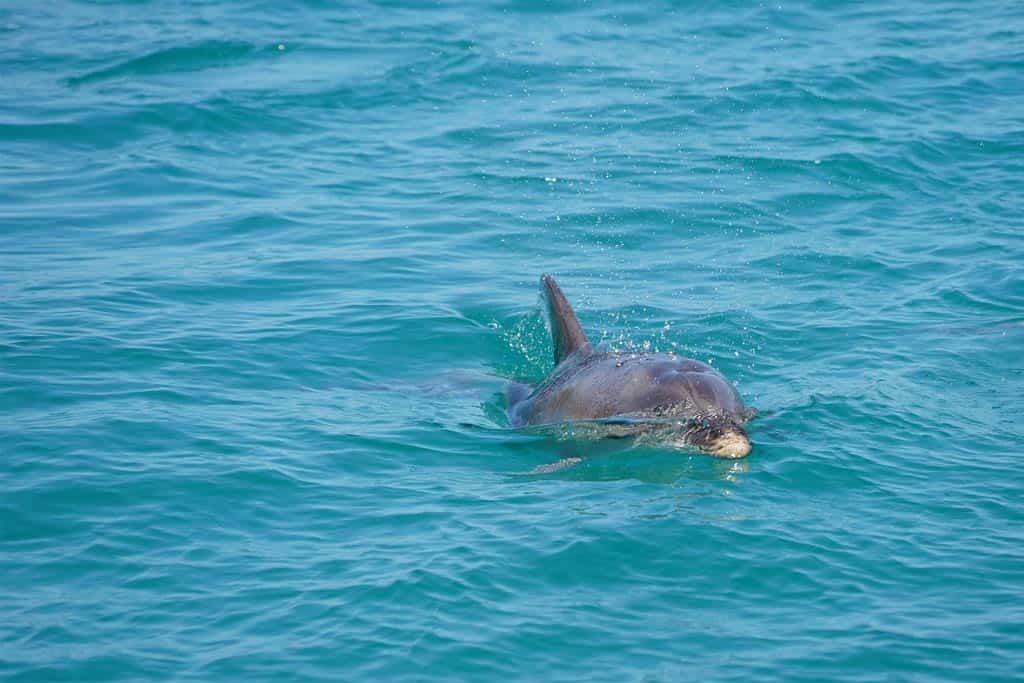
Want to see marine life in the wild? Book a 2-hour whale-watching tour (when in season) or a 1.5-hour dolphin cruise.
Murramarang National Park
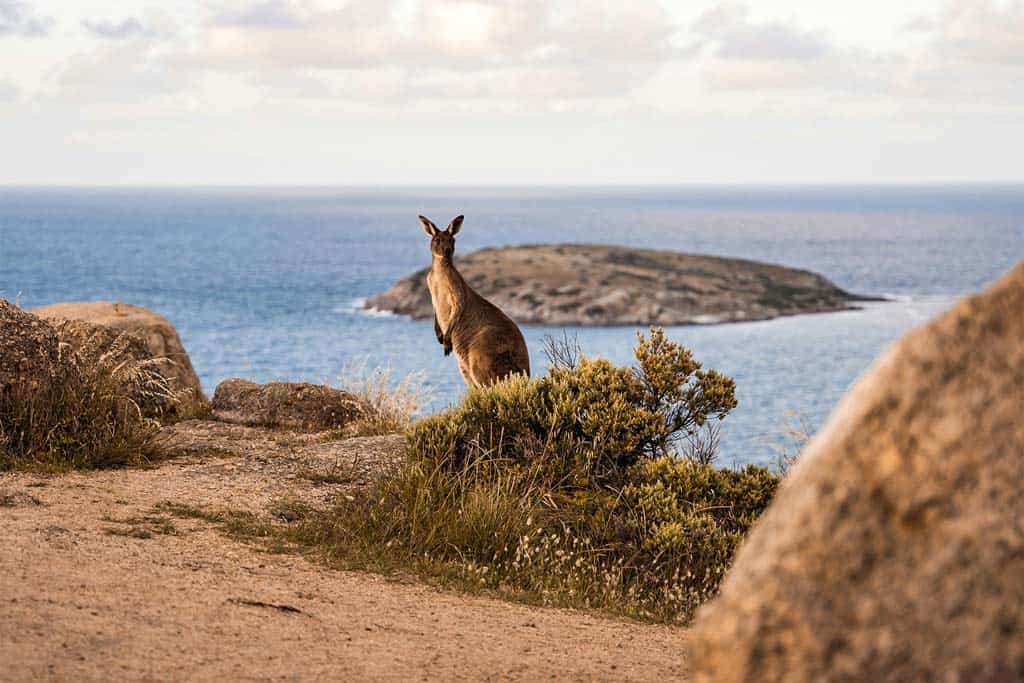
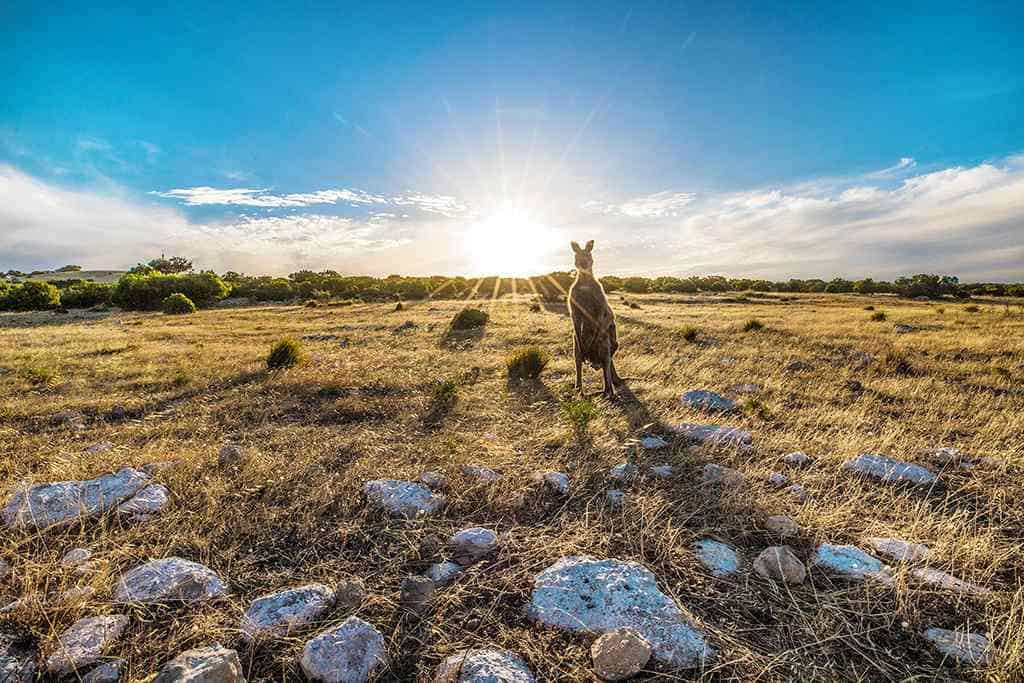
Stunning, serene, and surrounded by state forests, Murramarang fringes the NSW South Coastline. The strip includes sea cliffs, secluded beaches, rock pools, and hilly grasslands, where kangaroos graze.
You can spend two days or two weeks at the park. For now, two hours should be enough to see some of its highlights.
Hike a section of the 34-km Murramarang South Coast Walk. Or, go for the Depot Beach Walk, a 45-minute loop that takes you through a 50-million-year-old rainforest.
If you prefer to hit the waters, swim at Cookies Beach. For surfing, Pebbly Beach has consistent surfs and breaks.
Batemans Bay
We have one word for you: oysters. No, make it two words: fresh oysters!
In Batemans Bay, you can eat shucked oysters directly from the Clyde River. You can even do it while paddling across the glassy waters on a kayak and oyster-tasting tour.
Not a fan of seafood? Batemans Bay has much to offer. Snorkel at the Marine Park, lounge at Surf Beach, or stroll the 1.5km Sculpture Walk on the Clyde River shore.
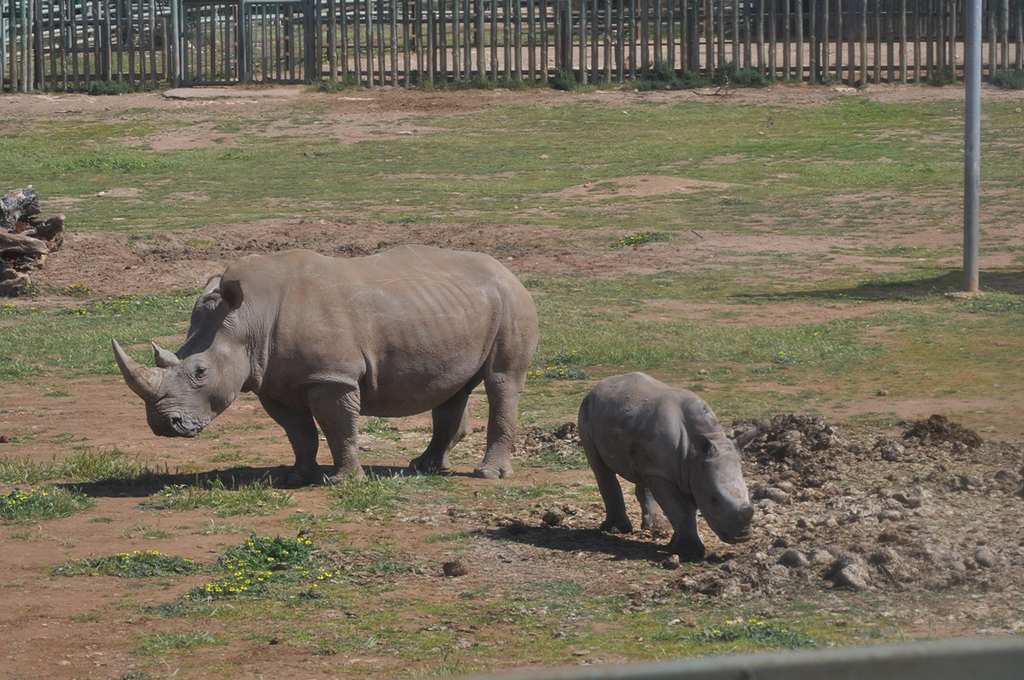
For wildlife enthusiasts, the Mogo Wildlife Park, a shelter for various exotic and endangered species, is just 10 minutes away.
Where to stay in Batemans Bay
Batemans Bay is one of those places that makes you think, “Yep, I could stay here a while.” Whether you’re staying overnight or longer, here are some accommodation options for you:
Budget – Zorba Waterfront Motel
This seaside property boasts newly refurbished rooms and lovely ocean views. It also offers free parking, Wi-Fi in all areas and a garden with outdoor seating.
Mid-Range – The Isla
Apart from the spacious rooms with sea views, this homey hotel offers an outdoor pool, sun terrace, garden, barbecue, and picnic areas. There’s also a shared kitchen, free on-site parking, Wi-Fi, and an electric charging station.
Day 3: Batemans Bay to Eden
- Total distance: 196 Km
- Driving time: 2 hours 30 mins
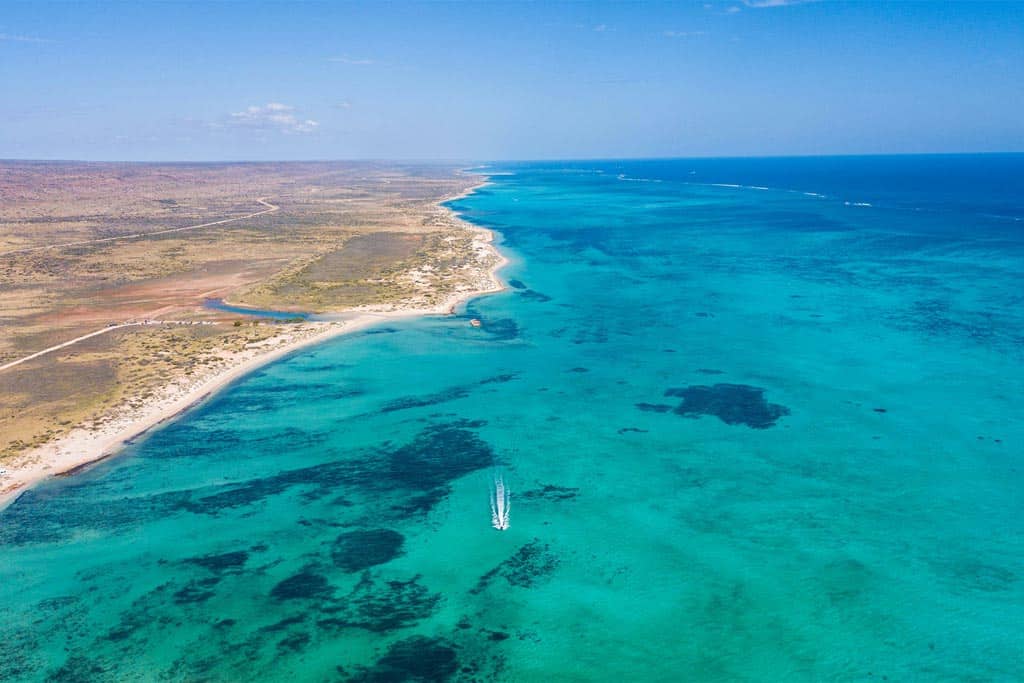
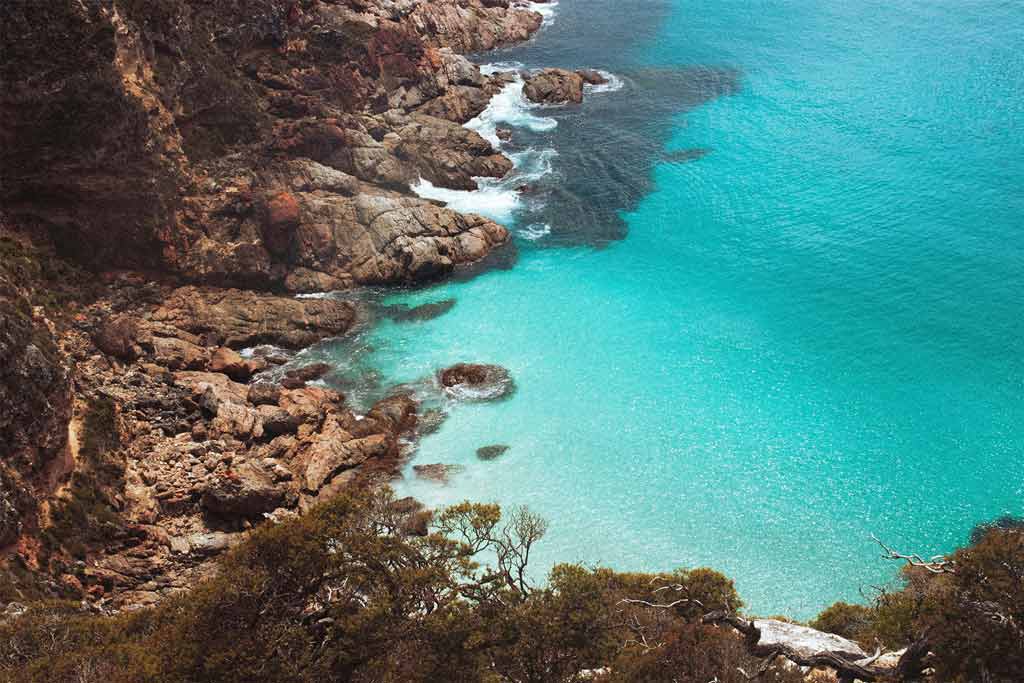
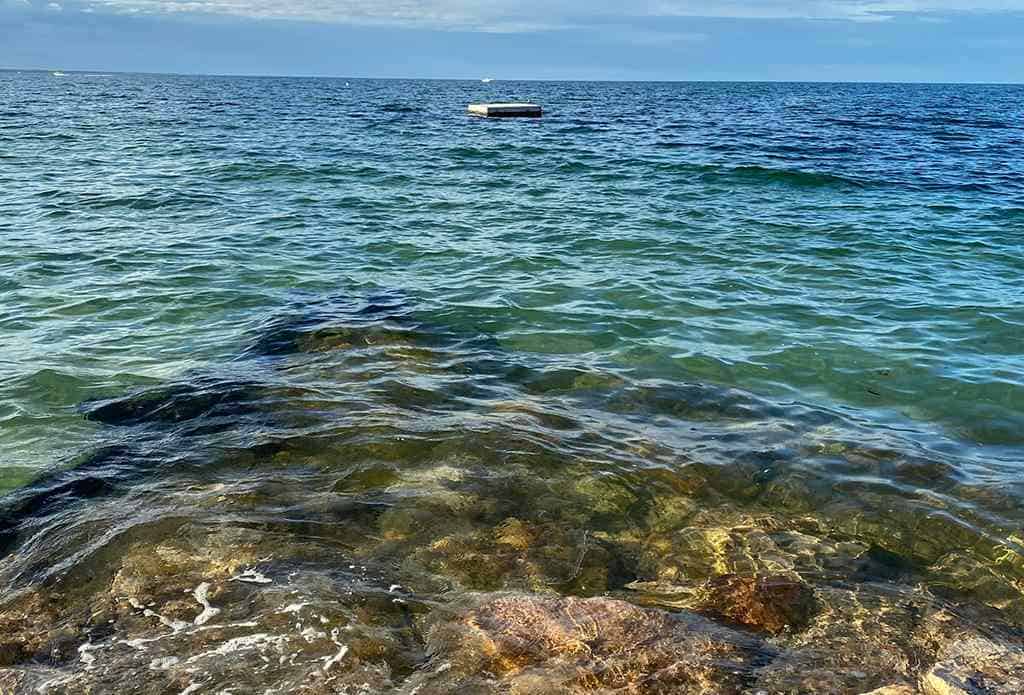
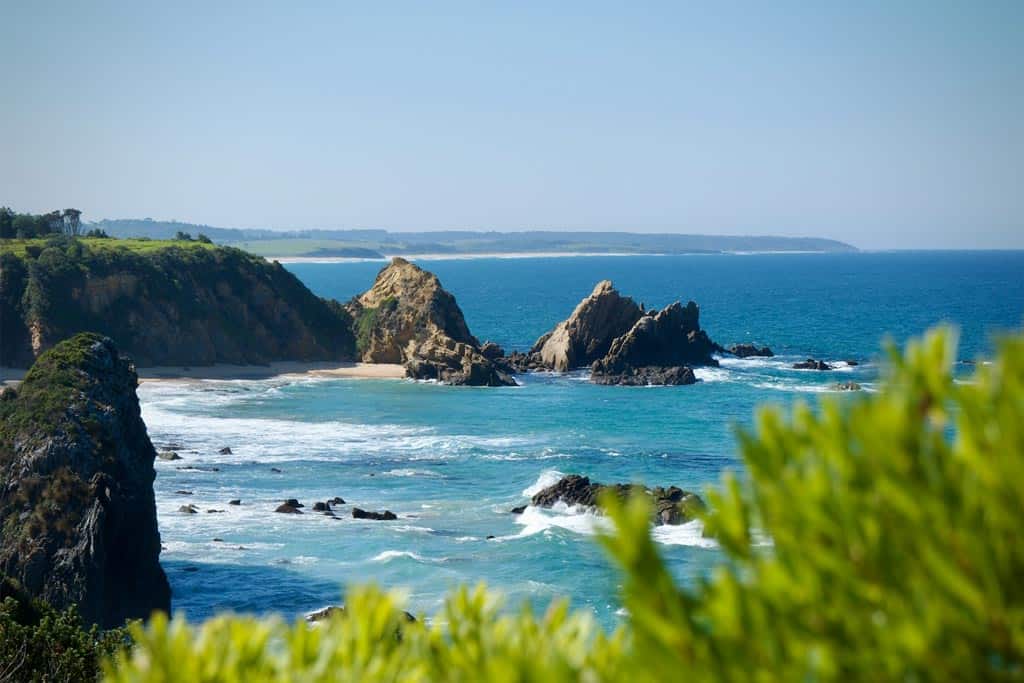
We enter the Sapphire Coast, named after its brilliant blue waters that sparkle like gemstones under the sun.
Spanning from Bermagui to Eden, the Sapphire Coast is the last stretch on the NSW side of the coastal route before reaching Victoria.
Make an early start. There’s much to see along the way!
Tilba
On your way to the Sapphire Coast, you’ll pass two historic villages, Central Tilba and Tilba Tilba, collectively known as just Tilba.
Both are spot-on snapshots of 19th-century Australia, with rows of well-preserved Victorian timber houses against the backdrop of a rolling countryside.
Tilba’s main claim to fame? Dairy. It’s the birthplace of the award-winning Tilba Real Dairy, celebrated its their high quality cheeses, yoghurts, and milkshakes. Be sure to visit the Tilba Dairy to sample their products.
To learn more about local history, join the 45-minute Heritage Walk around the village. Or, if you’re adventurous, hike the 2-km Bellbrook Farm Loop, which takes you to the sacred Mt Gulaga.
Bermagui
Bermagui is the first town on the Sapphire Coast. Fishing is the top activity here. But there are also opportunities for swimming, surfing, kayaking, and paddle boarding.
Don’t miss the iconic Blue Pool, a 50-metre-long, ocean-fed rock pool a short walk from the town’s main street. Behind the cliffside pool is a viewing platform where you can spot seals and occasionally whales.
Detour: For jaw-dropping headland panoramas, escape to Mimosa Rocks National Park. Turn off the main highway and follow the Tathra-Bermagui Road. The park is popular among birdwatchers, anglers, hikers, and motorhome campers.
Merimbula
We’ve arrived at the heart of the Sapphire Coast. Like its neighbors, Merimbula is a haven for water activities.
For something different, visit the Potoroo Palace. This small wildlife sanctuary shelters native Australian animals, including kangaroos and koalas.
If you’re after lake views, stroll the Merimbula Boardwalk. This 3.4-km (return) wooden path follows the Merimbula lakeshore, lined with eucalyptus, mangroves, and oyster farms.
Detour: Can’t get enough of the dramatic coastal scenery? Make a side trip to the Beowa National Park (formerly Ben Boyd National Park).
To get to Ben Boyd National Park, drive south of Merimbula on the Princes Highway, then turn left (about 9 km) to Haycock Road.
Because the park is massive (the biggest coastal national park in NSW), it’ll take days to explore. But you can still enjoy the park with a scenic drive. Take some time to stop at viewpoints, beaches, and landmarks like the Green Cape Lighthouse.
Eden
Eden is the southernmost town on the NSW South Coast. From 1828 to 1930, it was a hub for the whaling industry, when fishermen hunted whales for oil.
Today, you can visit the Eden Killer Whale Museum or drive along the Killer Whale Trail.
While the town’s main draw is whale-watching, its breathtaking landscapes make it perfect for a sightseeing tour.
If you’re craving seafood or any mouthwatering food, check out Sapphire Smokehouse, famous for its smoked salmon, fresh mussels, seasonal maple bacon, and more.
Read next: The 6 BEST NSW Road Trips – Epic Drive Itineraries
Where to stay in Eden
Eden’s laid-back atmosphere makes it a great place to rest for the night. There aren’t many luxurious hotels around, but you’ll find plenty of comfy places to stay.
Budget – Discovery Parks
Stay in a camp, a cabin or a villa by the beach. The self-contained cabins and villas have furnished kitchens and patios with ocean views. On-site are a swimming pool, tennis court, camp kitchen, Wi-Fi, outdoor spa, and free parking.
Mid-Range – Eden Motel
Just a five-minute drive from the heart of the town, the Eden Motel features ground-floor rooms with a kitchenette, a balcony, and free parking outside your room door. Facilities include a fitness centre, picnic areas, and a heated indoor pool.
Day 4: Eden to Lakes Entrance
- Total distance: 241.5 km
- Driving time: 2 hours 45 mins
Next we leave NSW and enter Victoria on a long but smooth and scenic drive. Leave early to cover as much distance as necessary.
Croajingolong National Park
This national park is a UNESCO World Biosphere Reserve, famous for its rich flora and fauna.
You’ll find some of the most stunning walking trails in Croajingolong, some of which will take several hours to explore.
You can spend a longer time in the park to enjoy it fully (think canoeing, bushwalking, and boating around the inlets).
But if you can’t wait to get back on the road, you can try a few quick activities. Check out the 4-km Thurra River Dunes Walk. Or, you can stroll along the shoreline, taking in the spectacular vistas of the wilderness coast.
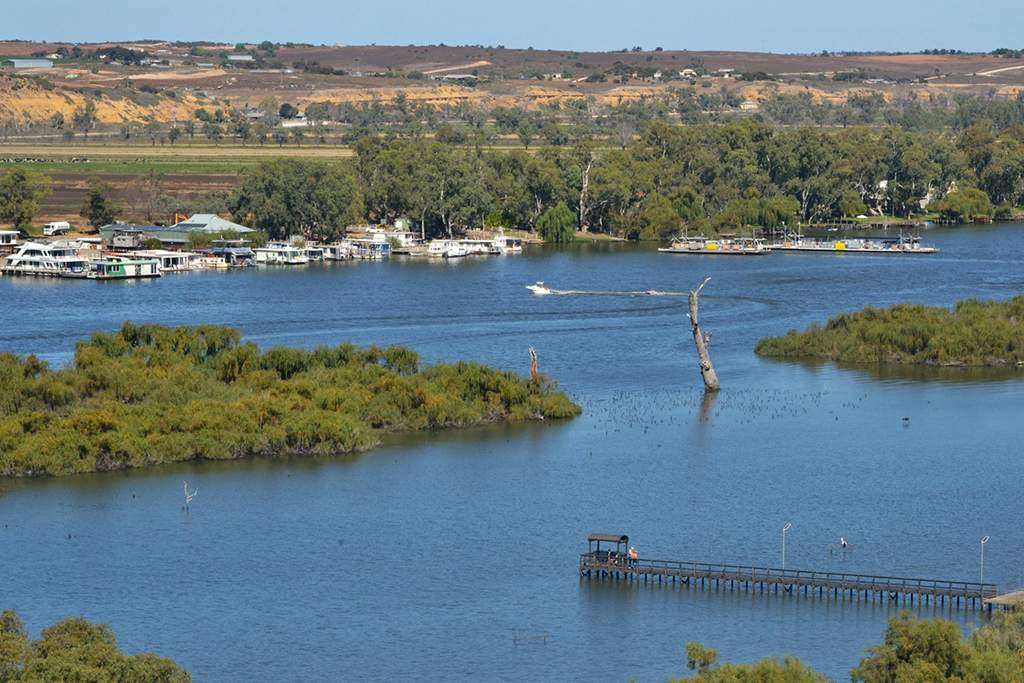
Lakes Entrance
From the Croajingolong National Park, head to Lakes Entrance, the gateway to Gippsland Lakes. It sits on the rim of Ninety Mile Beach, the longest beach in Victoria.
Lakes Entrance is a delightful spot for a bite, sightseeing, and water activities.
Stroll the Lakes Entrance Esplanade, which meanders along the waterfront. You’ll pass floating eateries, fishing boats, and fascinating views.
Travel further to Gippsland Lakes, an intricate network of lakes, lagoons, and marshes covering an entire area of 400 square kilometres.
The Gippsland Lakes is a hotspot for watersports–boating, fishing, kayaking, and swimming. It also teems with diverse fauna, from wombats to dolphins and pelicans, making it a haven for wildlife enthusiasts.
The drive from Lakes Entrance to Gippsland Lakes is about 2 hours and 15 minutes, but you can get there quicker by ferry, water taxi, or boat.
Detour: For your daily dose of cuteness, sail to Raymond Island, home to a massive population of koalas. Hike the Koala Trail to spot these cuddly critters perched on a gum tree.
To get to Raymond Island, drive from Lakes Entrance to Paynesville, 42 minutes away. Then, take the 3-minute free ferry to the island.
Day 5: Lakes Entrance to Wilsons Promontory
- Total distance: 281.6 km
- Driving time: 3 hours 32 mins
To get to Wilsons Promontory, veer off the Princes Highway near Metung. The road traverses rainforests, rolling hills, and rugged coasts.
Tip: Gas up in Lakes Entrance or Yanakie, a village 30 minutes from the park entrance. There are no petrol stations in the park. For those with an EV, the Lakes Entrance Visitor Information Centre has a charging station.
Read next: 12 Amazing Things To Do In Victoria Australia
Wilsons Promontory National Park
Wilsons Promontory–a.k.a. The Prom–is a little off the Sydney to Melbourne route, but it’s worth the detour.
The Prom is all wild coastlines, rainforest trails, abundant wildlife, and spectacular beaches, including one so spotless it squeaks (hello, Squeaky Beach).
Many visitors, especially those who want to see the remote Refuge Cove, spend days in the Prom. But a day trip or an overnight stint can be as satisfying.
Leave your car and join an afternoon wilderness cruise or a full-day nature and wildlife tour.
For avid hikers, the Wildlife Walk is an easy 2-km circuit across grassland, while the Lilly Pilly Link Walk takes you from the Tidal River to the depths of a rainforest.
Where to stay in Wilsons Promontory
There aren’t luxurious lodgings in the Prom. If you don’t mind roughing it up, you can stay at one of the campsites, like the Tidal River Campgrounds.
You can find traditional stays outside the park, like the Tidal Dreaming Seaview Cottages in Yanakie.
Day 6: Wilsons Promontory to Phillip Island
- Total distance: 162 km
- Driving time: 2 hours
Next stop is Phillip Island, which is one of the best places to visit in Victoria! You can also just head straight to Melbourne if you’re short on time. The island is also an easy day trip from Melbourne if you wanted to visit at a later date.
Phillip Island
Phillip Island is big on wildlife, beaches, and laid-back vibes. But the real star here is the Penguin Parade.
Every evening, hundreds of penguins waddle up the beach. And you can experience it on a sunset tour.
There’s more! You can hang out with koalas at the Koala Conservation Reserve or go on a seal-watching cruise.
Hit the surf at Cape Woolamai or watch waves crash at The Nobbies. Swimming? Cowes Beach has calm waters for cooling off.
It may not seem like it, but Phillip Island has a vibrant food scene. Try seafood at seaside diners, sample local vintages at boutique wineries, or indulge your sweet tooth at a chocolaterie.
Where to stay in Phillip Island
Phillip Island has an impressive roster of accommodations to suit every road tripper’s taste and budget. Here are some places you can call home during your stay.
Budget – Seahorse Motel Cowes
Only five minutes from the Phillip Island Wildlife Park, this property offers a comfy stay with budget-friendly rates. On-site are barbecue facilities, a playground, a swimming pool, and free parking.
Mid-Range – Hilltop Apartments Phillip Island
Tucked on the outskirts of the Cowes town centre, this stylish, adult-only retreat offers privacy and relaxation. Relax in the landscaped gardens, stroll on the boardwalks, or enjoy the views from the shared balcony.
Luxury – Pleasant Point Cottage
Want to celebrate the end of your Sydney to Melbourne road trip? Consider staying in this elegant villa. Amenities include a sun terrace, gardens with seating area, Wi-Fi, and free parking.
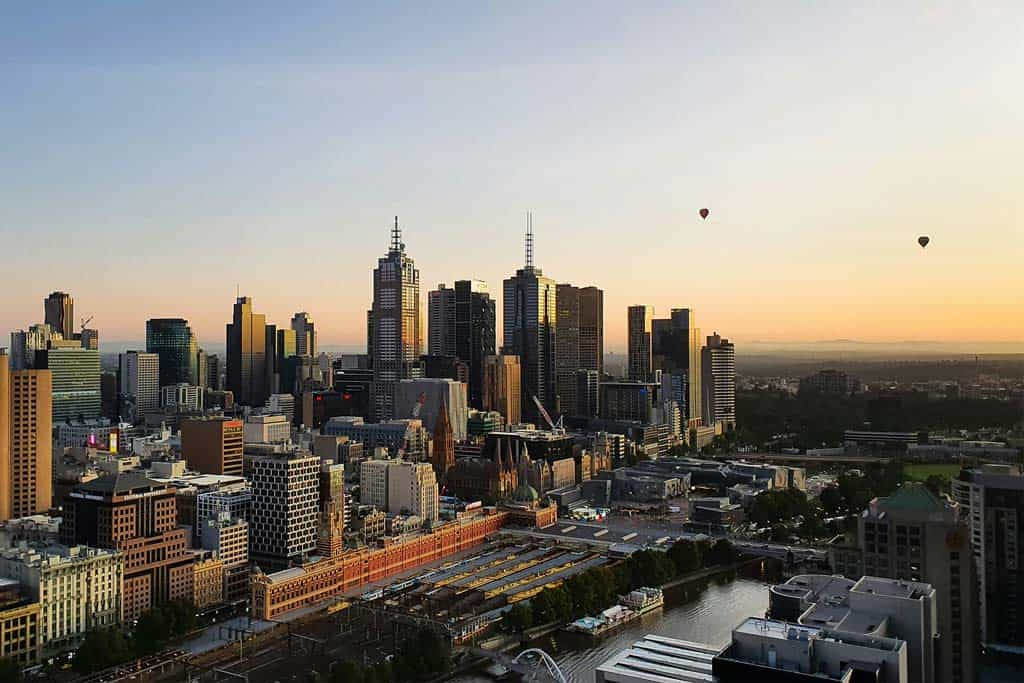
Day 7: Phillip Island to Melbourne
- Total distance: 141.9 km
- Driving time: 2 hours
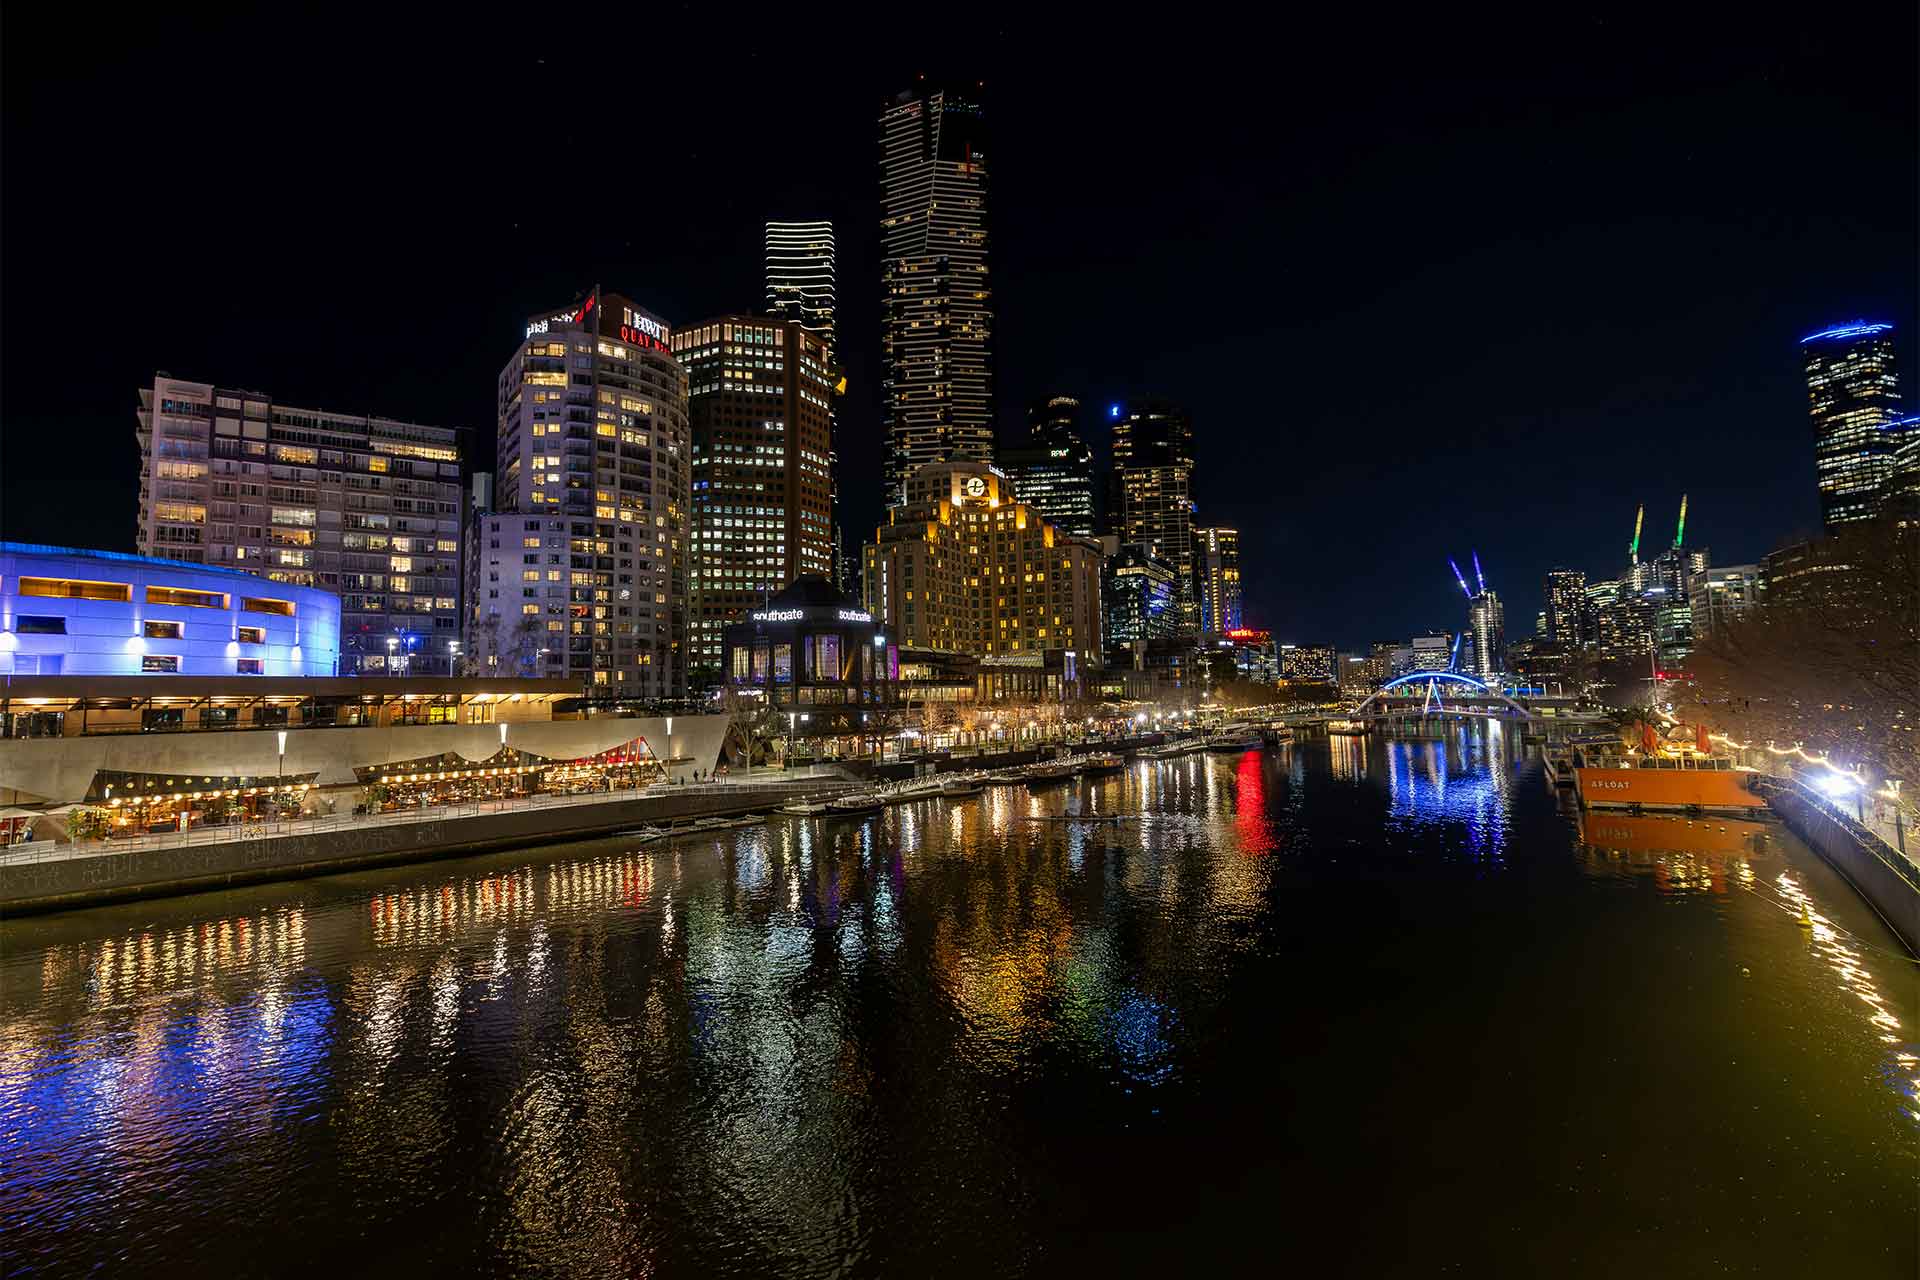
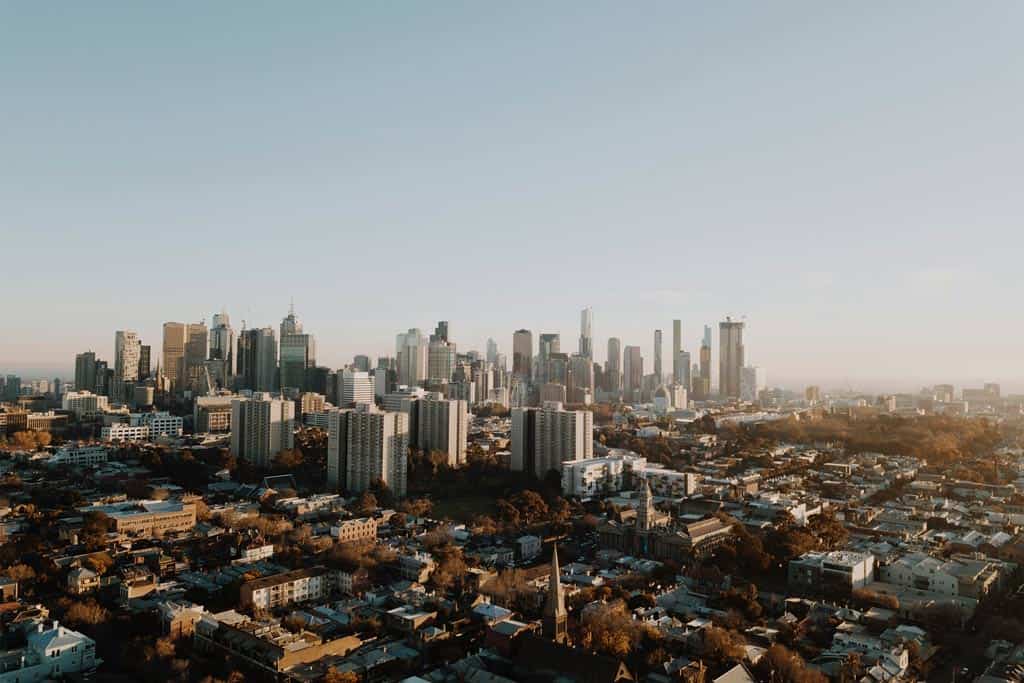
By the time you roll into Melbourne, you’ll have sandy shoes, a camera full of memories, and a serious craving to do it all over again.
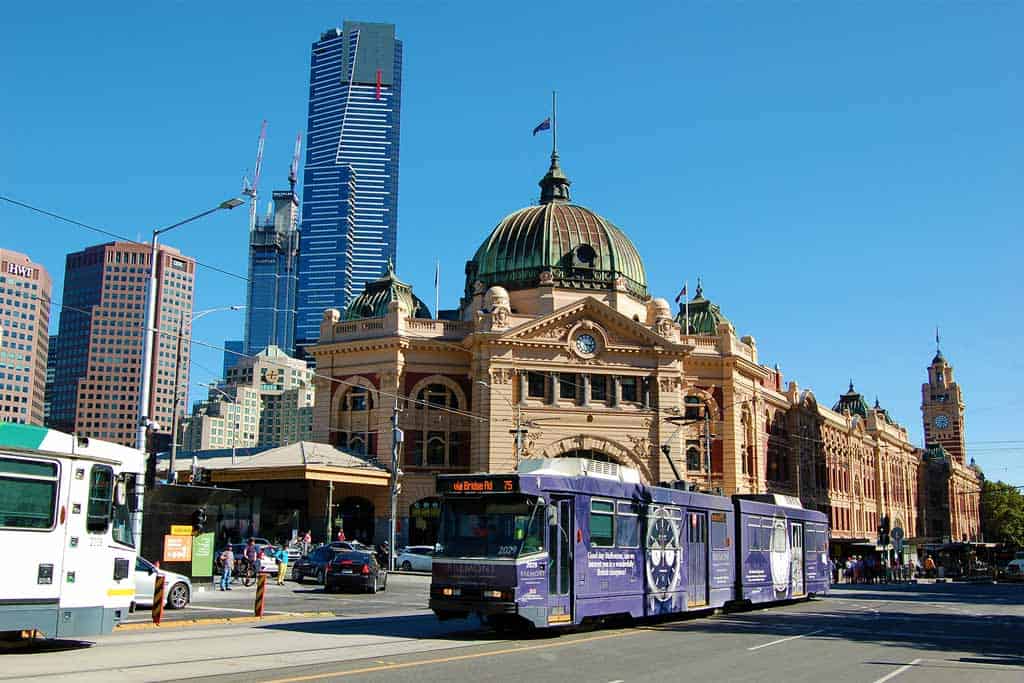
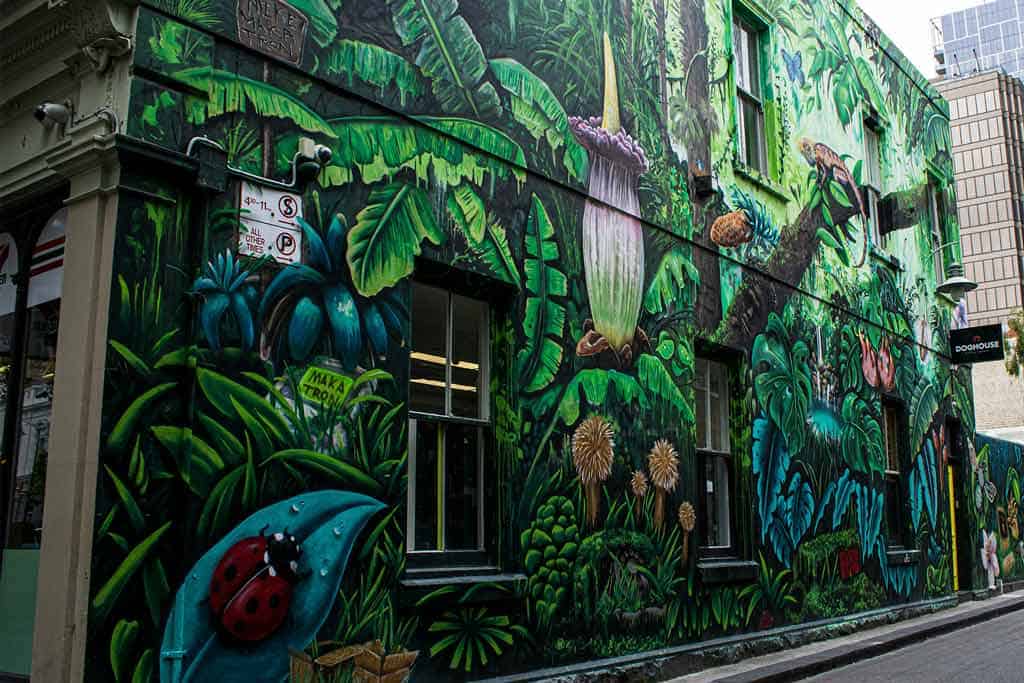
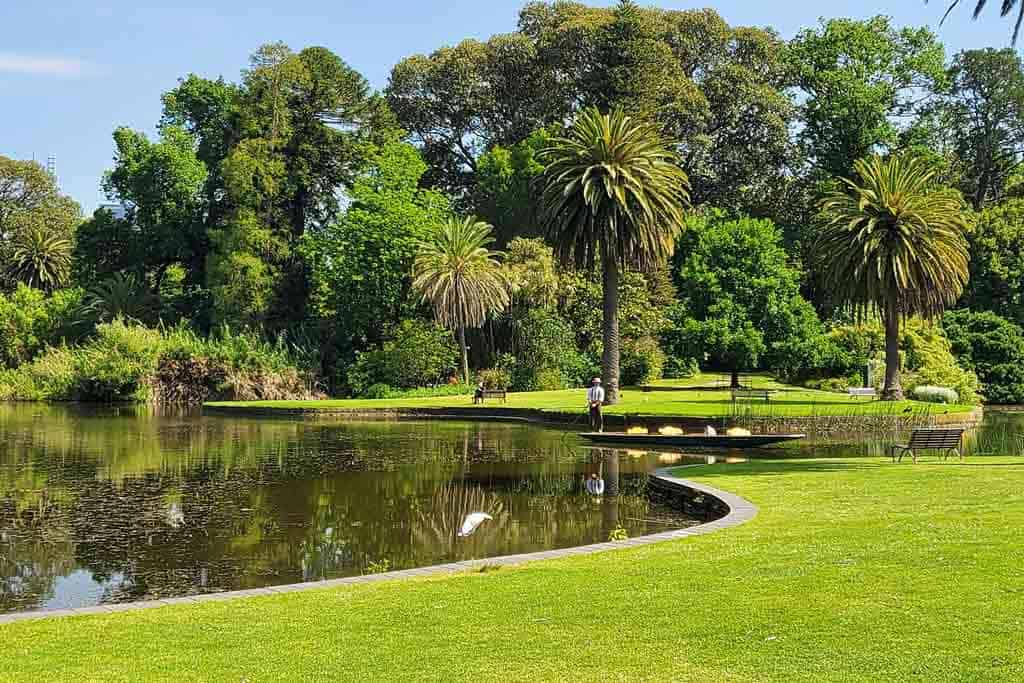
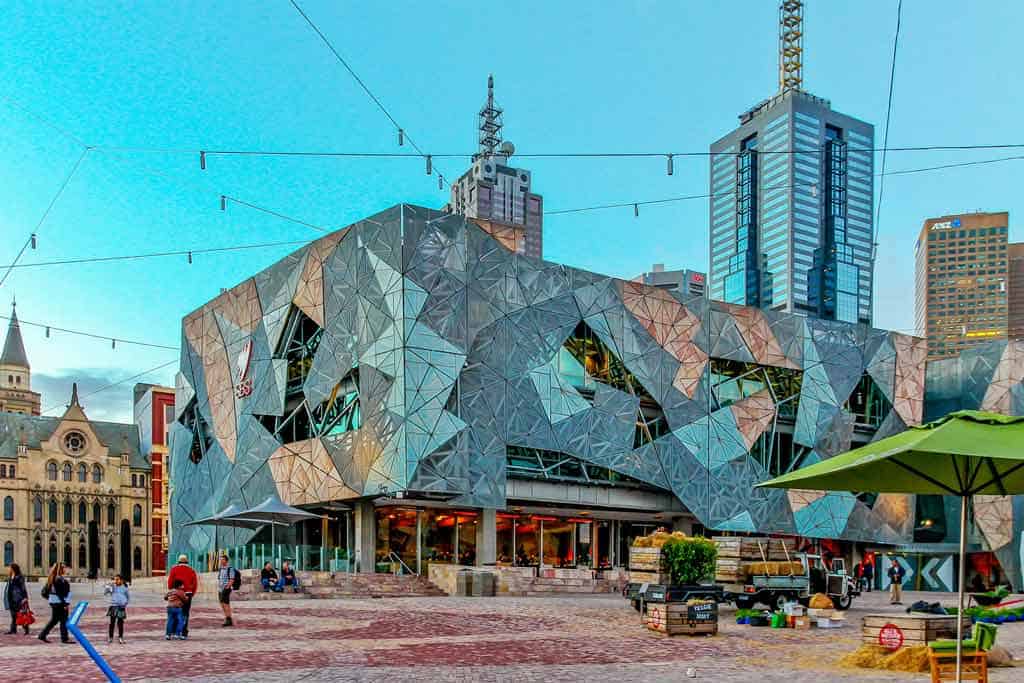
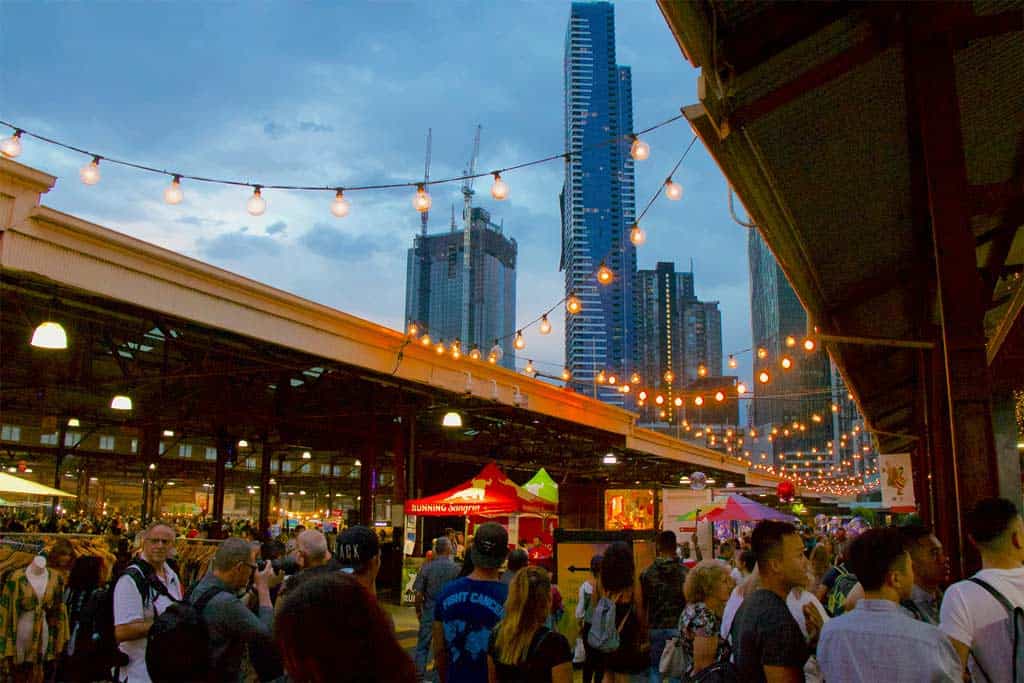
But stay a while. The city is a fascinating place to explore. There’s much to do, from visiting Melbourne’s best beaches to delving into its rich coffee culture.
Check out our Melbourne itinerary or list of things to do for more ideas while you’re in the city!
DISCLAIMER: Some of the links in this article are affiliate links, which means if you book accommodation, tours or buy a product, we will receive a small commission at no extra cost to you. These commissions help us keep creating more free travel content to help people plan their holidays and adventures. We only recommend the best accommodations, tours and products that ourselves or our fantastic editorial team have personally experienced, and regularly review these. Thanks for your support, kind friend!