
Travel has become really expensive. Post-COVID, the entire world seems to be traveling again and prices just keep rising. I am astonished at how high they have gotten. But it’s a product of rising costs and out-of-control demand. Everyone just wants to travel. We’re all looking for an escape.
Fortunately, it’s not all bad. Airfare has started to go down again, there are more deal-finding websites online, free walking tours in more cities, and more opportunities to bypass the traditional travel infrastructure and connect directly into the local way of life via the sharing economy.
As we navigate the post-COVID world of high prices, I want to share some tips and tricks on how to travel on a budget this year!
1. Change Your Mindset
Changing your mindset might not be a traditional budget tip, but it’s important nonetheless. Constantly remind yourself that travel is possible while taking concrete steps to make it a reality. Action begets action — even if it’s just baby steps.
Start with a “yes, I can” mindset. Don’t think “I can’t travel” — think “What’s one thing I can do today to make my trip closer to reality?”
Life is a mental game. Do one thing every day that gets you closer to your trip and you’ll find yourself building unstoppable momentum.
2. Come Up with a Savings Plan
Unless you’re Bill Gates, we all need to save more money. But how do you do that? While life is expensive, I do believe there are always ways to save a little more. There’s always something you can cut. A little bit of savings adds up a lot over time.
First, start by tracking your spending. Write down everything you spend money on for a month. Groceries, rent, eating out, Netflix — everything. You can’t figure out where to save if you don’t know where your money is going.
Next, start a savings account specifically for travel. That way, you’ll have a dedicated space for your travel fund and you can watch it grow. That progress will keep you motivated. Even if it’s just a few dollars a week, every penny counts. The more you save, the more you want to save.
Finally, start cutting. Maybe it’s going to Starbucks, maybe it’s saving on gas by carpooling to work or cutting back on eating out. We all have things we can cut. Find yours.
Here are some posts on how to save money:
3. Score a Flight Deal
One of the things that people always tell me holds them back from traveling more is the cost of flights. But, let me tell you, there are a lot of deals right now.
All the airlines are trying to fill planes and are offering a lot of deals for summer and fall travel right now. After all, they need to make up for a lost year and are desperate to get people on planes.
The key to finding a cheap flight is to be flexible with your dates and your destination. If you have your heart set on “Paris in June” you’ll be forced to pay whatever the flight costs. But, if you open that up to “France in the summer” — or even “Europe in the summer” you’ll be able to find much cheaper flights since you’ll have a lot more wiggle room to test dates and destinations.
I like to use Google Flights and Skyscanner to browse my options. I type in my home city and then pick “everywhere” as my destination. I then base my plans around where I can fly to for the least amount of money.
Both websites also let you sign up for price alerts so you’ll get an email if the price for your ideal trip happens to drop.
And if you really want to find amazing flight deals, consider joining a flight deal site like Going. It’s the best website for finding flight deals from the US and has saved me a fortune over the years. It’s not free, but new users can get 20% off a Premium membership with the code NOMADICMATT20.
Other helpful flight deal sites are:
- The Flight Deal – Incredible deals for flights all around the world.
- Secret Flying – Another site with amazing flight deals from around the globe (they find a lot of Asia/Africa/South America deals not found elsewhere).
4. Get Points!
Collecting points and miles is a great way to travel on a budget. By getting point-yielding credit cards and using a few simple techniques, you can get hundreds of thousands of miles — without any additional spending (you can even earn points just by paying your rent!). These points can then be cashed in for free flights, free hotel stays, and other travel rewards.
I’ve earned countless free flights, upgrades, and hotel stays from my points and miles. By optimizing my spending and paying attention to which cards earn the most points where, I’ve saved thousands of dollars — and you can too!
Here are some resources to help you begin:
Even if you aren’t American, you still have options, as points and miles have gone global:
Once you have points, use platforms like point.me (for flights) and Awayz (for hotels) to manage them. These platforms help you maximize your points and miles so you earn more free flights and hotel stays.
5. Use the Sharing Economy

The sharing economy has led to a plethora of new money-saving and community-building platforms that have made travel even more affordable, personal, and accessible. It’s never been easier to get off the tourist trail, connect with locals, and experience their pace of life. I live by these websites when I travel! You should too.
Here are some of the best sharing economy sites to help you get started:
- Trusted Housesitters – The most comprehensive website to find house-sitting gigs. You watch a place on vacation while the homeowner is on vacation.
- EatWith – Allows you to eat home-cooked meals with locals (it’s the Airbnb of food). It always leads to interesting encounters, so it’s one of my favorite things to do.
- BlaBlaCar – A ridesharing app that pairs riders with verified locals who have a spare seat in their car.
- RVShare – Allows you to rent RVs and camper vans directly from locals.
6. Find the Free!
The world is awash with amazing free travel resources (like this website) that can help you travel on a budget. No matter where you are going, there’s probably a blog post on what to do and see there for free or cheaply. Someone has been there and they’ve written about it! Make the best use of all of them to help you plan your trip.
My favorite search term is “free things to do in X.” You’ll always get a result!
Additionally, don’t be afraid to walk into a hostel — even if you aren’t staying there — and ask them what to do for cheap. Their clientele is budget-sensitive, so they always know what to do and where to go for little money.
Local tourism boards will also have tons of info on free things to do as well (more on that below).
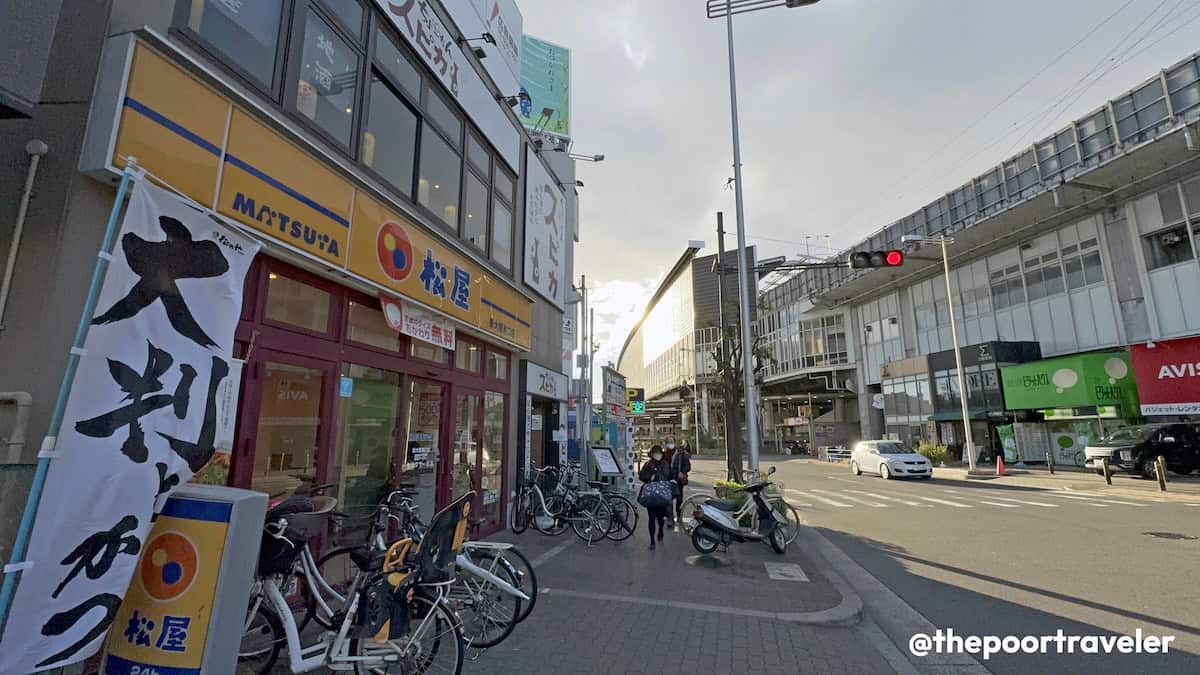
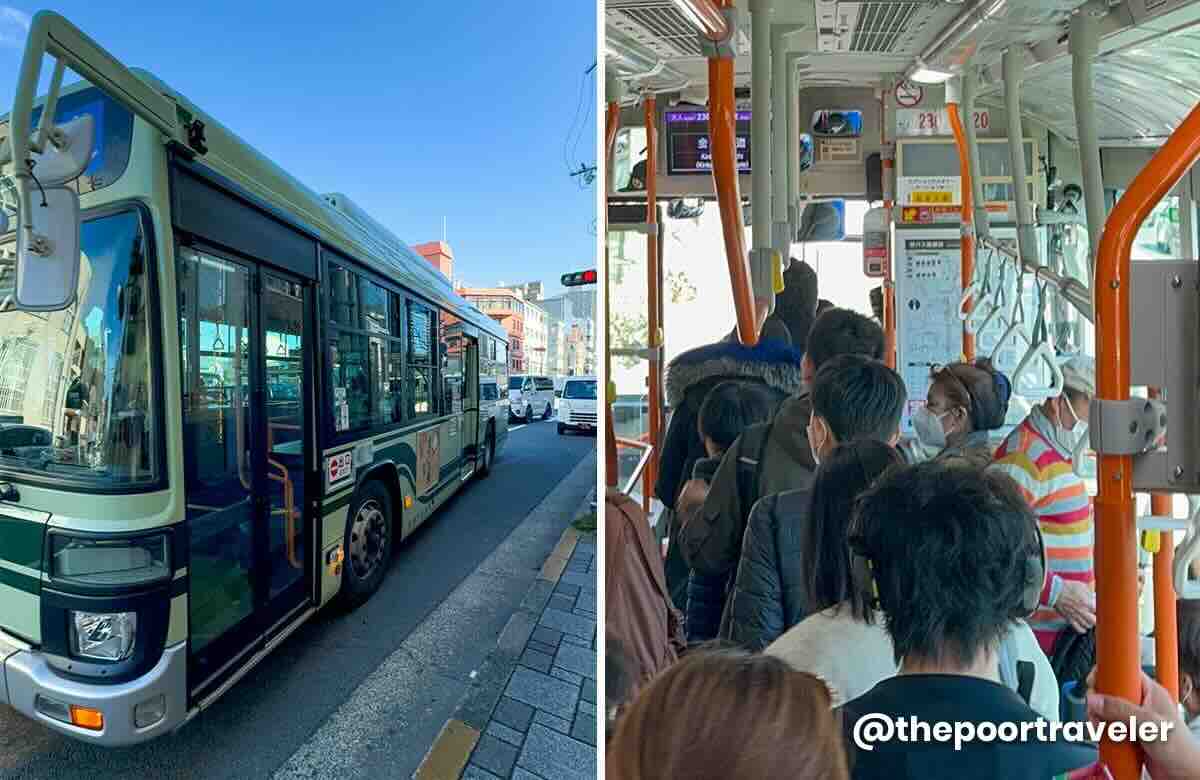
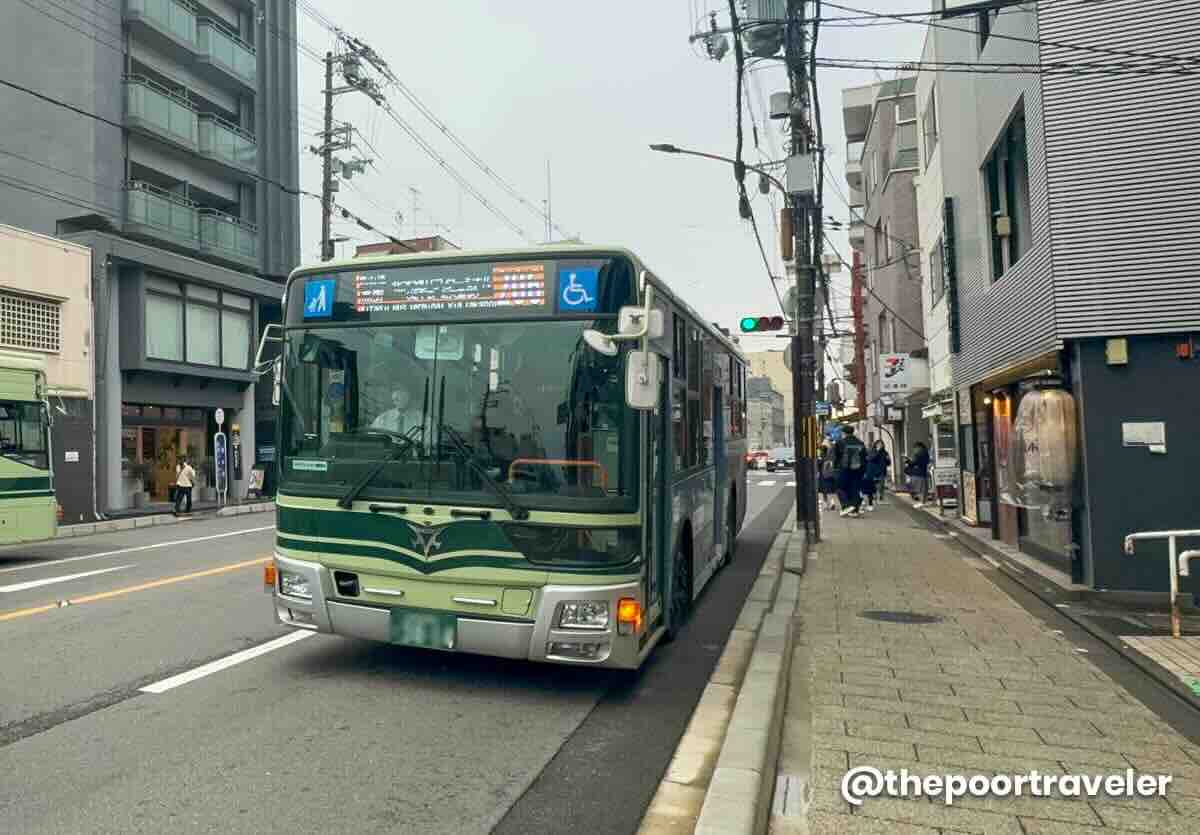
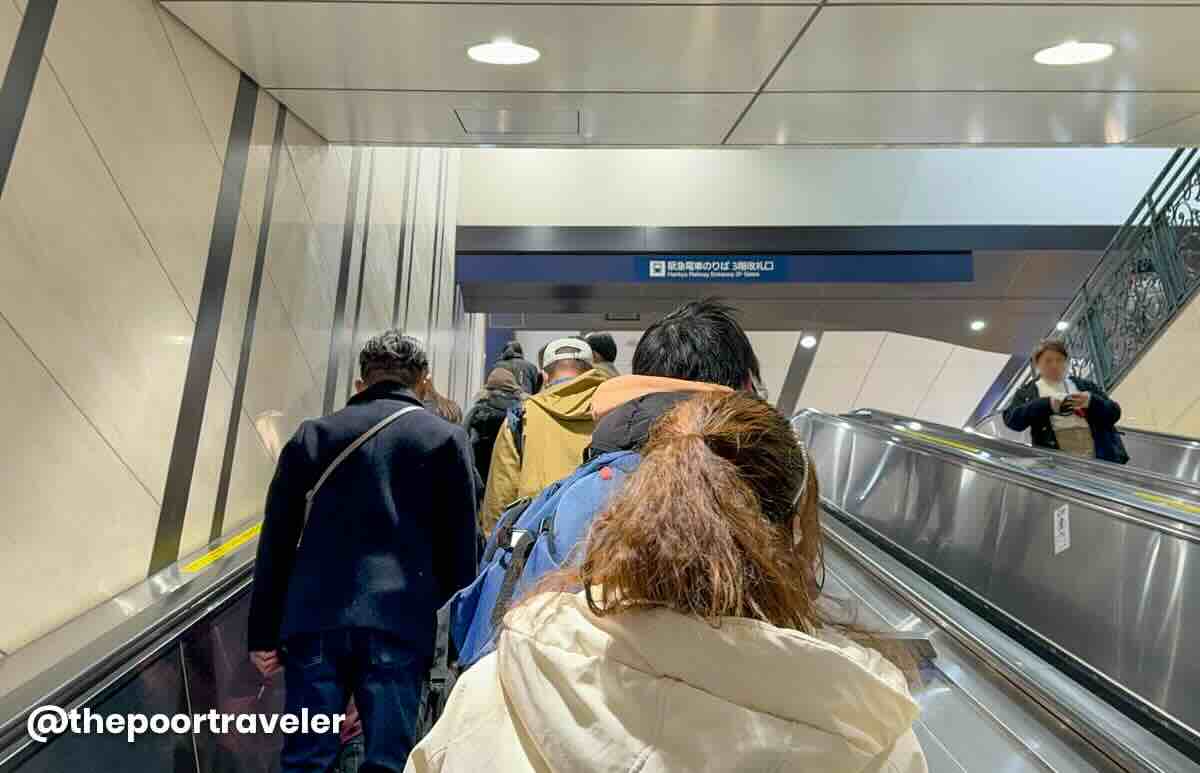
7. Stick to Public Transportation
If you’re on a budget, skip the taxis and rideshares like Lyft or Uber. Unless you can lower your cost by sharing a ride with other passengers, public transportation is going to be the most cost-effective way to get around. Not only will it save you money but you’ll get to see how the locals travel too.
Google Maps usually can give you a basic overview of the public transportation options and prices available. You can find information about day passes and/or multi-day passes from your local hostel/hotel staff (as well as from local tourism offices). For cheap intercity travel information, check out Rome2Rio.
8. Use Local Tourism Offices
Local tourist offices are a wealth of knowledge. They exist solely to provide you with information on what to see and do. They often have tons of discounts not found anywhere else and can also keep you updated on local events, free tours, and the best spots to eat. They can help you find public transportation discounts and/or multiday passes too.
Don’t skip the local tourist office! They are a severely underutilized resource.
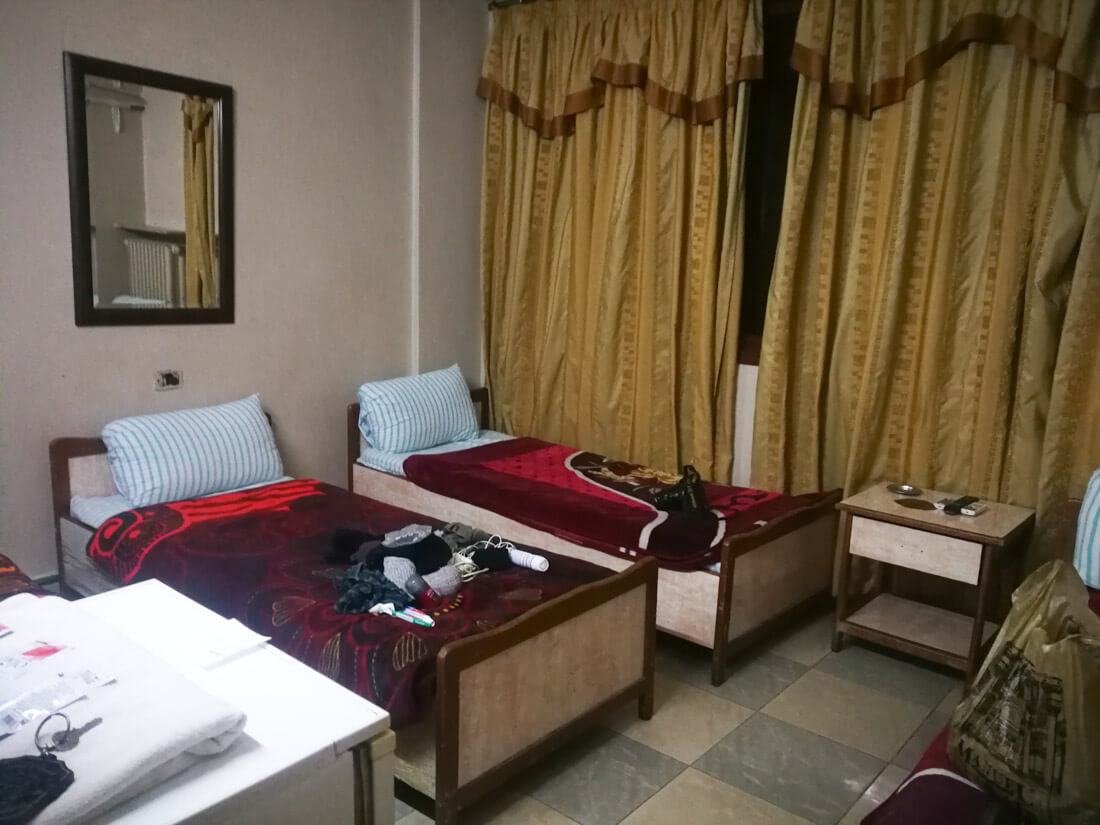
9. Get Cheap Accommodation

Accommodation is one of the biggest fixed costs travelers have, so reducing that cost can lead to big savings on the road. I’m sure many backpackers would sleep in a barn if it were the cheapest accommodation they could find! Heck, I’ve slept in hammocks in national parks to save a buck!
Since you have to stay somewhere every night, reducing this expense can save you a lot of money on the total cost of your trip. Stay in hostels, use Couchsurfing, stay in empty university dorms, camp, or try an Airbnb.
Since there are a lot of ways to cut your accommodation costs, here are my posts on how to get accommodation deals:
10. Eat Cheap
Other than accommodation, food is one of the biggest travel costs. After all, everyone needs to eat. But there are lots of ways to eat on the cheap:
Also, use the five-block rule. There seems to be this magical wall that surrounds tourist areas. Most people don’t go past it. It’s been my experience that if you walk five blocks in any direction from a major tourist area, you end up losing the crowds and finding the local restaurants.
In my experience, tourist restaurants don’t care about quality since those tourists aren’t coming back. Residents do care so places catering to them need to be better — and more affordable – or they go out of business. Those are the places you want to eat at. Use the above resources to find where the locals eat and avoid crappy food!
11. Travel Like You Live
The majority of people in your destinations don’t spend lots of money per day like tourists do. Neither do you in your day-to-day life. So take that mentality with you. Walk, take public transportation, grocery shop, spend a day in a park, and look for deals. Do the things you do at home every day to keep your costs down.
Too many people get into this mindset that when they go on the road, they just have to spend, spend, spend, spend. That’s not true at all. There’s no law that says you have to spend more. Be smart with your budget — just like you are at home. That will help you save money and prevent you from going home early (and broke).
12. Work & Volunteer to Lower Your Expenses
If you’re a long-term traveler, consider volunteering or doing a work exchange to lower your costs. There are tons of options out there such as farm stays, working in hostels, teaching in schools, and more.
You’ll usually need to commit for a week or more, however, these opportunities enable you to get a much deeper and more nuanced travel experience. Here are some websites to help you find suitable opportunities:
- Worldpackers – Worldpackers offers travelers a chance to find volunteer experiences overseas. In addition to hostels, they can help you find experiences with NGOs, homestays, and eco-projects all over the world!
- WWOOF – WWOOF (World Wide Opportunities on Organic Farms) is a program that connects you with farms all around the world where you can work in exchange for room and board.
- Helpx – Like Worldpackers, Helpx offers exchanges such as farmstays, homestays, B&Bs, hostels, and sailboats.
- Workaway – Workaway is a lot like HelpX, except it has more paid job opportunities (though it has volunteer opportunities too).
All you have to do is take that first step. Remember, action begets action. Once you start moving, everything else gets easier. So don’t wait!
How to Travel the World on $75 a Day
My New York Times best-selling book to travel will teach you how to master the art of travel so that you’ll get off save money, always find deals, and have a deeper travel experience. It’s your A to Z planning guide that the BBC called the “bible for budget travelers.”
Book Your Trip: Logistical Tips and Tricks
Book Your Flight
Find a cheap flight by using Skyscanner. It’s my favorite search engine because it searches websites and airlines around the globe so you always know no stone is being left unturned.
Book Your Accommodation
You can book your hostel with Hostelworld. If you want to stay somewhere other than a hostel, use Booking.com as it consistently returns the cheapest rates for guesthouses and hotels.
Don’t Forget Travel Insurance
Travel insurance will protect you against illness, injury, theft, and cancellations. It’s comprehensive protection in case anything goes wrong. I never go on a trip without it as I’ve had to use it many times in the past. My favorite companies that offer the best service and value are:
Want to Travel for Free?
Travel credit cards allow you to earn points that can be redeemed for free flights and accommodation — all without any extra spending. Check out my guide to picking the right card and my current favorites to get started and see the latest best deals.
Need a Rental Car?
Discover Cars is a budget-friendly international car rental website. No matter where you’re headed, they’ll be able to find the best — and cheapest — rental for your trip!
Need Help Finding Activities for Your Trip?
Get Your Guide is a huge online marketplace where you can find cool walking tours, fun excursions, skip-the-line tickets, private guides, and more.
Ready to Book Your Trip?
Check out my resource page for the best companies to use when you travel. I list all the ones I use when I travel. They are the best in class and you can’t go wrong using them on your trip.