Welcome to the TPT Travel Guide to BACOLOD! In this article, we’ll share with you tips on which area to stay in Bacolod, how to get there from Manila, and how to get around. You’ll also find a sample itinerary with budget breakdown.


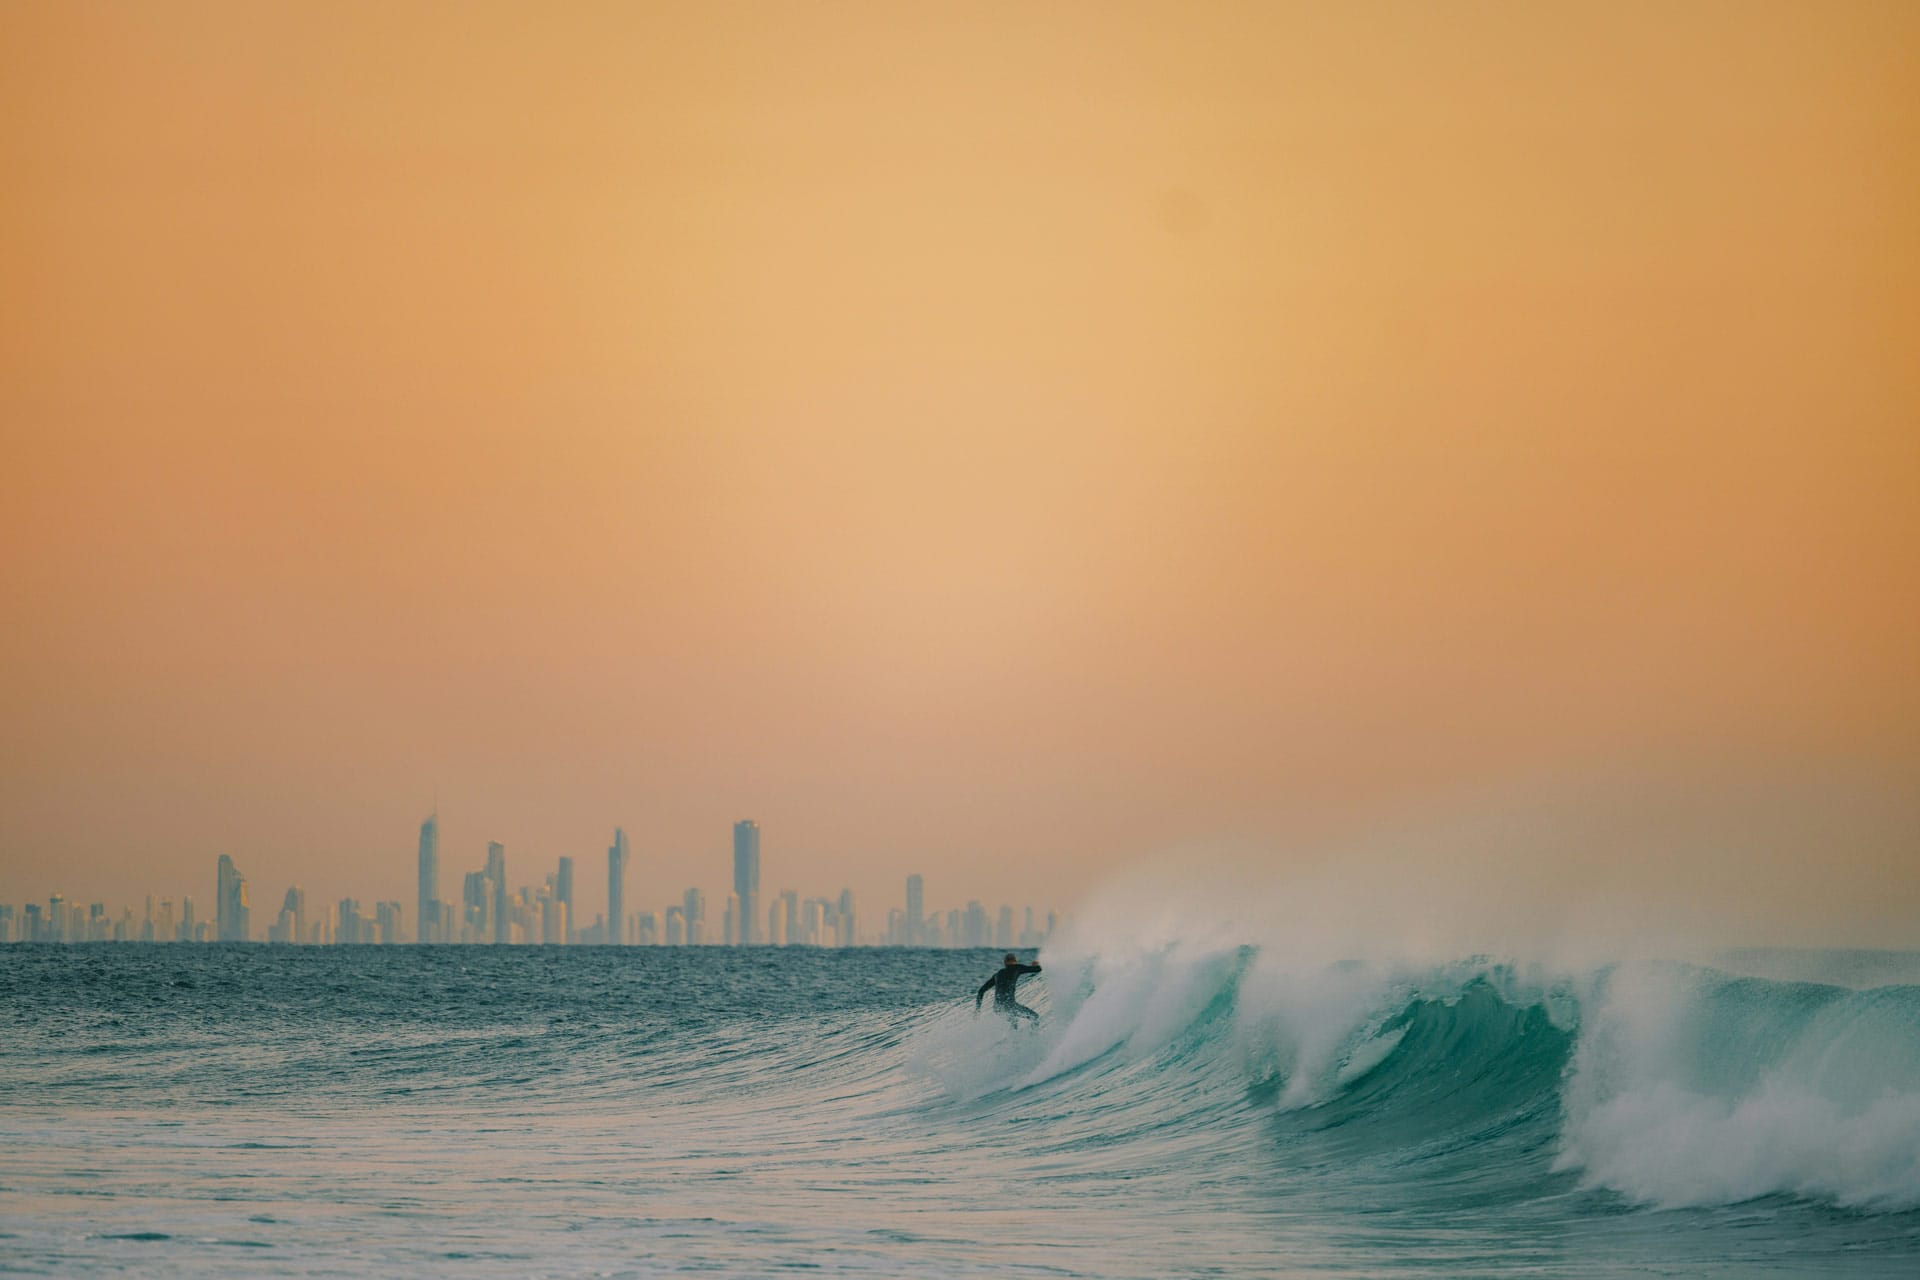
There are places that you will remember not because of what you saw but how it made you feel. Bacolod is one of those places.
Bacolod doesn’t have the spectacular sights that other destinations in the Philippines boldly and loudly brag about. But what it lacks in visual treats, it makes up for by delighting the other senses. It’s in good company, too. Bacolod may not have the sweeping landscapes, but its posse have more than their share. Neighbor Murcia makes a splash with her waterfalls. Silay and Talisay have lots of stories to tell. And just 4-5 hours away are Kabankalan, Cauayan, and Sipalay, all waiting to showcase their natural splendor to those who go the extra mile.
BACOLOD TRAVEL CHECKLIST
Before we dive into the details, here’s a checklist of travel essentials if you are traveling to Bacolod. You’ll also find links to some of our recommended hotels, tours, and attractions for easy reference in the future.
Bacolod Travel Essentials
Top Bacolod Day Tours
✅ You can also visit our The Poor Traveler Masterlist. Here, we compiled travel essentials, including all our recommended hotels and attractions. Just visit this page: TPT Masterlist. Then, scroll until you see the section about Bacolod. We also have a compilation for other destinations around the world.
UNDERSTANDING BACOLOD
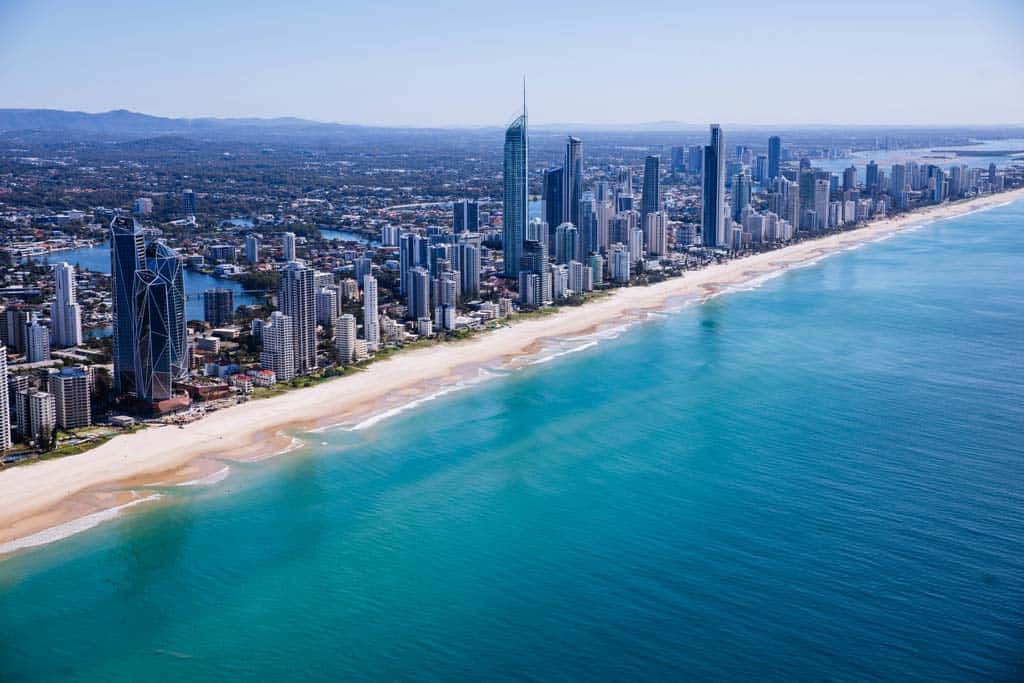
Bacolod is widely known for three things: sweets, smiles, and the Masskara Festival. Oh, and chicken inasal. So okay, make that four things. Haha. It is the capital of Negros Occidental, one of the biggest provinces in the country in terms of land area and population. Yet, a big part of its territory remains unknown to non-residents.
Negros Occidental has 13 cities (including independent Bacolod) and 19 municipalities. That’s a lot of cities in just one province. But before you conjure up images of skyscrapers, know that Bacolod is the only one that is highly urbanized. The others are more like small towns, more laid-back and still pretty rustic.
Other info you need to know:
- Language: Hiligaynon (Ilonggo). English and Tagalog are widely understood.
- Currency: Philippine peso (PhP). PHP 100 = USD 2, EUR 1.65, KRW 22000, JPY 218
- Timezone: GMT+8 (Philippine Standard Time), year-round. No daylight saving time observed. Same time zone as Beijing, Singapore, and Malaysia. One hour behind Japan.
- Mode of Payment: Cash. ATMs are all around Bacolod, but they turn much fewer in other cities and municipalities. If you’re exploring other parts of Negros Occidental from Bacolod, you might want to withdraw money while you’re in the capital. Credit cards are often accepted in upscale establishments in Bacolod, but cash is still preferred.
WHERE TO STAY IN BACOLOD
In general, because there are plenty of transportation options, if you’re staying within the city center of Bacolod, you should be fine. But we usually use Lacson Street as our reference line because many of the city’s most popular attractions are located along this road. The closer you are to Lacson Street, the better. If you want something more specific, I like using Calea as the reference point because I always find myself craving their cakes when I’m in the city.
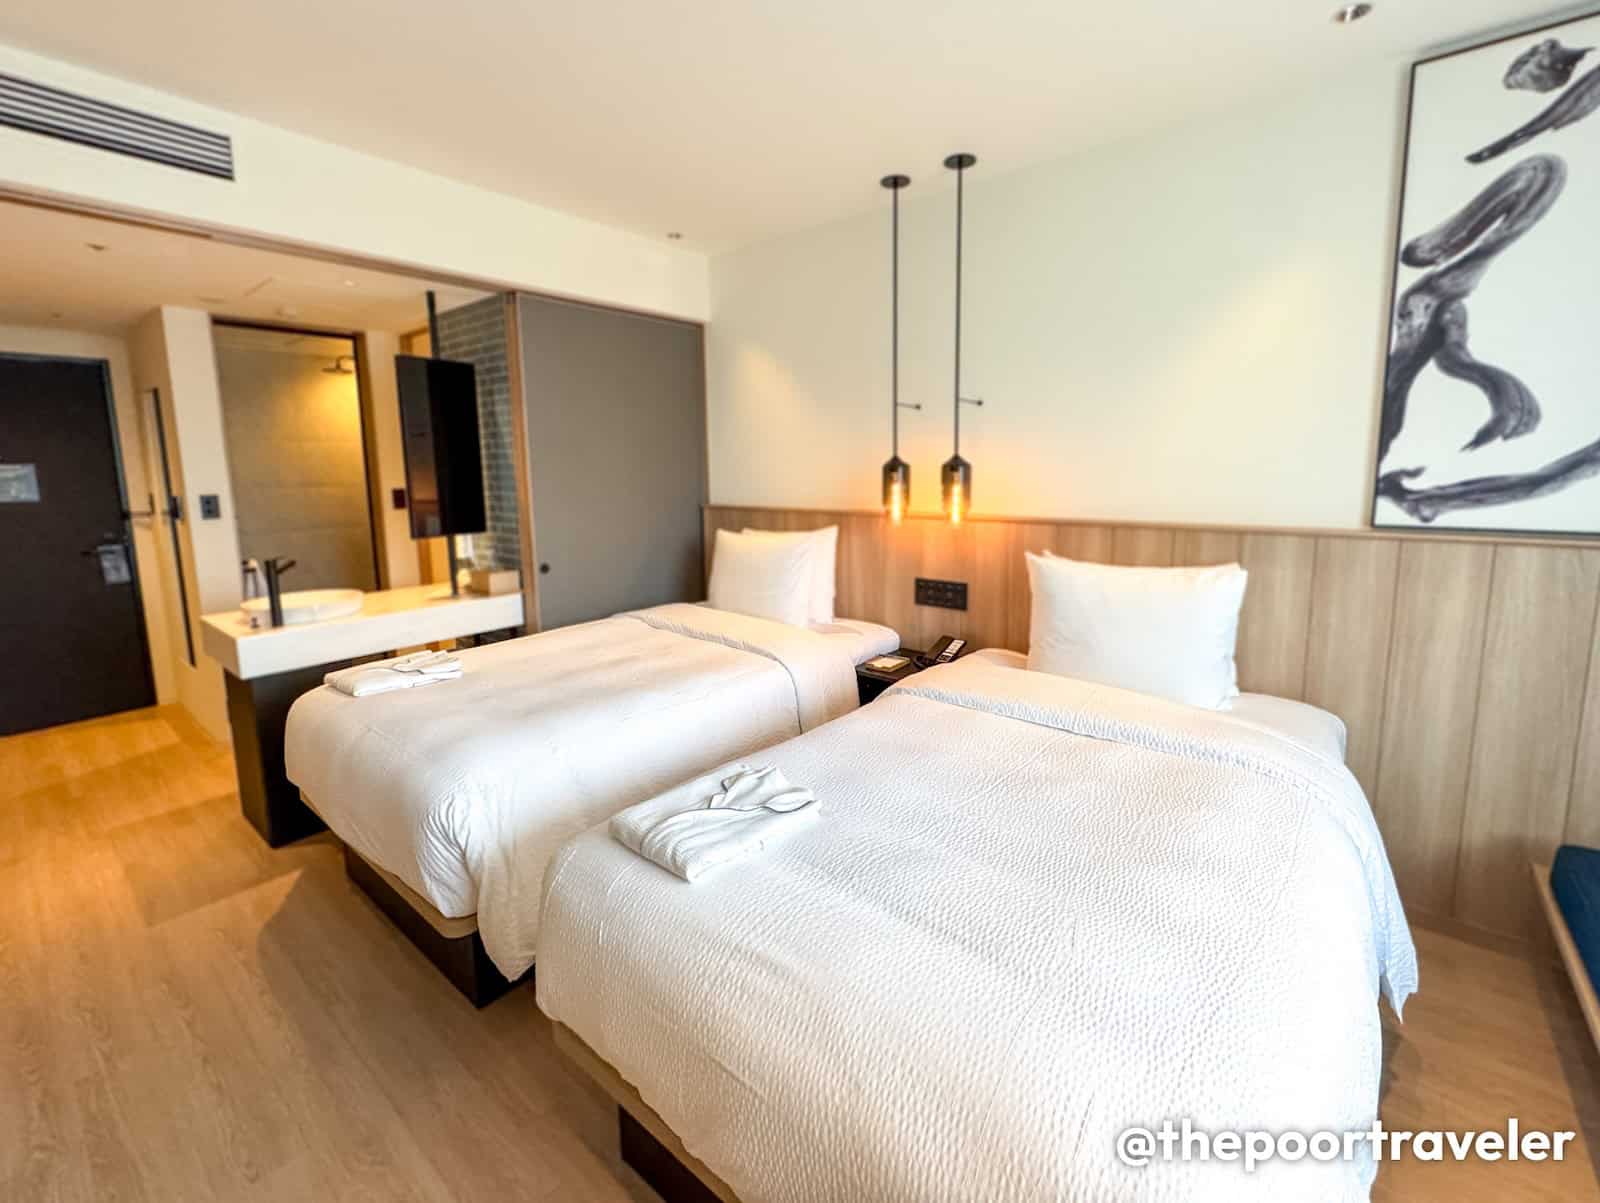
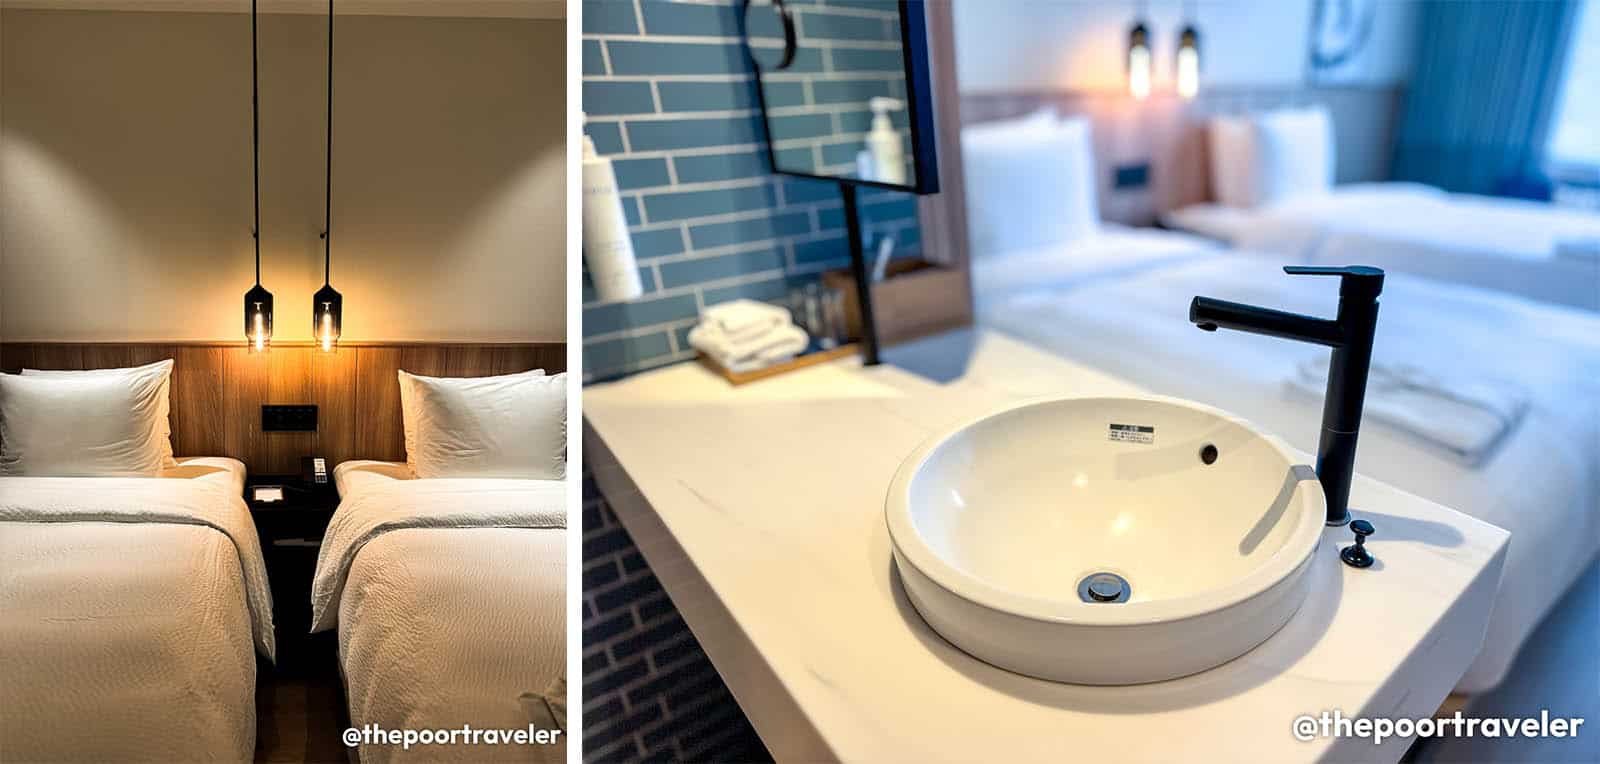
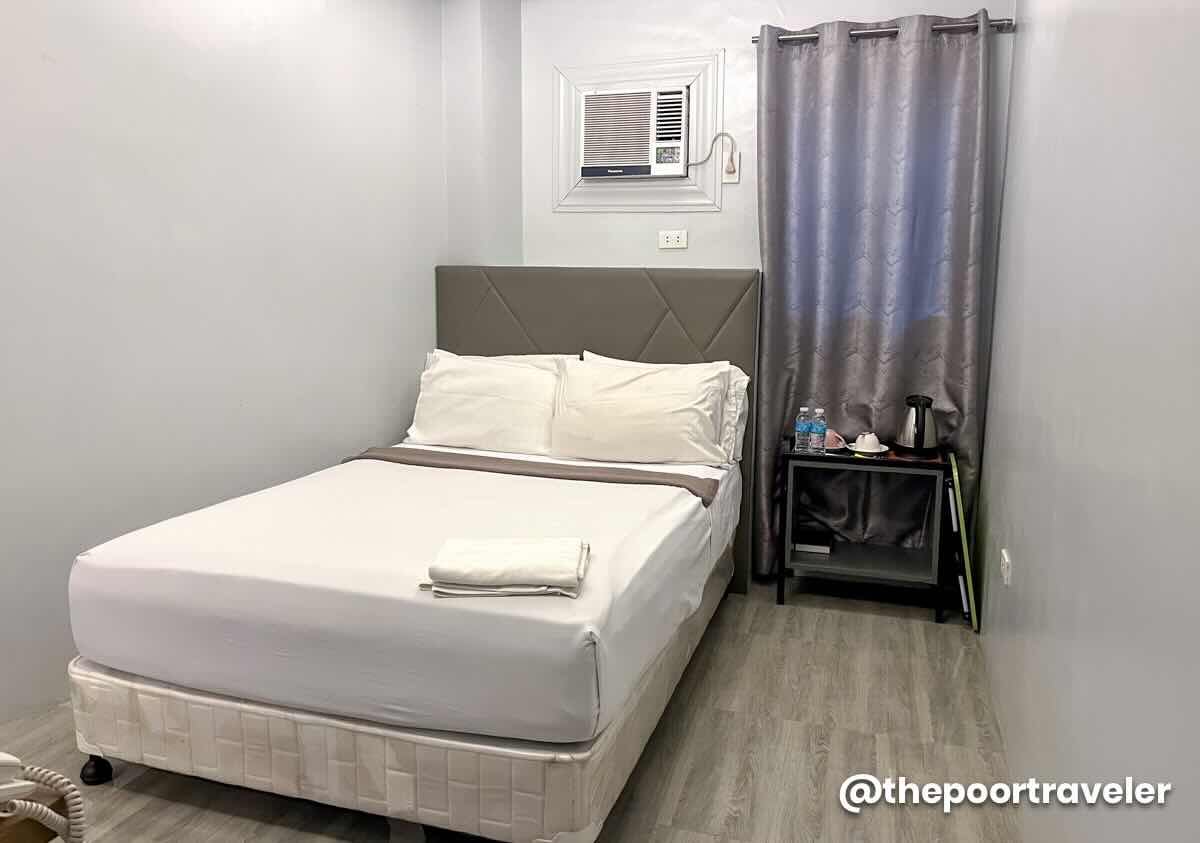
We have stayed at six different hotels across Metro Bacolod, but here are a couple of properties that we were able to try recently. First, UrbanView @ Lacson Street Bacolod City by RedDoorz, which is centrally located. Yes, it stands very close to Calea, Felicia’s, and the Negros Occidental Provincial Capitol. You’ll also find a branch of both Bongbong’s and Merczi pasalubong shops nearby.

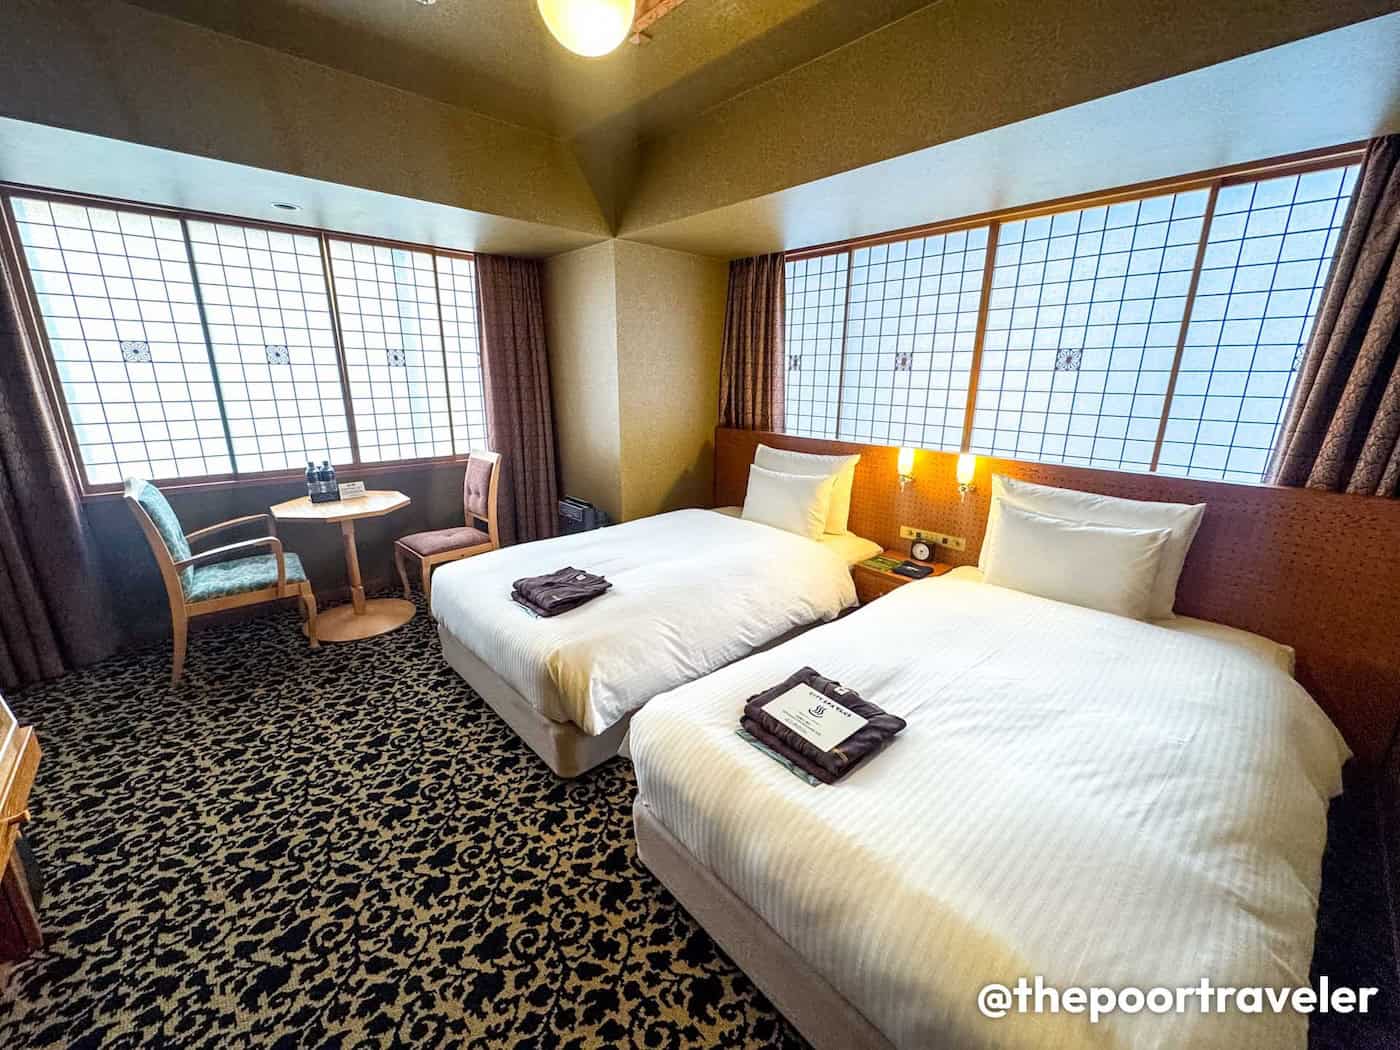
We stayed in a deluxe room with air-conditioning, WiFi, TV, in-room telephone, foldable bed table, electric kettle, and complimentary bottled water. As for the bathroom, basic toiletries were provided, the water heater was working well, and the water pressure was good. The room was good for two guests. It’s a budget hotel, and we only paid P1616.45 per night, which I think is a good deal! That’s only P808 per person.
The room is quite cramped, and it doesn’t have an elevator. But the staff were very helpful with the luggage and attentive to requests. If you’re a budget traveler and it’s your first time in Bacolod, UrbanView is a good place to start.
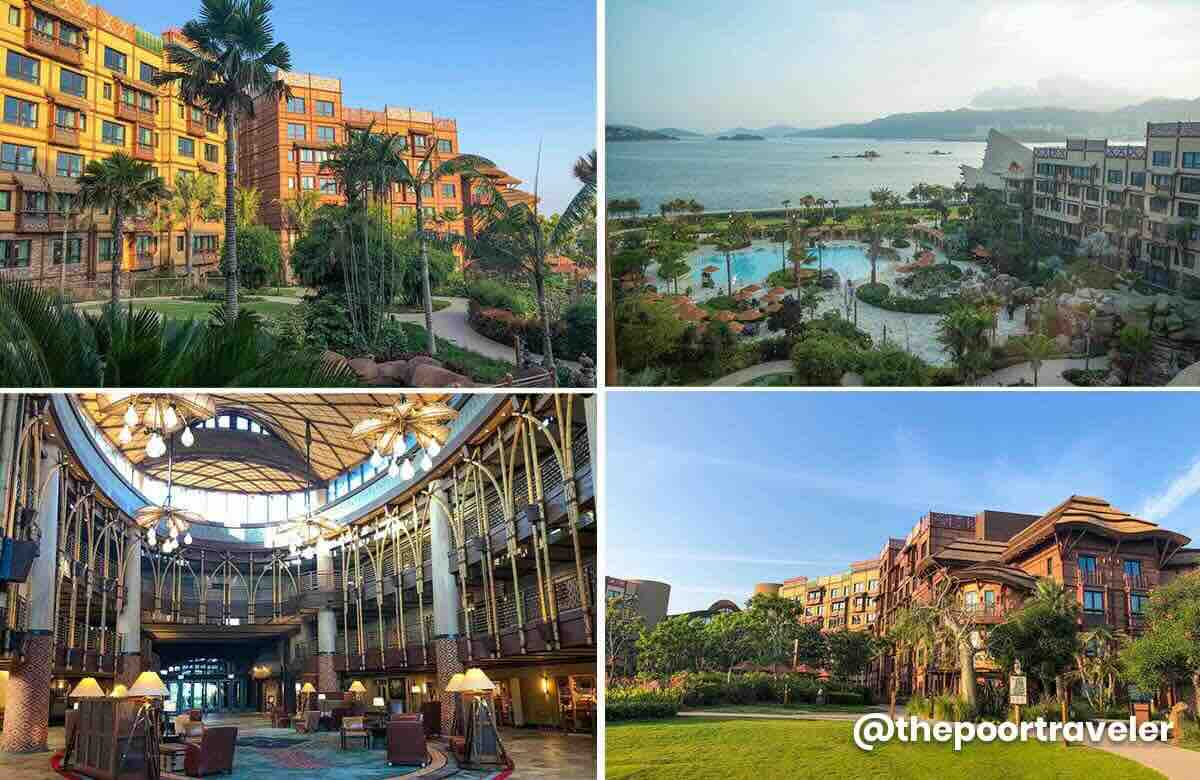
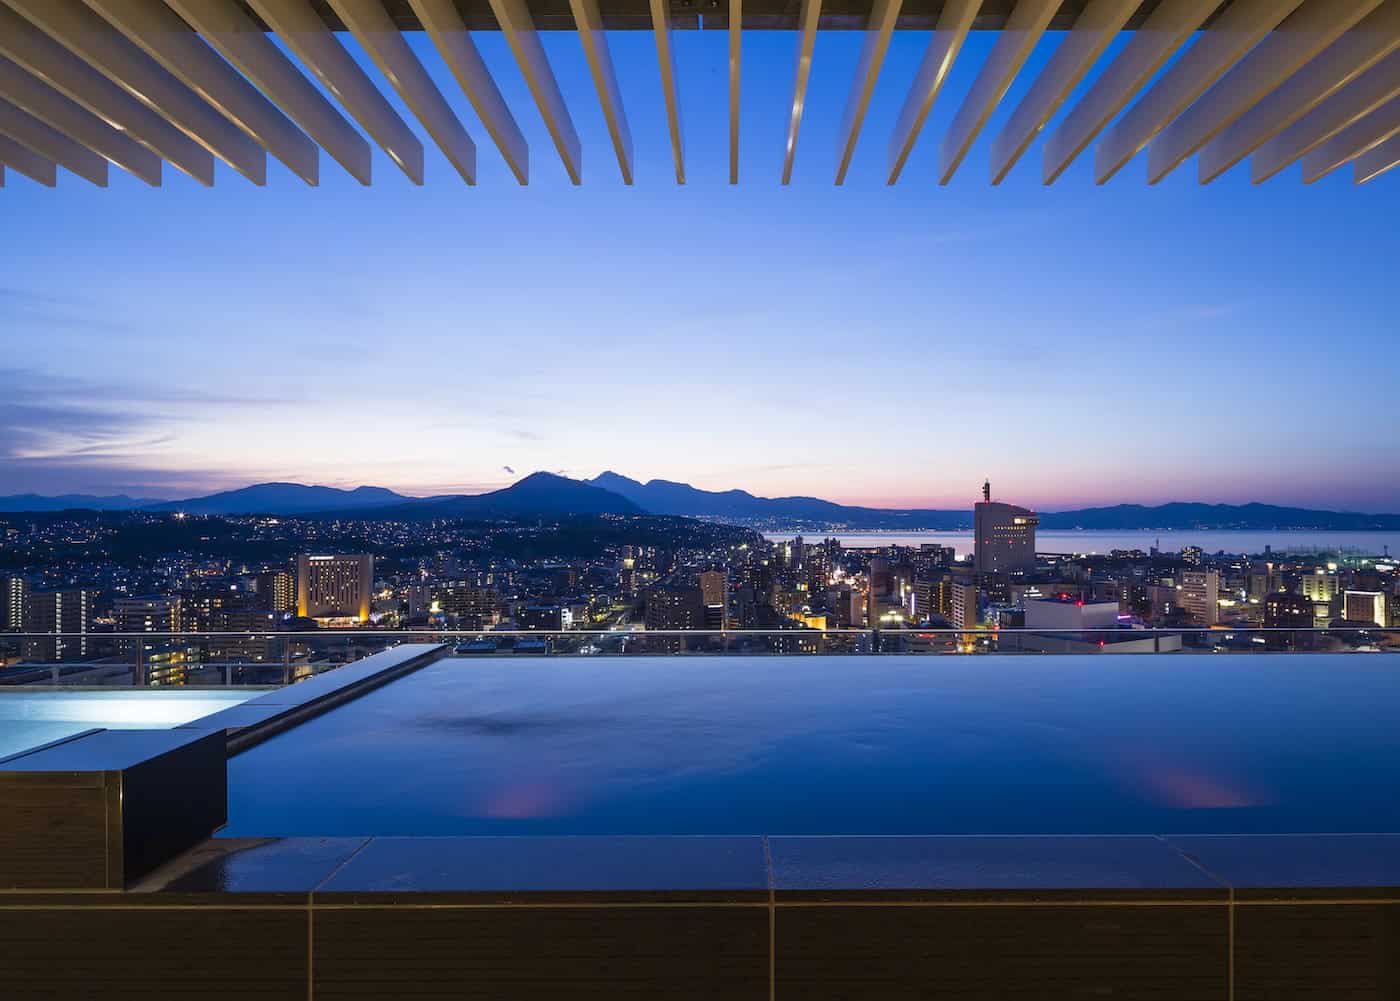
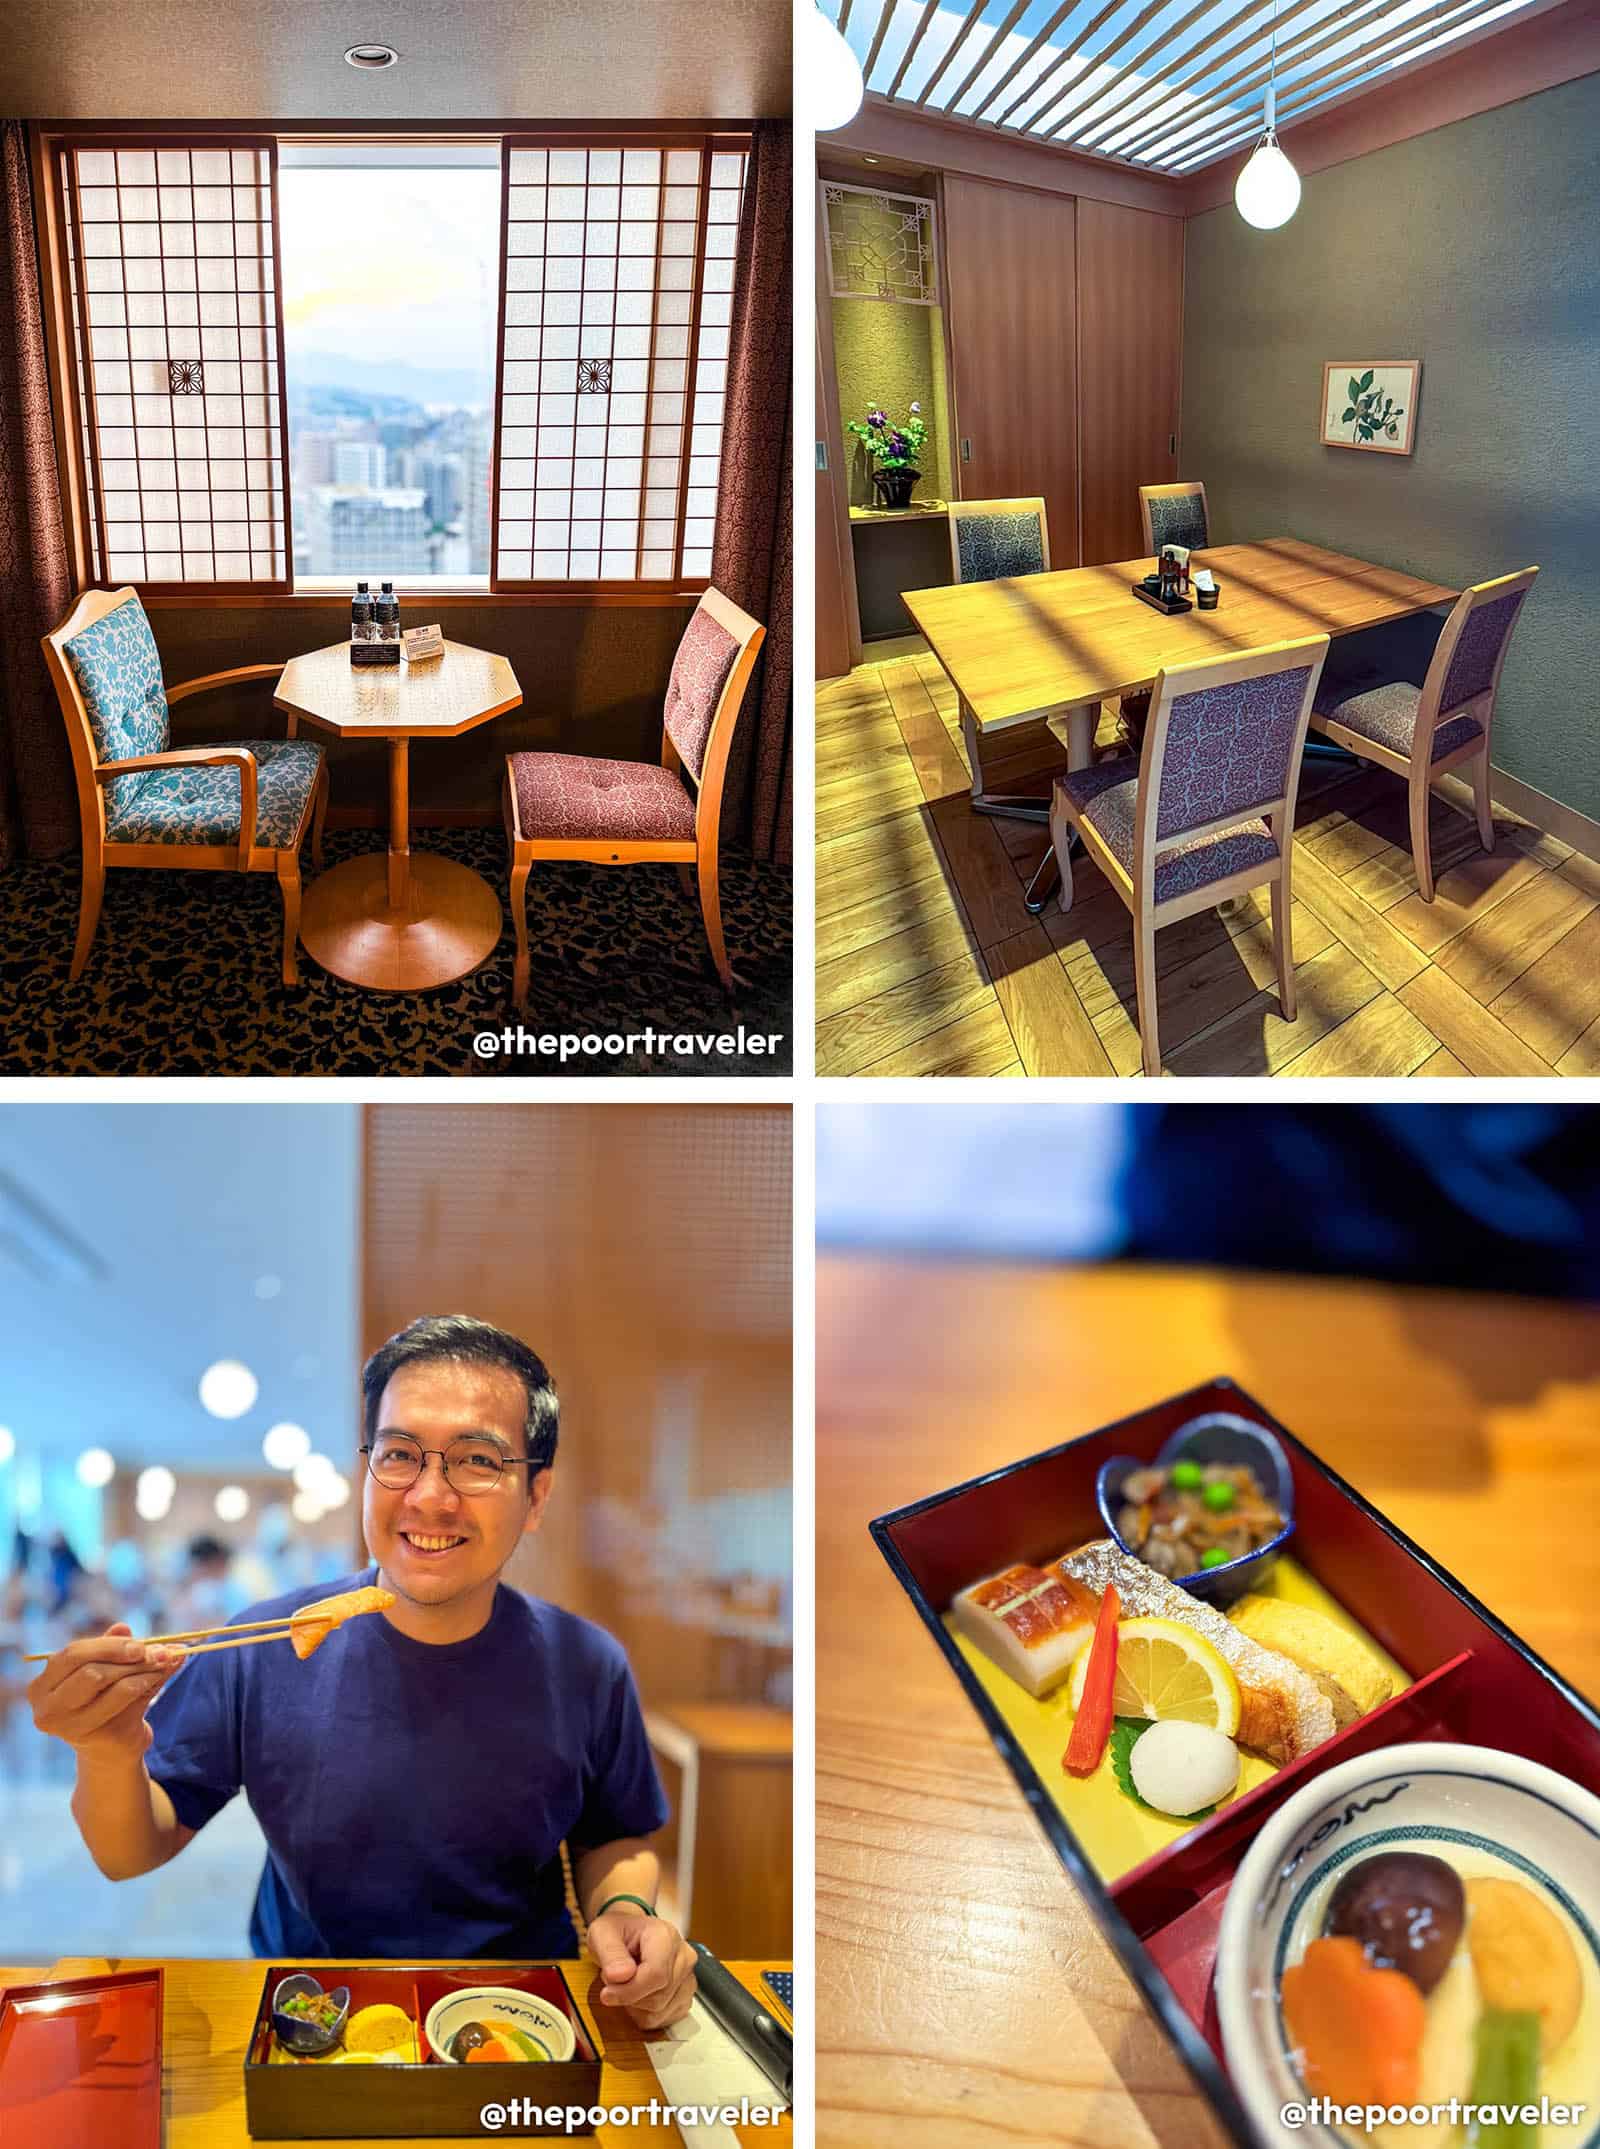
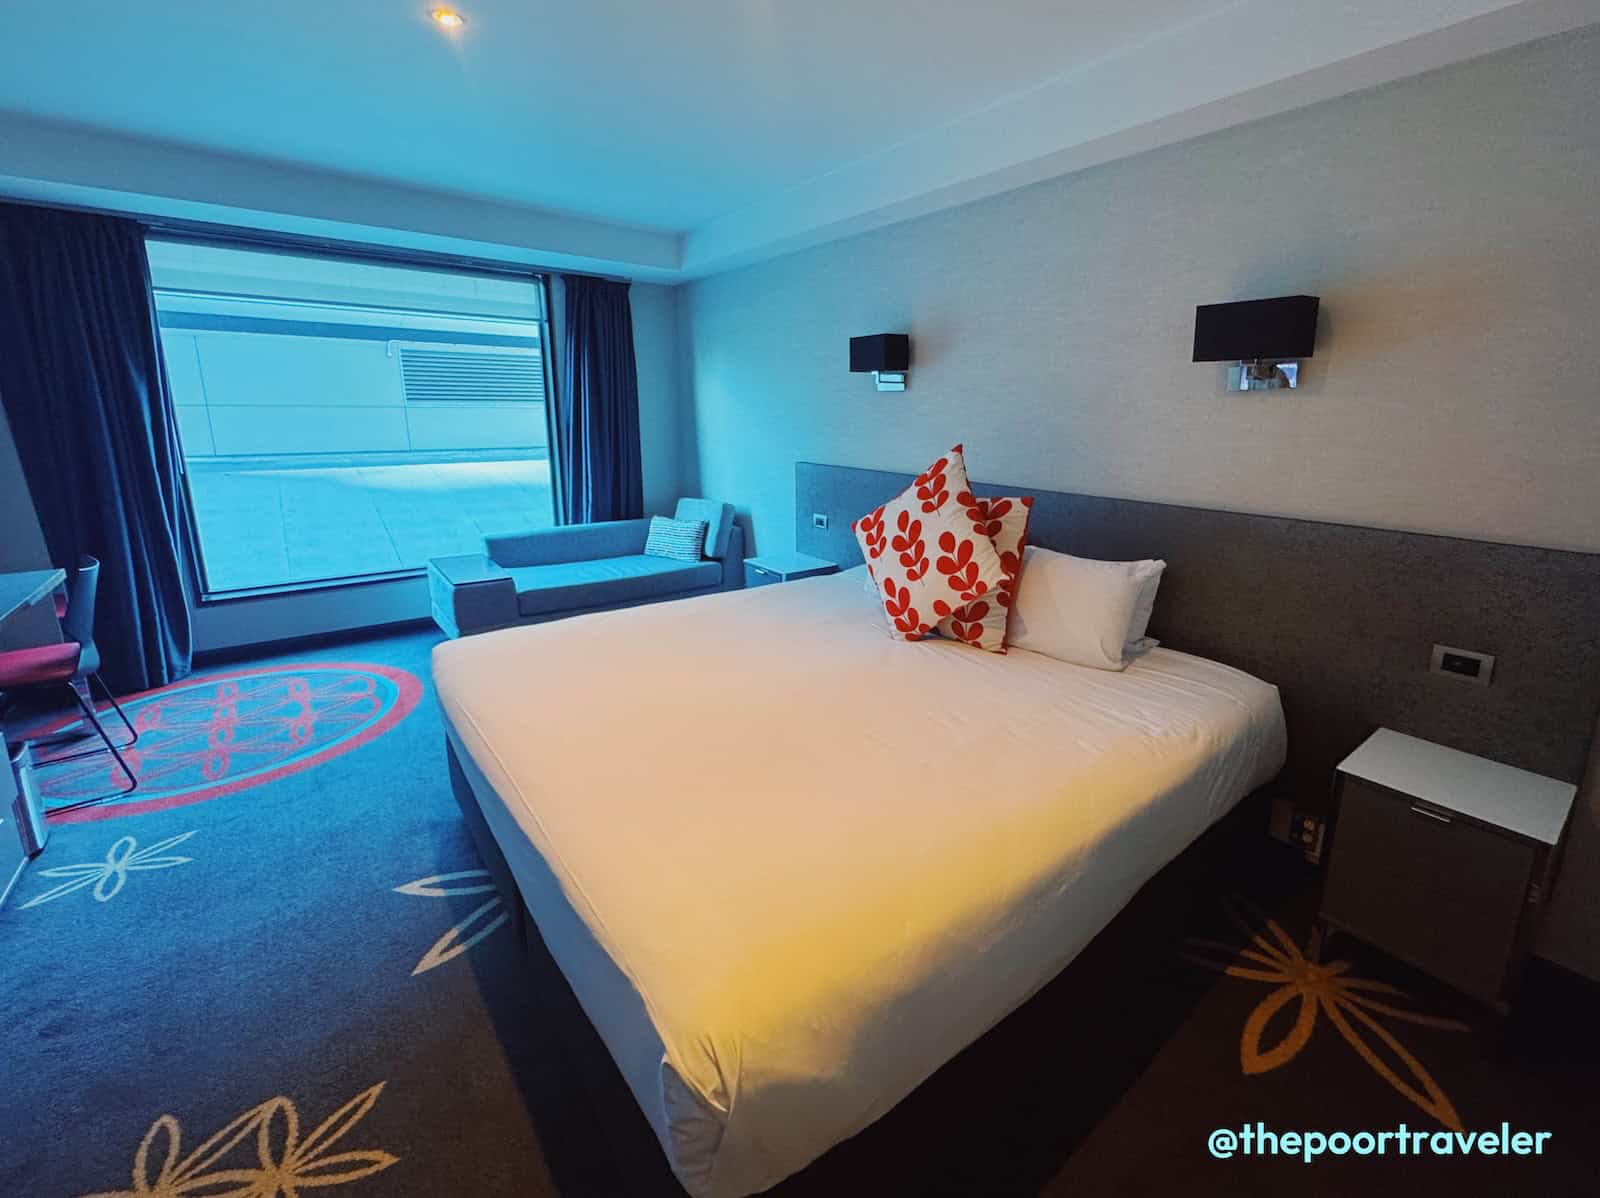
But if you want a proper full-service hotel close to the port or SM City Bacolod or SMX Convention Center, maybe Acacia Hotel Bacolod is the place for you. All their rooms are very spacious, have air-conditioning, free WiFi, safes, flat screen TV, refrigerator, electric kettle, and daily housekeeping. It is generally clean, and the service was great. It is also home to the city’s first wave pool — fun, family-friendly, and perfect for lounging.
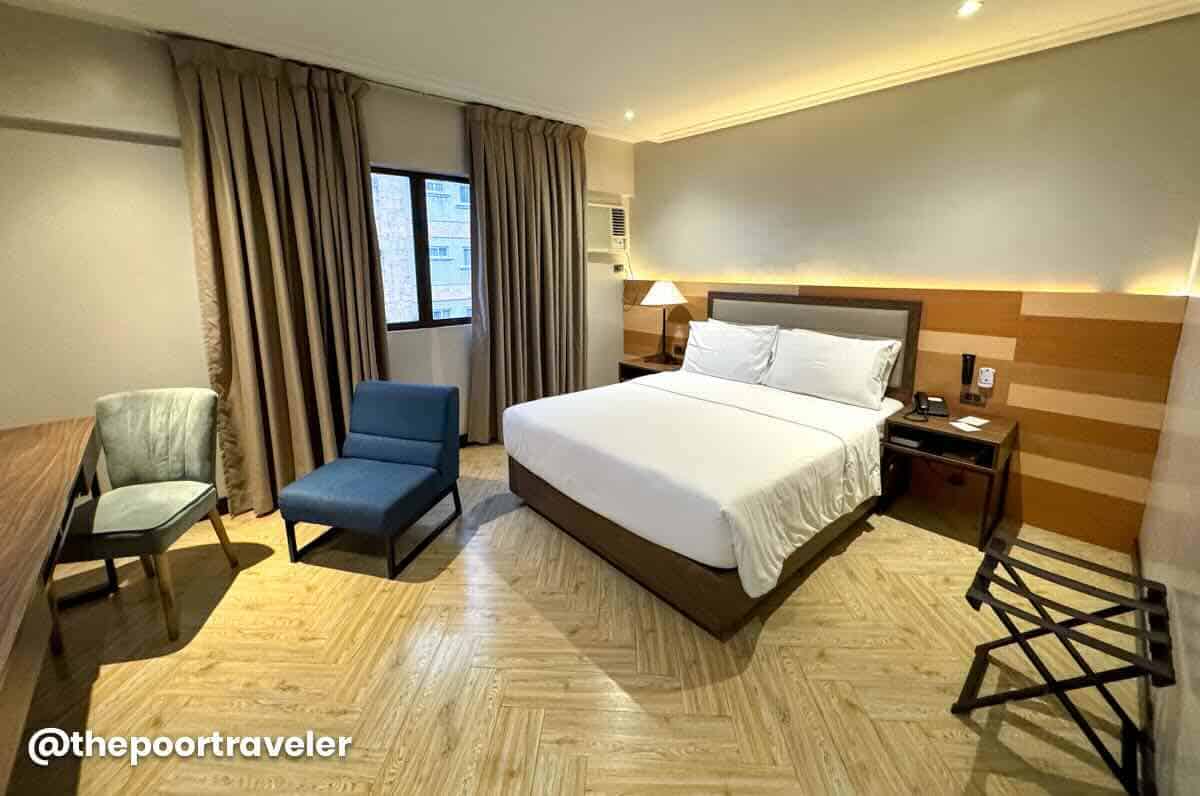
The bar below offers buy-one-take-one cocktails, but the breakfast was so-so at best. We didn’t mind because, like we always say, we’re not big breakfast people.
It’s in a secluded area away from the main streets, but not far from the action and still very accessible. You can hail a tricycle, no problem.
It’s quiet in theory. The AC in our room, however, was rumbling a bit too loudly. But for PHP 2595 per night, I think it’s a good value for money.
Top Hotels in Bacolod
Here are some of the top-rated hotels in Bacolod City according to online traveler reviews.
🔥🔥🔥 Use AGODATPT for 10% off on select hotels! 🔥🔥🔥
The Poor Traveler readers and followers can now use a special discount code to score 10% discount, up to USD 100 (roughly PHP 5700)! To apply and avail of the promo code, visit AGODATPT Promo Code.
Search for Bacolod Hotels!

HOW TO GET TO BACOLOD
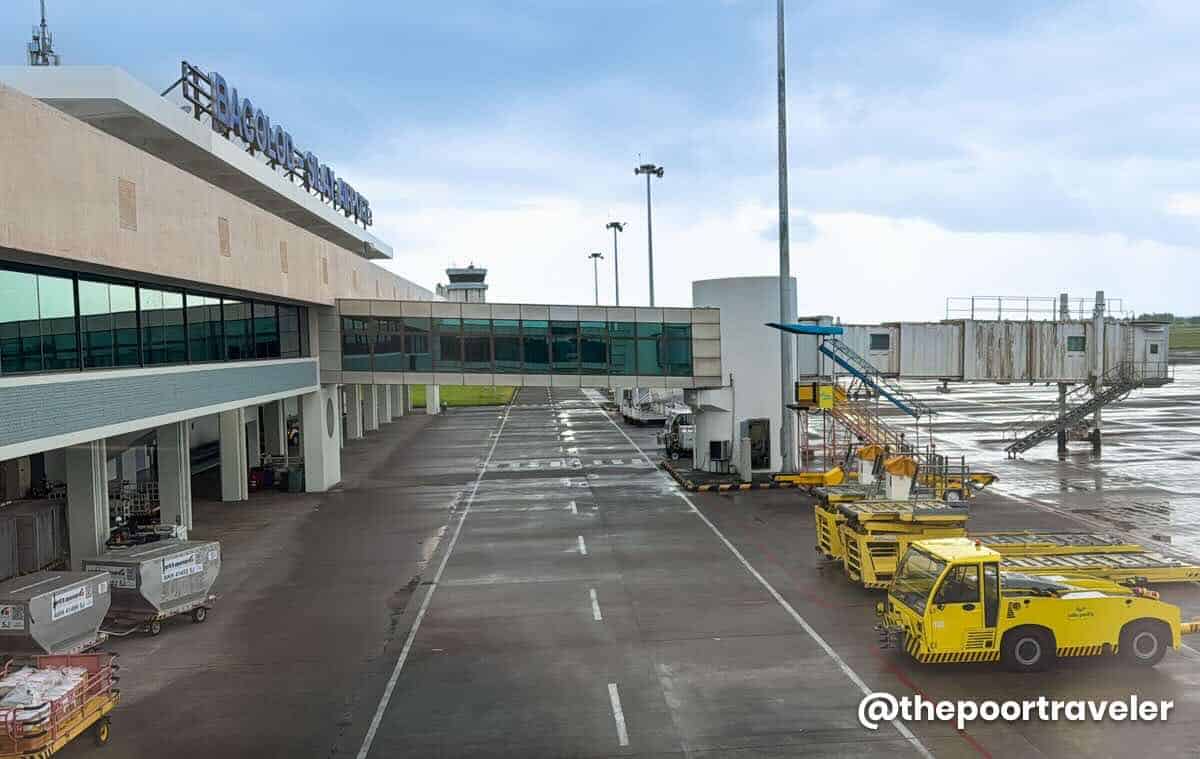
The Bacolod-Silay International Airport (BCD) is the gateway to the province. Although it has Bacolod in its name, it is entirely located in the city of Silay.
There are direct flights to and from this airport from Manila, Cebu, and Davao via the following airlines:
Manila to Bacolod
- Philippine Airlines
- Cebu Pacific
- AirAsia
Cebu to Bacolod
- Philippine Airlines
- Cebu Pacific
Davao to Bacolod
If you book in advance, usual one-way fares are around PHP 1400 and can go as low as PHP 1200. Even lower when there is a SALE. That’s for off-peak season.
Bacolod-Silay Airport to Bacolod City Center
From the airport, you can reach Bacolod in 30 to 45 minutes. There are vans (shuttles) that can take you there directly for PHP 200-250 per passenger, depending on your stop and luggage.
But if you’re a group, it will be more cost-efficient to just book a Grab car. We were a group of three and paid only PHP 487, or roughly P162 per person. That’s cheaper than taking the van.
Travel Time: 30-45 minutes
Fare: Van, P200-250 per pax; Grab, P400-500 per ride
HOW TO GET AROUND BACOLOD
As a highly urbanized city, Bacolod offers a lot of transportation options to its residents and visitors.
Jeepney
The cheapest is the traditional jeepney, which costs PHP 11 for short distances. The e-Jeep or electric jeepney is slightly costlier at PHP 15 per person. Either way, you need to be mindful of the route that the jeep will be taking to make sure you’re on the right path. You can wait for a jeepney by the roadside. And to get off, just say “Lugar lang,” which is their equivalent of “Para po.” The vehicle will then stop and wait for you to alight.
If you’re confused or you feel like you’re lost, just ask the driver or fellow passengers. Bacolod locals are some of the friendliest we have met, and I’m sure they will help you sort things out.
Fare: Regular Jeepney, PHP 11; E-Jeep, PHP 15
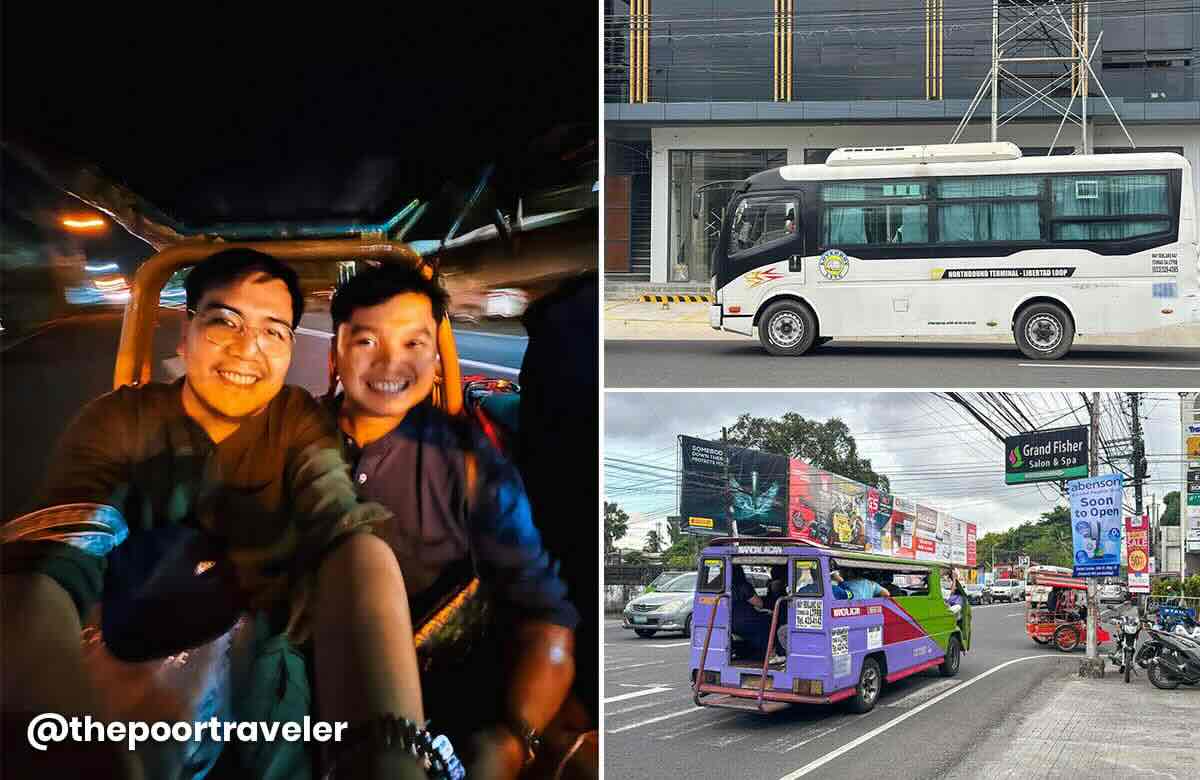
Tricycle
Tricycles are also available, although not as popular or as common. A “special ride” usually costs PHP 50 for short distances. But there was an instance wherein we were charged PHP 150, which turned out much higher than Grab price.
Fare: PHP 50-150 (special ride)
Grab
We ended up taking Grab instead when we’re in a hurry. Based on experience, these are the usual Grab fares for most common tourist routes:
- BCD Airport to City Center: P400-500
- Within Bacolod to City Center: P80-P130
- Bacolod City Center to The Ruins: P200
- El Ideal to The Ruins: P330
- Bacolod to Silay City Center (El Ideal): P350
- Silay City Center to BCD Airport: P160
- Bacolod City Center to BCD Airport: P400-500
Taxis also operate within the city. We were told InDrive was also available, but we never tried it here, so we can’t confirm.
If you’re going to Mambukal, make your way to Mambukal-Bacolod Bus Terminal in Libertad. The fare is 60/head, and the travel time is 1 – 1.5 hours. The bus terminates right at the entrance of Mambukal Hot Spring Resort.
If your itinerary involves visiting other destinations in the province, you can take the bus at either the North Terminal or South Terminal.
Note: Silay City, including the airport, Carbin Reef in Sagay, and Lakawon Island in Cadiz, are situated north of Bacolod; while Sipalay and Cauayan, including Danjugan Island, are in the south.
THINGS TO DO IN BACOLOD
Bacolod may be known as the City of Smiles, but its charm goes way beyond the friendly locals and the famous chicken inasal. When exploring the area, don’t just limit yourself to Bacolod proper — Metro Bacolod also includes the nearby cities of Talisay and Silay, plus surrounding towns that offer even more attractions. From heritage tours to food trips and nature escapes, here are some of the best things to do when you’re in and around Bacolod.
This is just a quick run down to get you started. For a more detailed version with additional information, check out our full article here: TOP THINGS TO DO IN BACOLOD
If you prefer a hassle free trip, you can simply purchase your tickets or book your tours via your trusted booking sites.
If you’re more comfortable using Klook services, please use our promo code THEPOORTRAVELERKLOOK for up to P300 OFF or TPTKLOOK5 for up to P500 OFF. These codes might change in the future, so best to just visit thepoortraveler.net/klook to redeem updated discount codes!
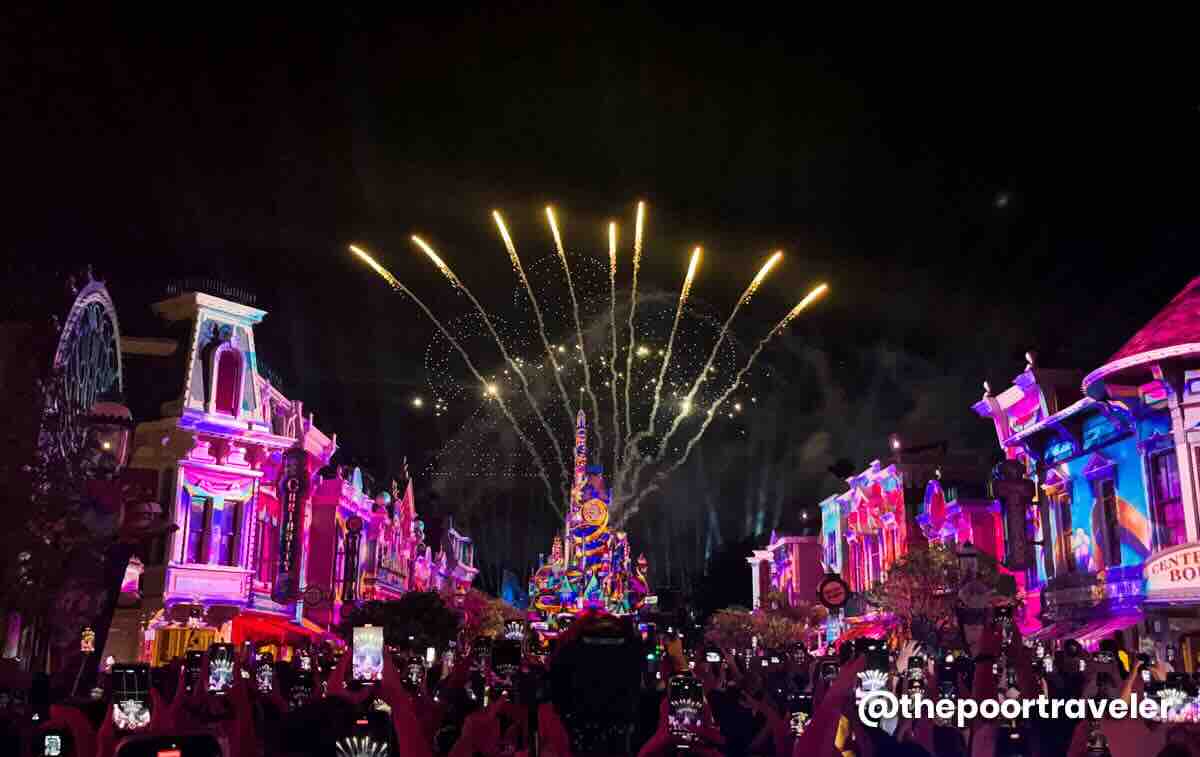
MassKara Festival

If you time your visit in October, you’ll get to experience Bacolod’s biggest event — the MassKara Festival. Expect vibrant street dances, parades of smiling masks, live concerts, and food fairs all over the city. It’s crowded and chaotic, but it’s also one of the most colorful and unforgettable festivals in the Philippines.
The Ruins

Located in nearby Talisay City, The Ruins is the skeletal remains of a grand mansion built in the early 1900s by a sugar baron for his late wife. At sunset, the structure glows beautifully, making it one of the most photogenic spots in the province.
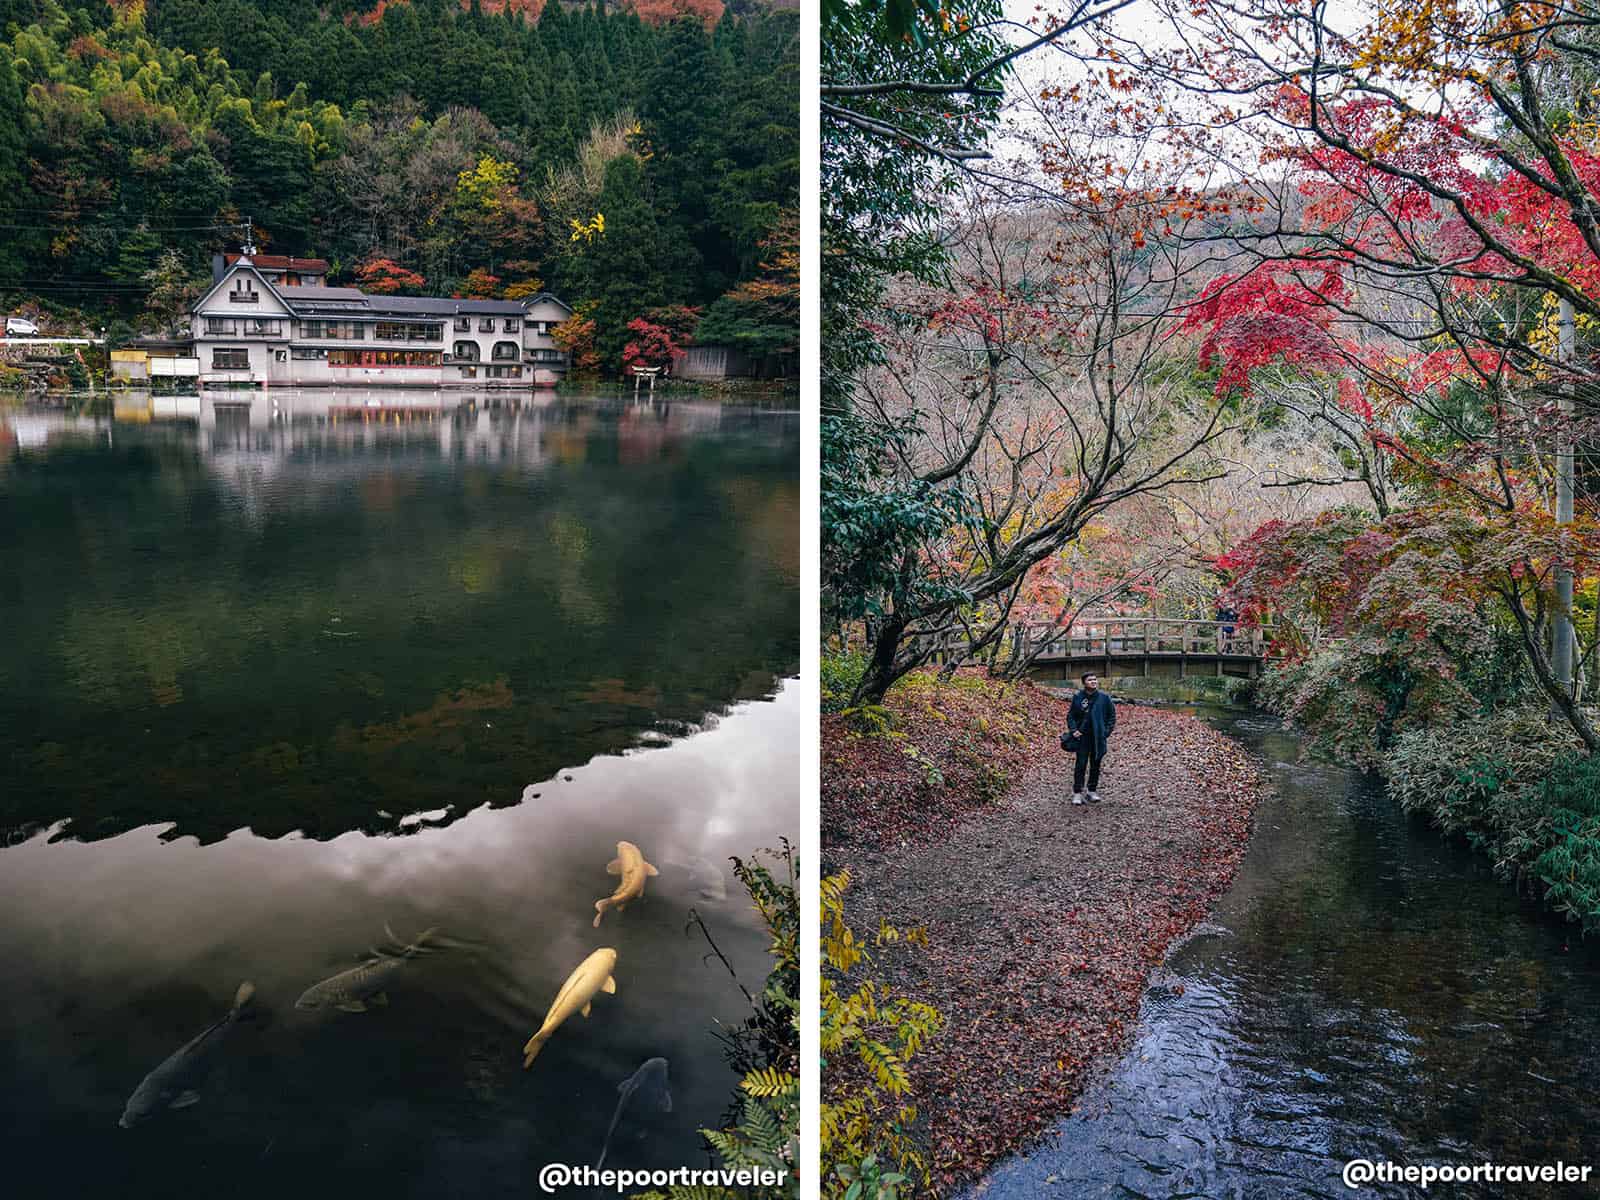
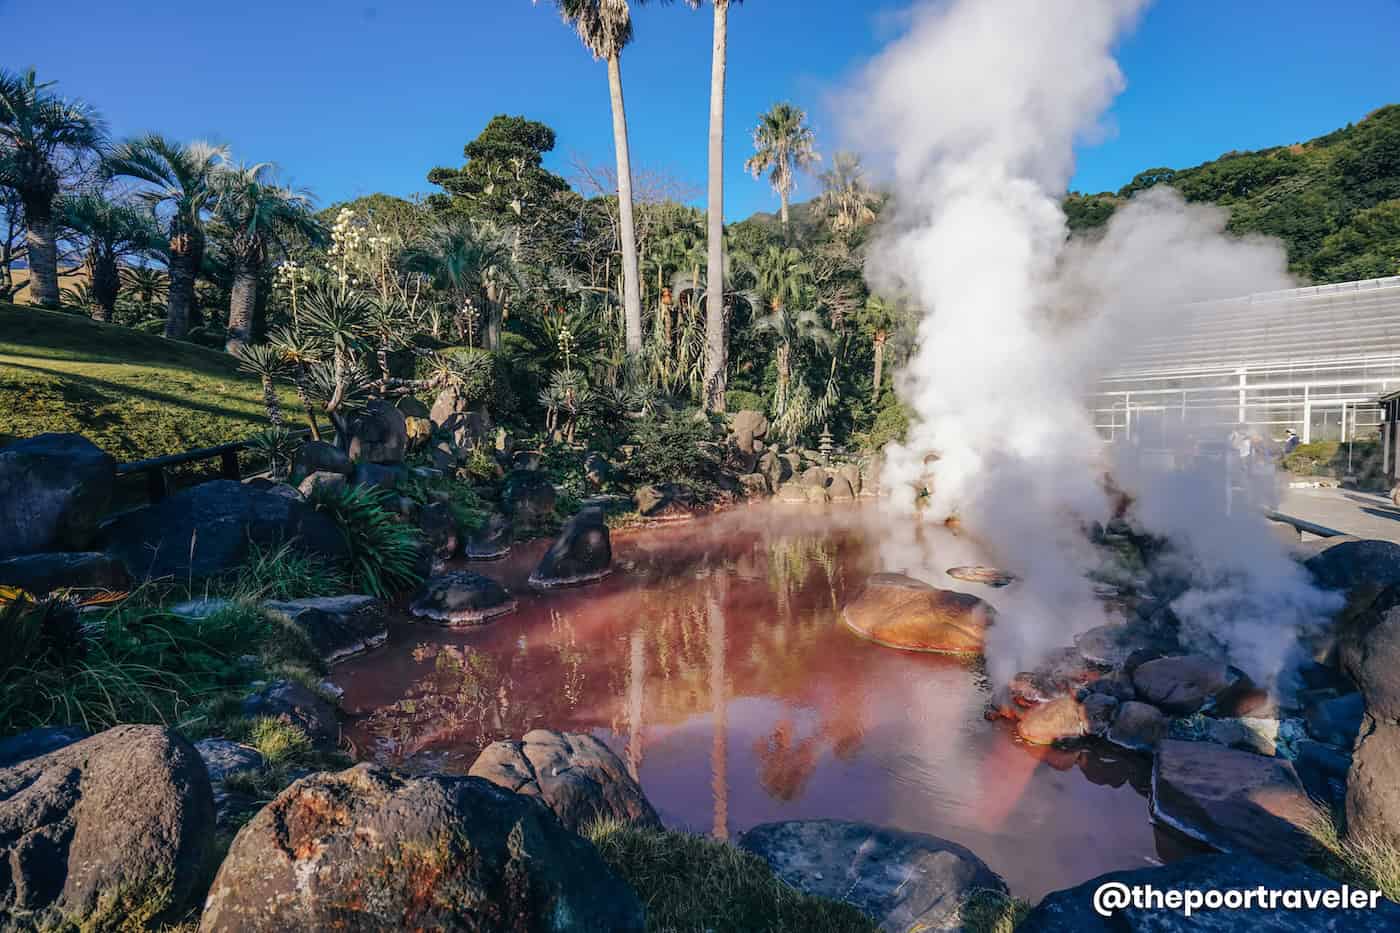
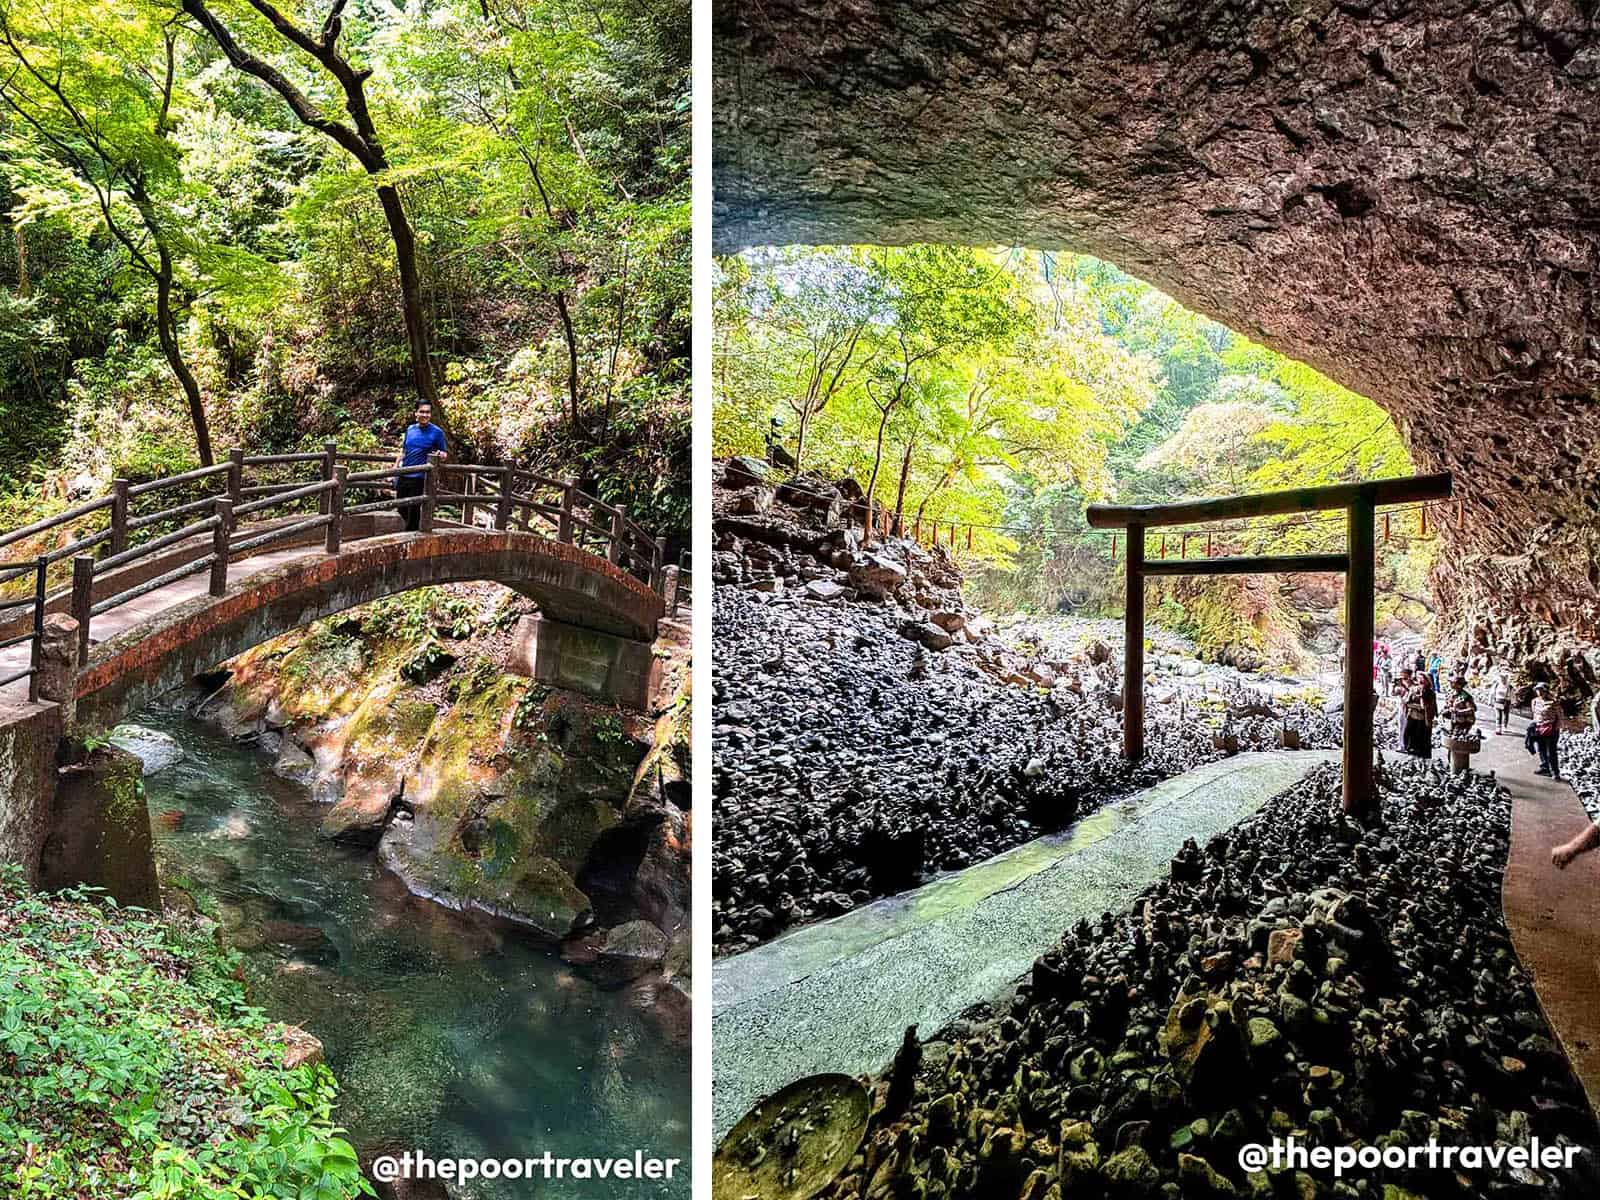
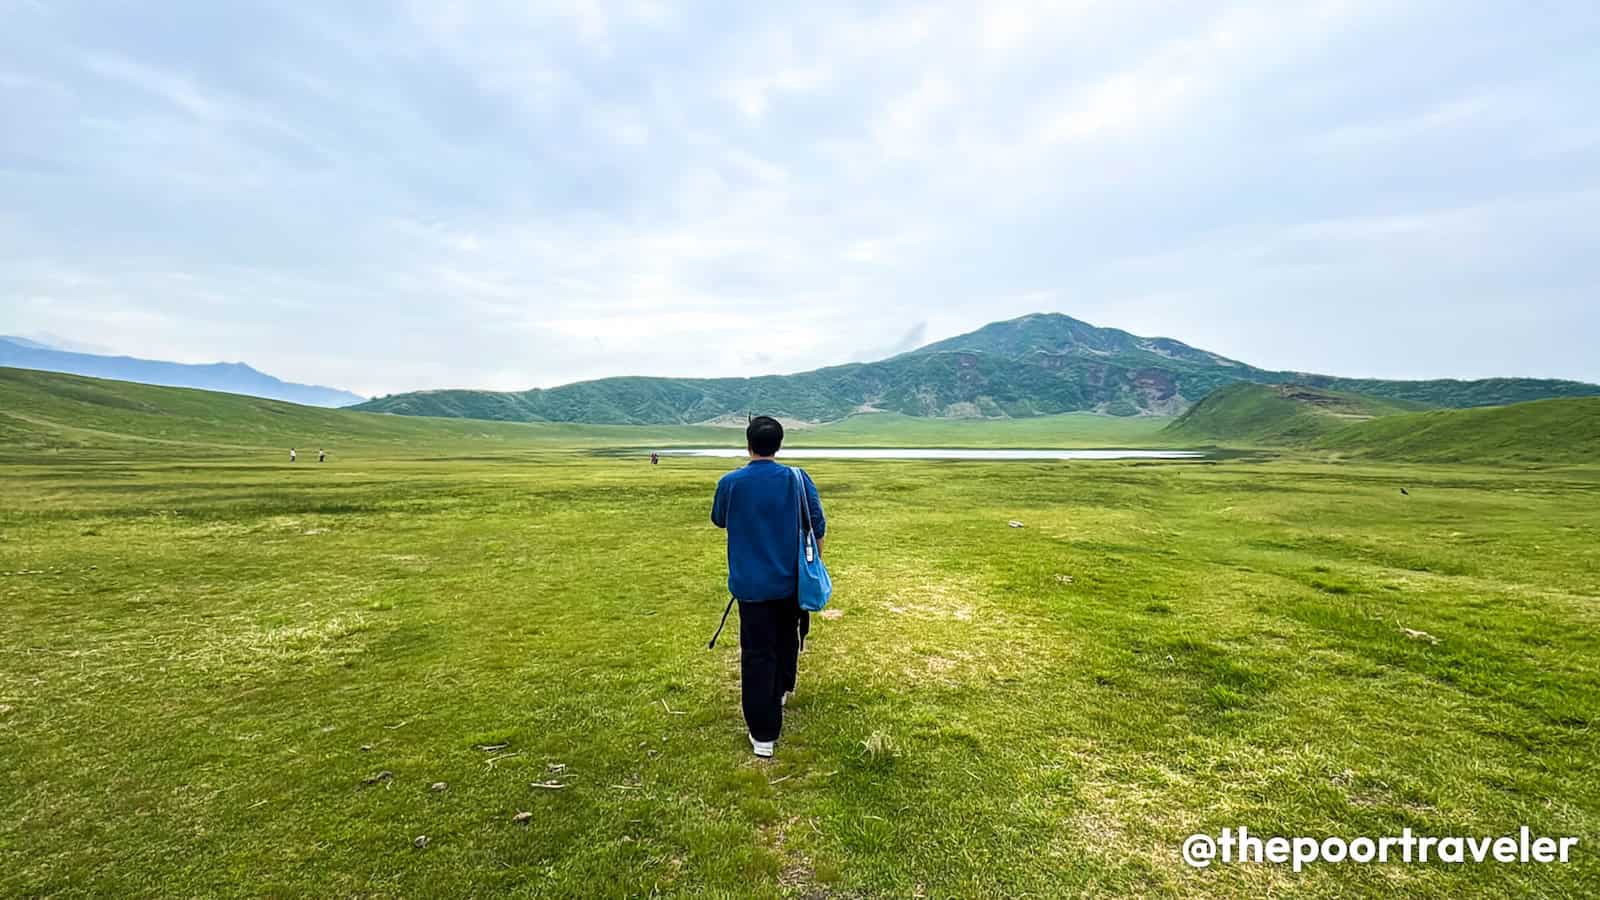
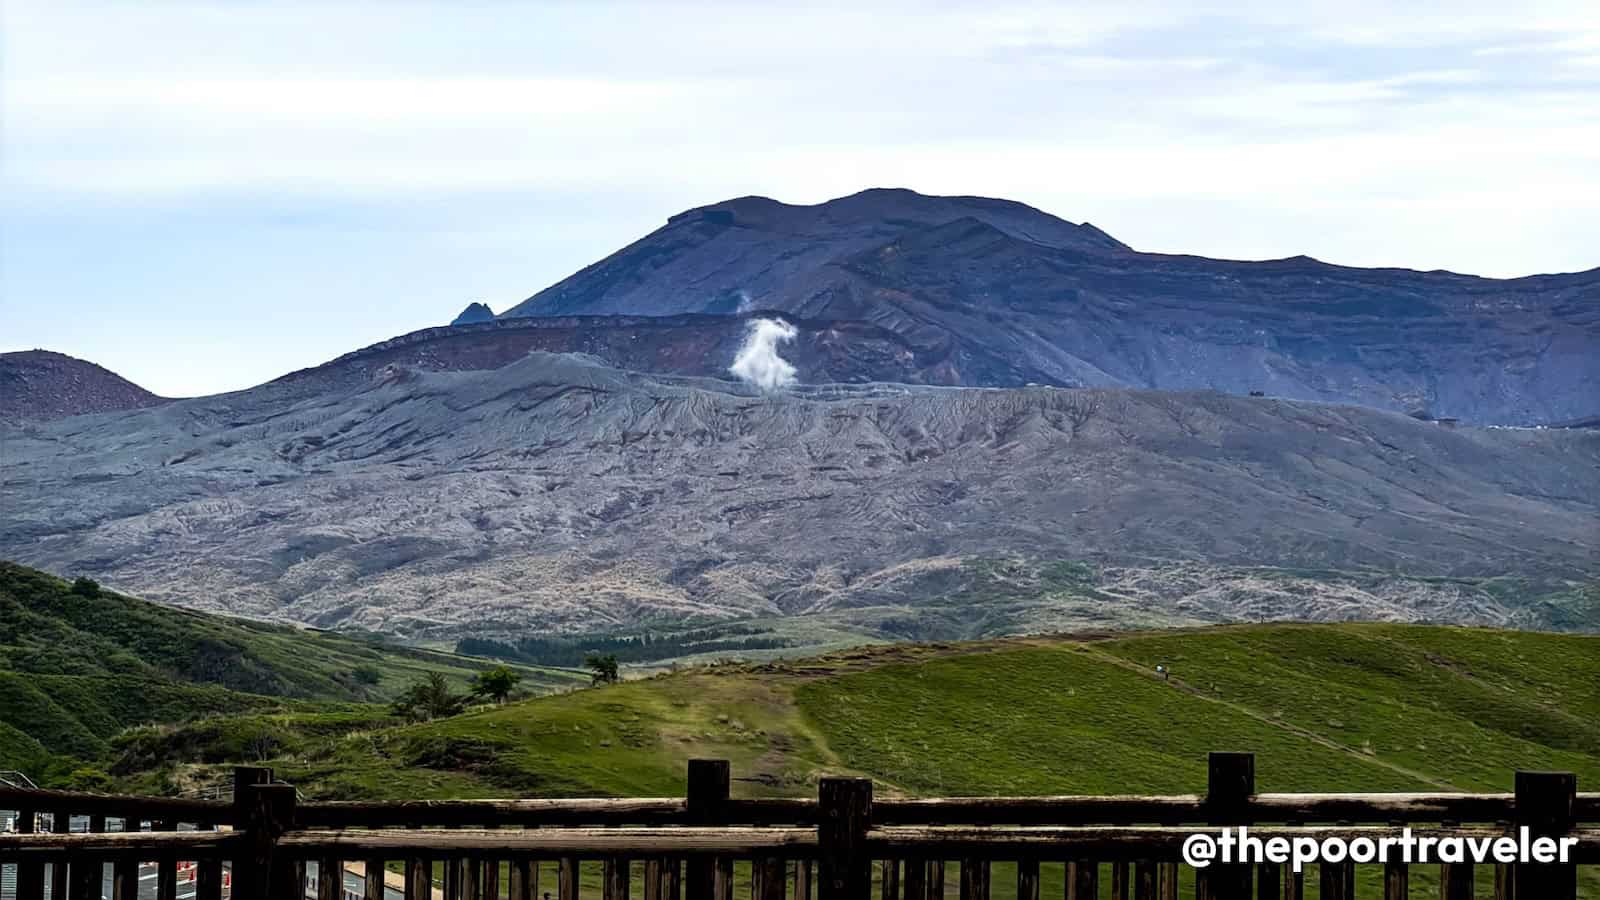
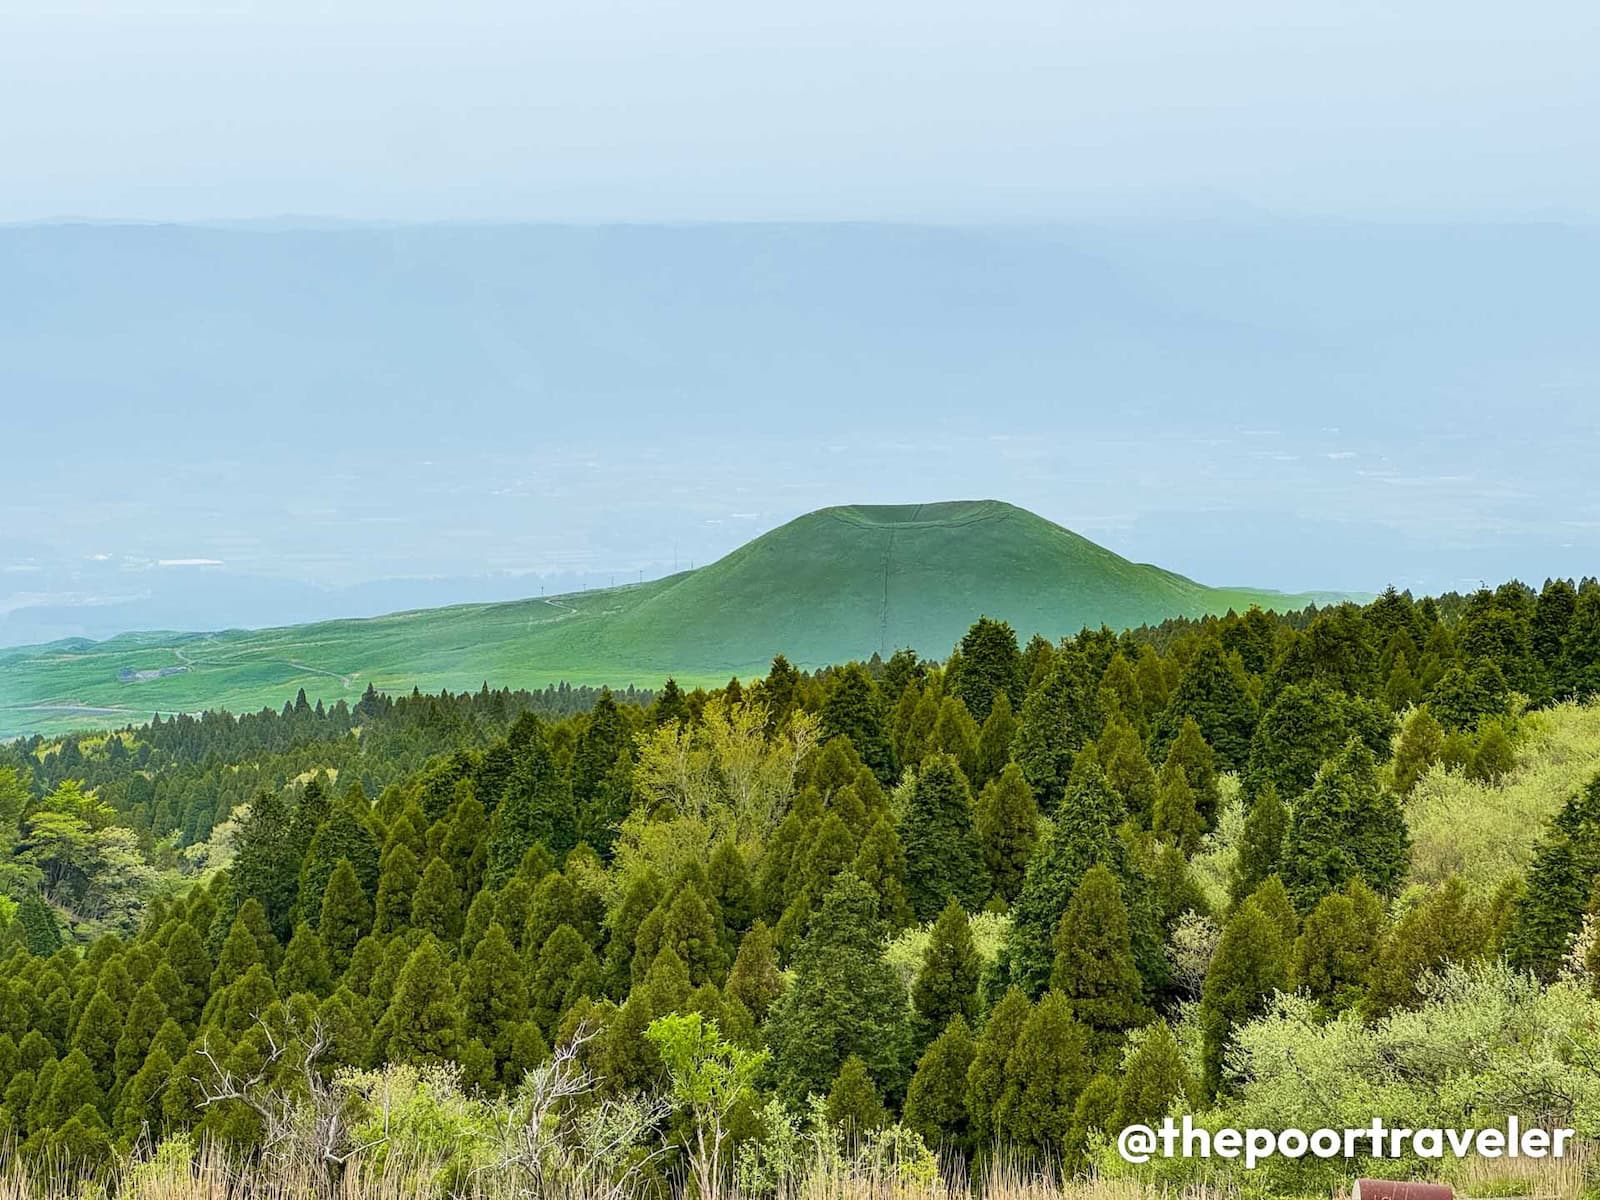
Mambukal Resort

If you’re looking for nature and relaxation, Mambukal Resort in Murcia is a top choice. The resort is famous for its seven waterfalls, hot sulfur springs, and lush forest setting. It’s a refreshing escape from the city and a favorite for both locals and tourists.
Mambukal is about an hour away from Bacolod City, with direct buses from Libertad. If you are a big group and traveling with kids and elderly people, consider booking a tour with Klook! This is inclusive of round-trip transfers, insurance, local guide/driver, and entrance fee.
Silay City Heritage Tour

Silay City is a treasure trove of ancestral houses and cultural landmarks. Many of these heritage homes have been preserved and turned into museums, giving you a glimpse of the opulent lifestyle during the sugar boom era. The city itself is charming, with walkable streets lined with history at every corner.
Jojo Vito Designs Gallery
For something more artistic, check out the Jojo Vito Designs Gallery in Bacolod. The gallery showcases colorful, handcrafted masks and home décor pieces that reflect Bacolod’s creative spirit. It’s also a great place to shop for unique souvenirs, especially if you want to take home a piece of MassKara artistry.
Negros Museum

The Negros Museum houses exhibits that tell the story of Negros Island’s history, culture, and art. You’ll find a mix of artifacts, contemporary works, and even old sugar industry relics. It’s a good stop for anyone wanting to understand the island’s rich heritage beyond the festivals and food.
Capitol Park and Lagoon

At the heart of Bacolod lies the Capitol Park and Lagoon, a spacious public park with a man-made lagoon guarded by iconic carabao statues. It’s a popular spot for families, joggers, and even street performers. The surrounding area also has cafes and food stalls, making it a nice place to unwind.
San Sebastian Cathedral and Public Plaza

For a dose of history and spirituality, visit the San Sebastian Cathedral, one of Bacolod’s most important landmarks. Right across is the Bacolod Public Plaza, a lively hangout spot for locals and a great place to people-watch. Both sites are central to Bacolod’s cultural and religious life.
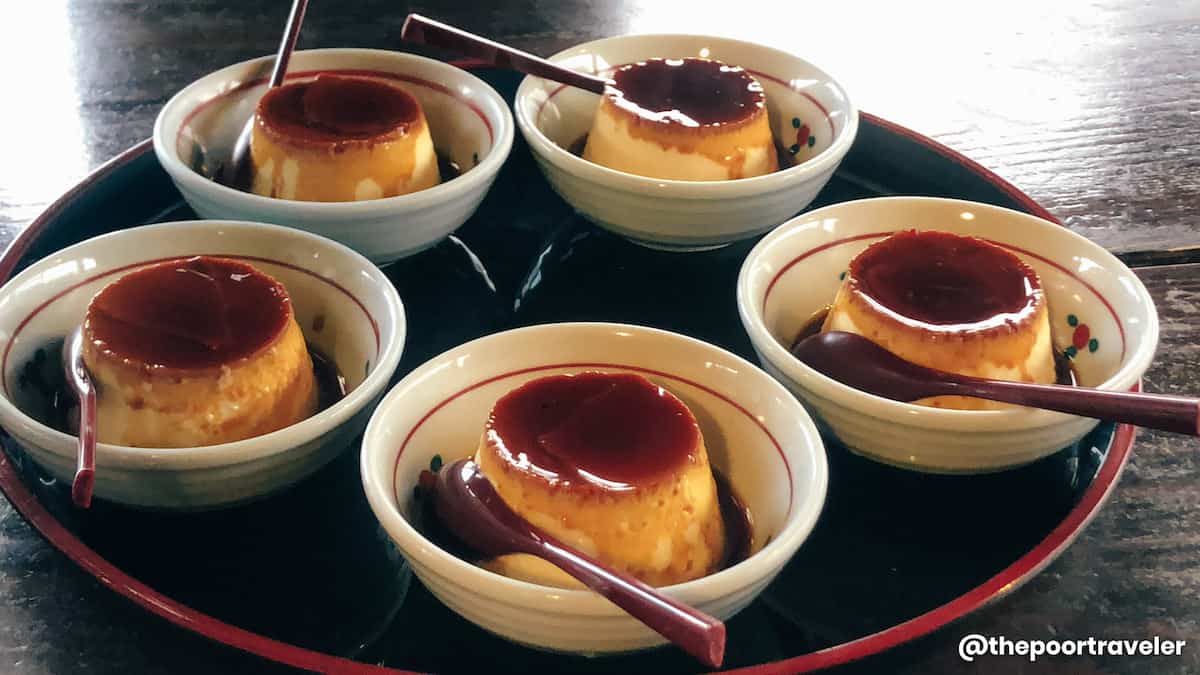
Food Trip
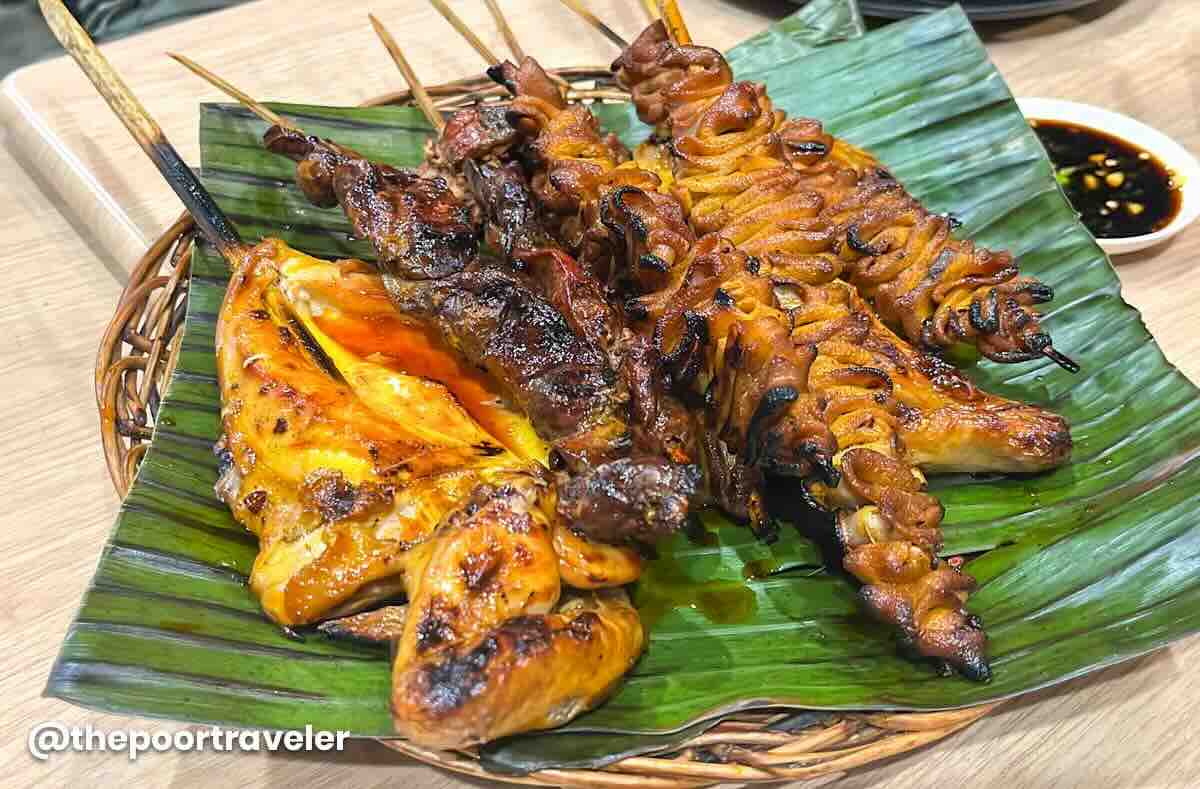
Of course, no Bacolod trip is complete without a food trip. From the iconic chicken inasal to sweet treats like piaya and cakes, Bacolod is a foodie paradise. On that note, let’s continue discussing this delightful topic in the next section.
Lakawon Island Day Trip
Lakawon Island lies off the coast of Cadiz, which is about one-hour drive north of Bacolod City. It is known for its white sand beaches, crystal clear waters, and a sandbar. It also hosts Lakawon Island Resort & Spa, offering water activities and amenities, including a restaurant, a beachfront bar, and one of the largest floating bars in Asia.
The jump-off point is Cadiz Viejo Port. It’s important to note that the last boat back to the mainland leaves at 3PM. From Bacolod’s North Bus Terminal, get on a bus bound for Cadiz City. Alight at Burgos Public Market, then hail a tricycle to the port. If you prefer a hassle-free trip, you can just book a day trip package from Bacolod via Klook!
WHERE TO EAT IN BACOLOD
The good thing about Bacolod? You surely won’t leave without tasting delicious, perfectly grilled chicken inasal. But this smoky, tangy goodness isn’t the only must-try food in Bacolod. We’ve been to Bacolod several times, and most of our trips, our main motivation is none other than…FOOD! From the city’s famed chicken inasal to its decadent sweet treats, Bacolod never fails to satisfy our craving — from appetizers to desserts!
We made a more detailed version of this article, where we listed down our favorite places to eat in Bacolod. You can check it here: WHERE TO EAT IN BACOLOD
SAMPLE BACOLOD ITINERARY & BREAKDOWN
Here are two sample itineraries for Bacolod with budget breakdown. The figures indicated are per person. But both of these itineraries assume you’re a party of two travelers, splitting all costs, and taking public transportation for the most part. Public transportation fares (jeepney, bus) are overestimated (rounded off) to be on the safe side. We chose Grab in instances when it makes more practical and financial sense.
As always, feel free to make the necessary adjustments to match your schedule and preferences.
Bacolod 4-Day, 3-Night Itinerary (Relaxed Option)
Pre-trip Booking:
Hotel – P2430 (P1620/night x 3 nights, divided by 2 pax)
DAY 1 – ARRIVAL & CITY TOUR
08:30 AM – Arrival in Bacolod
09:00 AM – Grab/Van to City Center, P250/pax
10:00 AM – Hotel check-in
11:00 AM – Sharyn’s Cansi, P300
12:30 PM – Calle Luna Halo-Halo, P130
01:45 PM – Jeep/Grab/Walk to Negros Museum
02:00 PM – Negros Museum, P150
03:30 PM – Capitol Park & Lagoon
04:10 PM – San Sebastian Cathedral
04:50 PM – Bacolod Public Plaza
06:00 PM – Sugba Sugba or Chicken House, P300
08:00 PM – Calea, P250
09:00 PM – Back to hotel, P25
Day 1: P1,405
DAY 2 – MAMBUKAL
06:30 AM – Transfer to Mambukal-Bacolod Bus Terminal-Libertad, P25
07:00 AM – Bus to Mambukal, P60
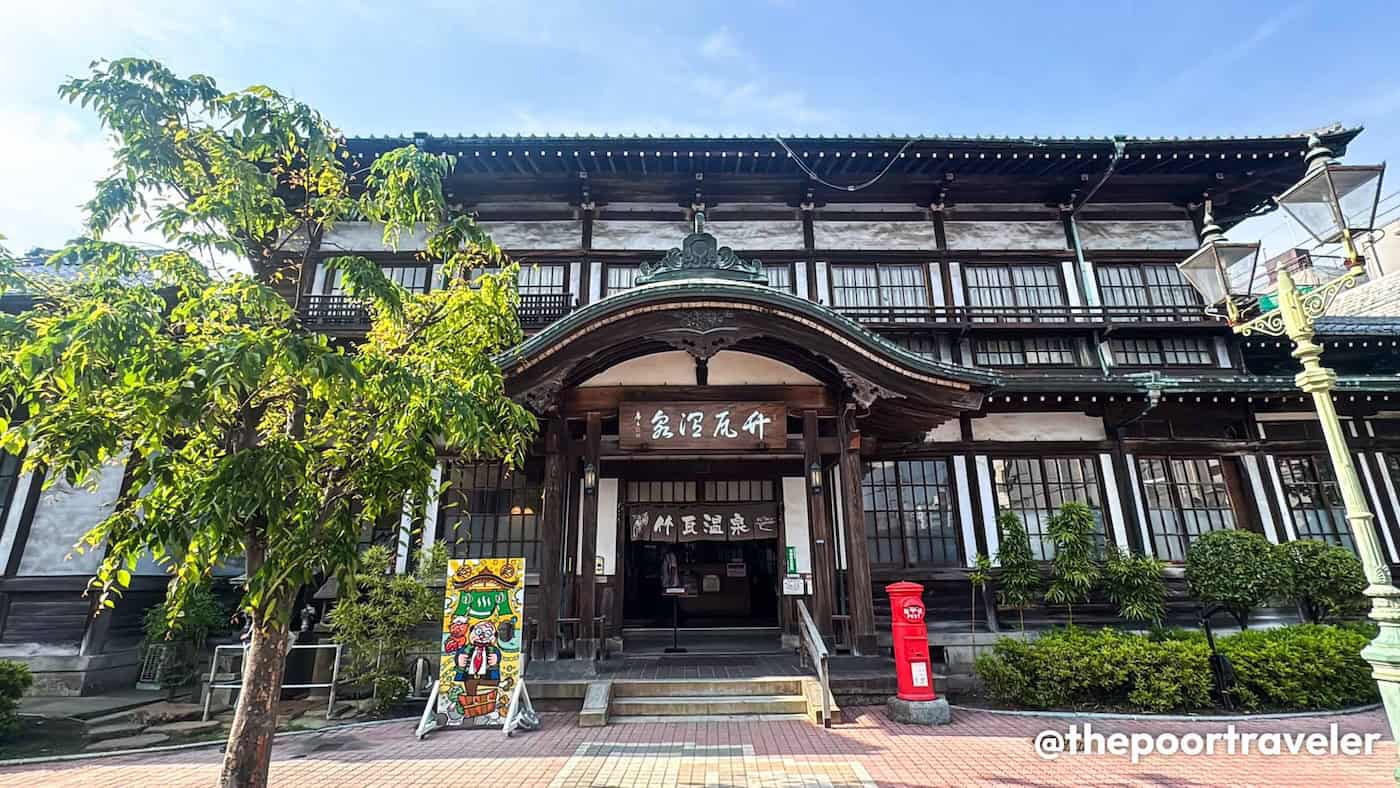
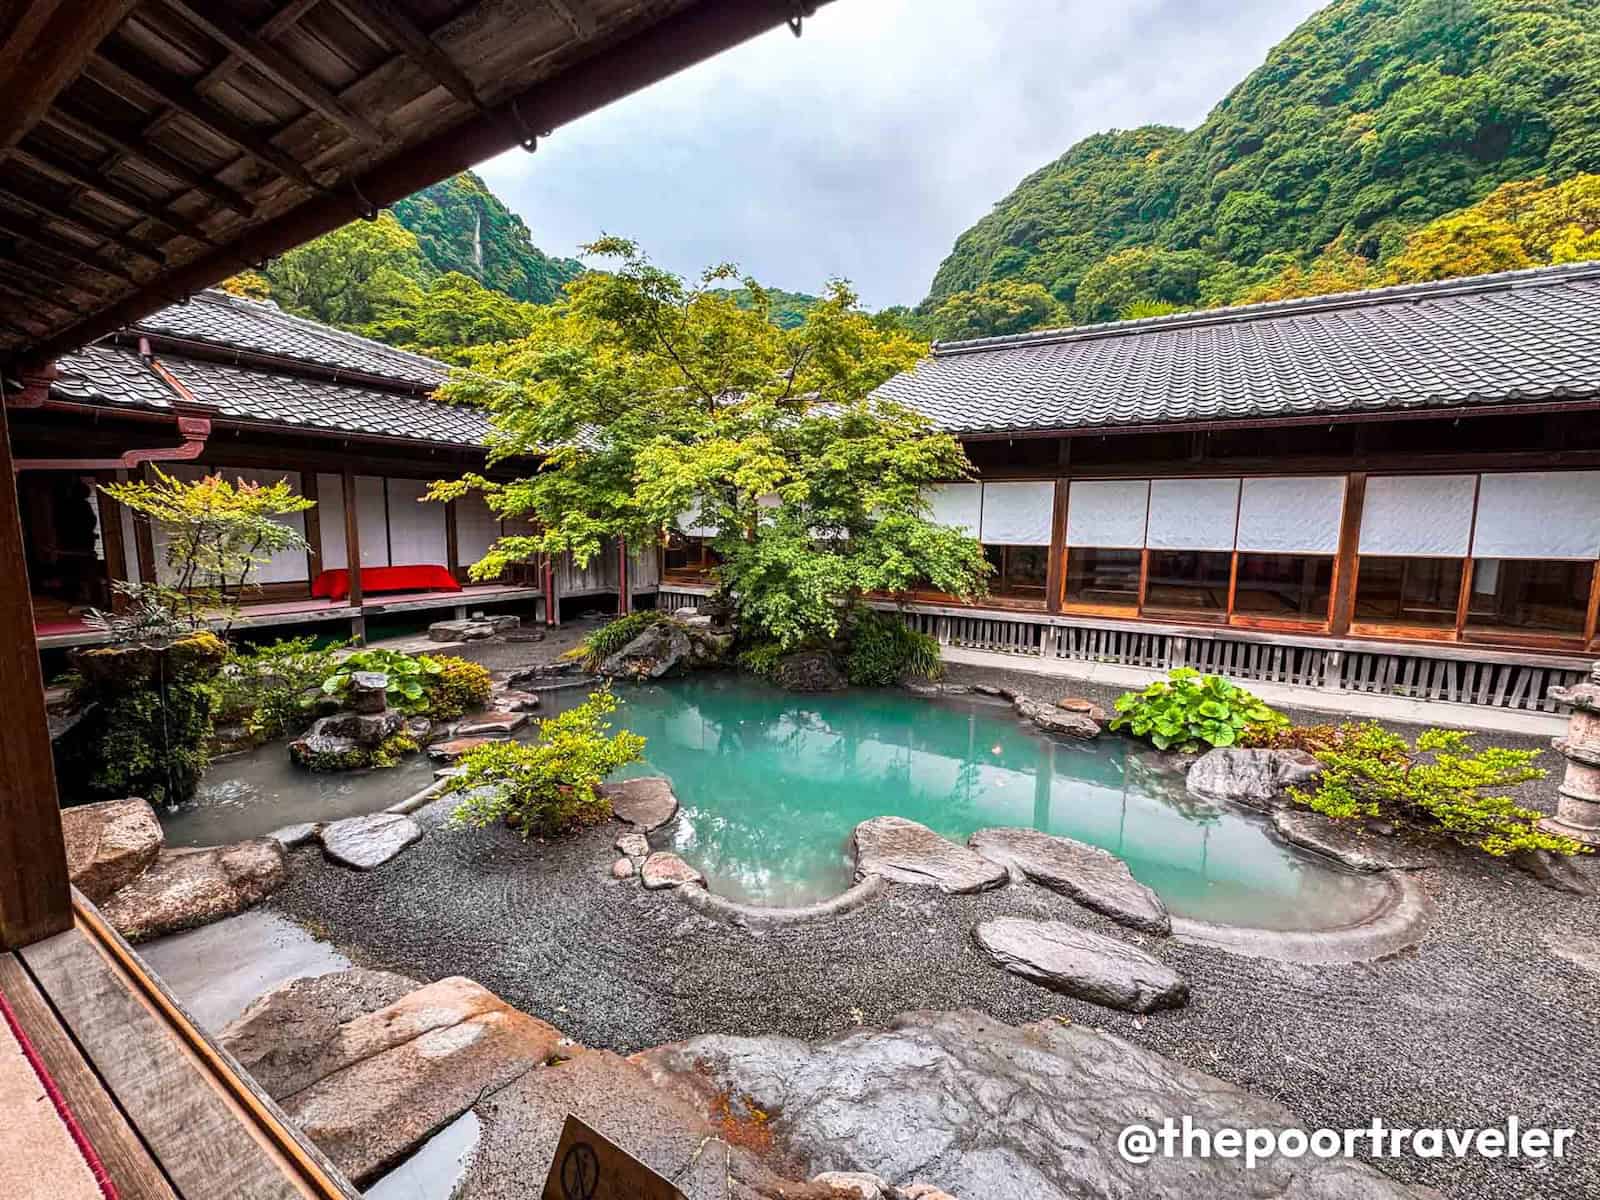
08:00 AM – Arrival at Mambukal Resort, P140; Access to Japanese Ofuro, P100
11:00 AM – Lunch, P200
02:00 PM – Bus to Bacolod, P60
03:30 PM – Jojo Vito Design Gallery, P160
05:00 PM – Dinner at Lion’s Park, P250
07:15 PM – Grab to Buttery, P60
07:30 PM – Buttery Bacolod, P250
09:00 PM – Back to hotel, P25
Day 2: P1,330
DAY 3 – SILAY & TALISAY
08:00 AM – Jeepney to North Terminal, P15
08:30 AM – Ceres Bus to Silay, P25
09:15 AM – San Diego Pro-Cathedral
09:45 AM – Bernardino Jalandoni Museum*, P150
10:45 AM – Hofileña Ancestral House*, P150
11:45 AM – Cinco de Noviembre Marker, FREE
12:00 PM – El Ideal Lunch, P300
02:00 PM – Bus to Honda/Pepsi, P25
02:45 PM – Tricycle to The Ruins, P50
03:00 PM – The Ruins, P150; Sugarcane Juice, P100
07:00 PM – Grab to Gina’s Seafoods, P100 (P200/2pax)
07:30 PM – Gina’s Seafoods, P300
09:00 PM – Back to hotel, P25
Day 3: P1,390
DAY 4 – DEPARTURE
10:00 AM – Check out
10:30 AM – Pasalubong Shopping
12:00 PM – Quick Lunch, P200
02:00 PM – Grab to Airport, P250
03:00 PM – Flight check-in
Day 4: P450
TOTAL: PHP 7,005 (USD 123, EUR 104, SGD 157)
Bacolod 3-Day, 2-Night Itinerary (Budget Option)
This itinerary will take you to almost all the attractions in the previous 4-day version, but made more compact.
In addition, since you will only be spending two nights in the city, we’re assuming you don’t have much baggage. Hence, you should be able to explore Silay on the last day without needing to leave it elsewhere.
Pre-trip Booking:
Hotel – P1620 (P1620/night x 2 nights, divided by 2 pax)
DAY 1 – ARRIVAL & CITY TOUR
08:30 AM – Arrival in Bacolod
09:00 AM – Grab/Van to City Center, P250/pax
10:00 AM – Hotel check-in
11:00 AM – Sharyn’s Cansi, P300
12:30 PM – Calle Luna Halo-Halo, P130
02:00 PM – Negros Museum, P150
03:30 PM – Capitol Park & Lagoon
04:10 PM – San Sebastian Cathedral
04:50 PM – Bacolod Public Plaza
06:00 PM – Sugba Sugba or Chicken House, P300
08:00 PM – Calea, P250
09:00 PM – Back to hotel, P25
Day 1: P1,405
DAY 2 – MAMBUKAL & RUINS
06:30 AM – Transfer to Mambukal-Bacolod Bus Terminal-Libertad, P25
07:00 AM – Bus to Mambukal, P60
08:00 AM – Arrival at Mambukal Resort, P140
11:00 AM – Lunch, P200
02:00 PM – Bus to Bacolod, P60
03:30 PM – Jeep to Pepsi, P25 + Trike, P50; Alternatively, Grab to the Ruins, P100 (P200/2pax)
04:00 PM – The Ruins, P150
07:30 PM – Grab to Gina’s Seafood, P100 (P200/2pax)
08:00 PM – Gina’s Seafoods, P300
09:00 PM – Back to hotel, P25
Day 2: P1,135
DAY 3 – SILAY & DEPARTURE
07:30 AM – Early check out
08:00 AM – Jeepney to North Terminal, P15
08:30 AM – Ceres Bus to Silay, P25
09:15 AM – San Diego Pro-Cathedral
09:45 AM – Bernardino Jalandoni Museum*, P150
10:45 AM – Hofileña Ancestral House*, P150
11:45 AM – Cinco de Noviembre Marker, FREE
12:00 PM – El Ideal Lunch, P300
02:00 PM – Grab to Airport, P80 (P160/2 pax); If van, P100/pax
02:30 PM – Flight check-in
Day 3: P720
TOTAL: PHP 4,880 (USD 85, EUR 73, SGD 109)
*Entrance fees to the Hofileña Museum and Bernardo Jalandoni Museum are assumed to be P150. In our experience years ago, it was less than P100. Online reviews claim it’s P150. Unfortunately, both were closed when we last visited, so we couldn’t confirm it. We just set it at P150 to be safe.
The total fees are inclusive of the hotel stay as indicated but exclusive of flights, pasalubong/souvenirs, and incidental expenses, since these widely vary and are highly dependent on your circumstances and preferences.
But please add at least P1000 more to the budget to cover price movements and other possible expenses we might have missed.
If you have more days, you can just insert other destinations or activities. For example, you can include a day trip to Lakawon Island in Cadiz. Or if you have extra two days, you can stay overnight on Danjugan Island in Cauayan or in Sipalay City, where you’ll find lots of noteworthy places to visit.
FREQUENTLY ASKED QUESTIONS ABOUT BACOLOD
When is the best time to visit Bacolod?
Weather-wise, definitely January to April. You’ll get plenty of sunshine for your food crawls, sightseeing, and side trips without worrying about the rain ruining your outfit. The shoulder months of November, December, and May are also pretty pleasant.
Just a warning: if you come between March and May, the heat can get intense, you’ll basically be marinating in your own sweat. On the bright side, it’s the perfect excuse to down halo-halo after halo-halo.
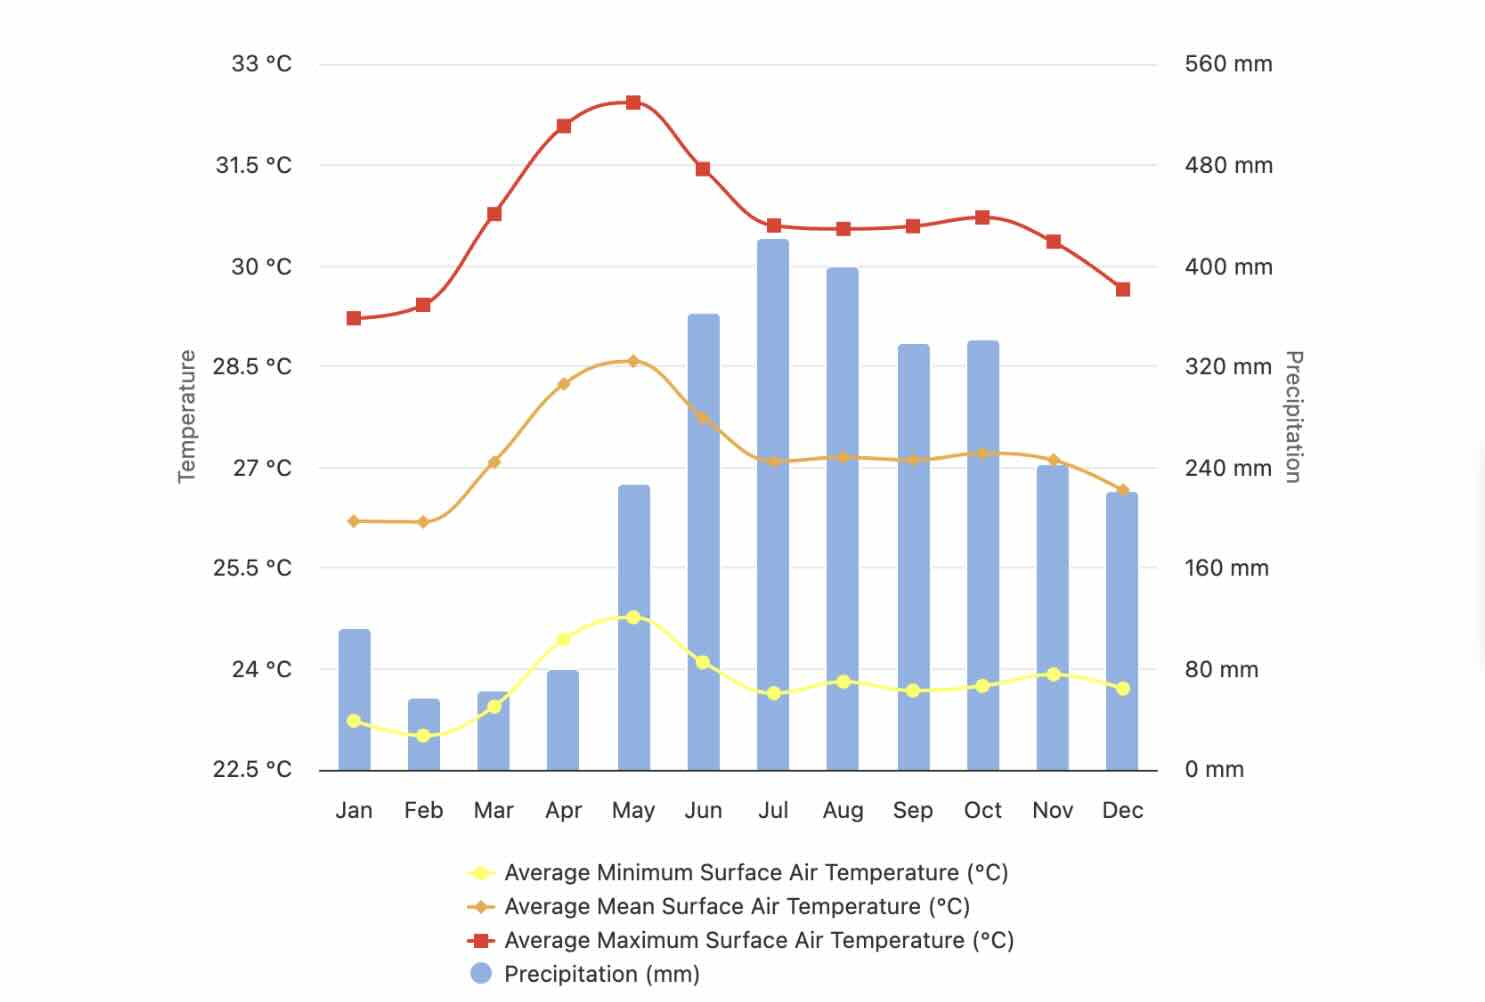
Does that mean you should completely avoid June to October? No, not really. Yes, it’s the peak of the rainy season, but it doesn’t mean downpours happen all day, every day. In fact, our most recent Bacolod trip happened in JULY, but it never rained at all. Not even a little drizzle.
Now, if you’re the type who doesn’t mind a little risk, you could luck out, too. On the plus side, hotel rates drop, and you won’t be elbowing your way through crowds. Just pack an umbrella and maybe some patience, and make your itinerary as flexible as you can make it.
If you want to experience Bacolod in full party mode, come in October for the MassKara Festival. Picture Mardi Gras, but with more smiles, more food, and just as much traffic. It’s the city’s loudest, busiest, most colorful time of the year.
The downside? Hotel prices skyrocket, and restaurants get packed. If you want to experience MassKara, book as early as you possibly can.
What type of power plug / socket is used in Bacolod?
The standard voltage in the Philippines is 220V at a frequency of 60Hz. Generally, the plug and socket type used is Type A, which has two flat parallel pins.

Is Bacolod safe?
Yes, Bacolod is generally safe.
Again, Bacolod locals are some of the friendliest we have met. But it’s still best to be mindful of your surroundings. Always keep an eye on your belongings and don’t leave them unattended.
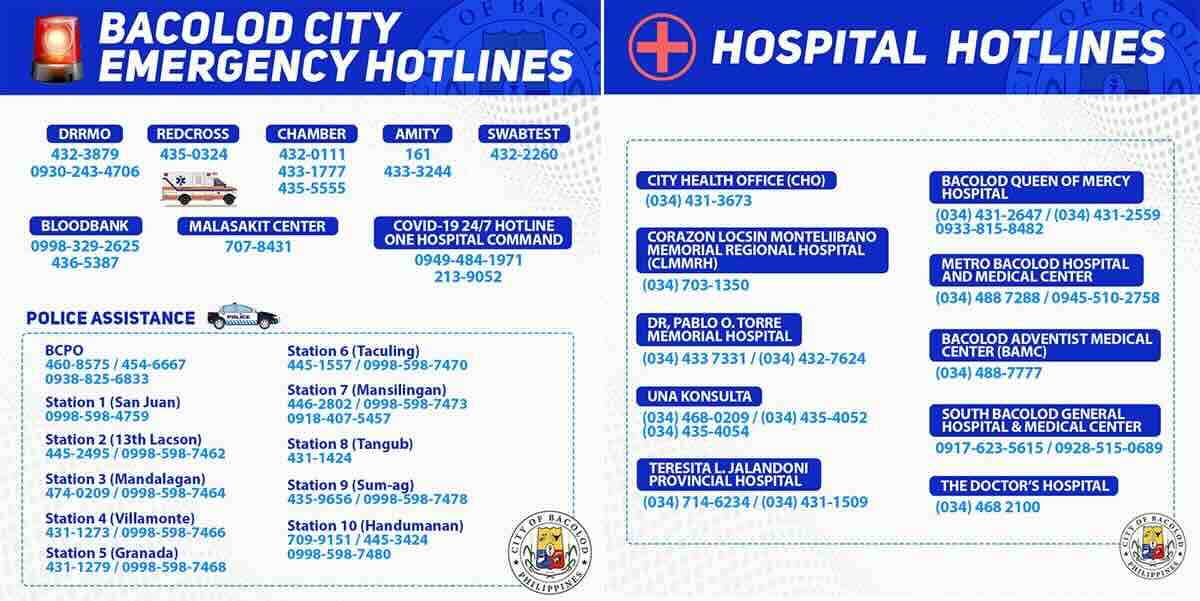
You can take note of these emergency contact numbers:
Updates Log
2025 9 25 – First uploaded
Additional Words by: Asta Alvarez (Lakawon Island & FAQs – Electricity Info & Safety)