When Scott and I travel, we’re always on the lookout for places that strike a balance with outdoor adventure and plenty of good food and cocktails—if there’s an arts scene, that’s a huge bonus. Ridgeland, Mississippi offers of all that. From paddling the Barnett Reservoir to wandering the boutiques of Renaissance at Colony Park, there are so many things to do in Ridgeland as a couple that we had no problem filling our days on our recent weekend in Mississippi.

This project is in partnership with Explore Ridgeland. All opinions are our own.
Why you should go to Ridgeland, Mississippi
Home to roughly 25,000 people, Ridgeland is just 20 minutes north of Jackson and located at the crossroads of the Natchez Trace Parkway. Anchored by the 33,000-acre Barnett Reservoir, or “The Rez” to locals, it’s got 16 parks, 22 boat launches and 18 miles of paved walkways. In other words? It’s an outdoor lover’s playground and also a great fit for a couples weekend in Mississippi.

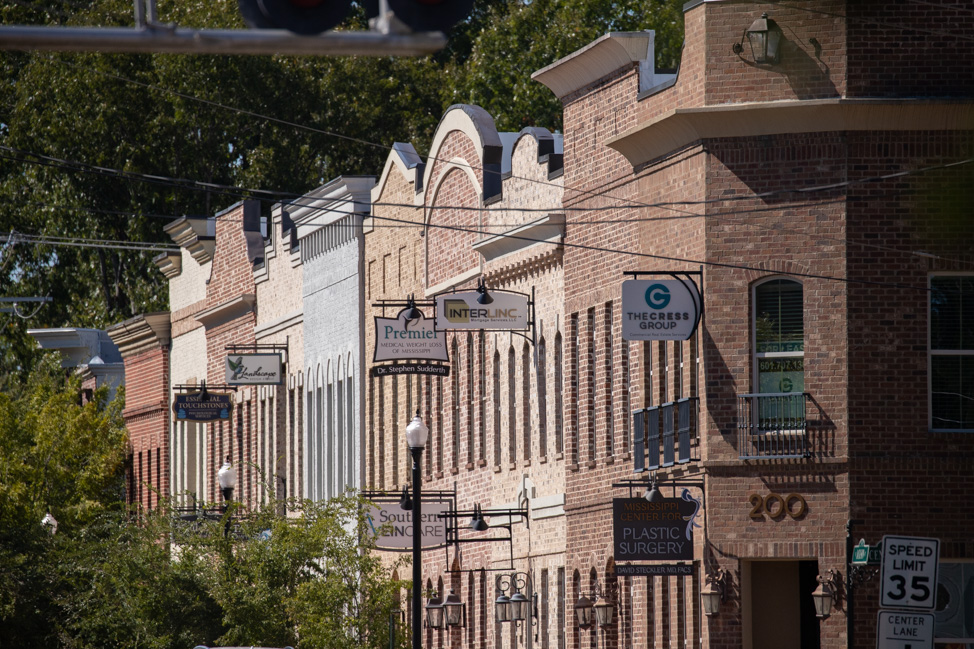
Outside of the Reservoir, one of the other main things to do in Ridgeland is visit the Old Town Railroad District, a mixed-use neighborhood comprising restaurants, fitness studios and other small businesses like a plant store. The newer part of Ridgeland is the ever-expanding Renaissance at Colony Park, a high-end pedestrian mall that’s a mix of national retail chains (e.g. Anthropologie, Apple, Athleta) and local boutiques.
Bars and restaurants in Ridgeland, Mississippi
Where to eat in the Railroad District
Undoubtedly the most unique place to eat in Ridgeland is the Lily Pad Café in the Railroad District. Open for lunch Tuesday through Friday—plus one Saturday a month—the nonprofit’s mission extends beyond serving meals: It also provides meaningful employment and hands-on training in the hospitality industry for young adults with intellectual and developmental disabilities. As a way to help their employees gain skills and confidence for future opportunities, the Lily Pad is one of only two restaurants in the nation that follows this model (the other being Hugs Café in Texas).
By dining here, you won’t just enjoy good food—I loved the flatbread while Scott devoured the chicken salad sandwich—but also support a community effort to create inclusion and independence. While walk-ins are welcome, reservations are encouraged, especially for parties larger than four.
For dinner in the Railroad District, Ely’s Restaurant & Bar serves six cuts of aged steaks with add-on options like blue cheese, crab or shrimp. Seafood highlights include tuna, chili-glazed salmon and Gulf redfish, complemented by an extensive wine cellar and a robust bourbon, rye and scotch selection—all the makings of a perfect date night in Ridgeland.
Where to eat in Renaissance at Colony Park
Renaissance at Colony Park has no shortage of lunch spots, but Aplos tops the list. The Jackson-born Mediterranean restaurant serves wraps like chicken shawarma, ribeye steak and gyros, along with larger plates that come with pita, hummus, rice and a Greek salad. The menu has inventive pizzas, sides like roasted veggies and Greek fries, plus beer, wine, cocktails, mocktails and frozen drinks.

Another favorite lunch spot in Ridgeland is Zea Rotisserie & Bar. With locations across Mississippi and Louisiana, Zea’s sandwiches feature fun combinations like the pepper jelly chicken salad and my go-to, the Sedona chicken panini loaded with rotisserie chicken, caramelized onion, roasted garlic, cheeses and chipotle aioli. To top it off, Zea pours craft beers and premium spirits.
For dinner, there are plenty of options like the brand-new Taste Italian Kitchen, which has a surprisingly diverse selection of vegetarian and vegan options, including a vegan meatball that Scott can vouch for personally, arancini, vegan steak and a collection of salads. Expect Italian classics like steak, chicken and fish while their pasta menu runs the show from gnocchi to ravioli to lasagna to eggplant parmigiana among the options available.


Local 463, a Ridgeland staple from Chef Derek Emerson, highlights local and regional ingredients in a blend of Southern, Gulf Coast and Cajun flavors. Standouts include Florida rock shrimp and fried green tomato flatbread, lump crabmeat dishes, Kung Pao popcorn shrimp, and tamales topped with sweet corn sauce, pico de gallo and chipotle-lime sour cream.

Another Emerson restaurant, Caet brings a classic seafood and oyster bar to Ridgeland with blue crab bruschetta, shrimp cocktail, scallops, tuna, catfish and raw oyster samplers. The menu also extends to steak, pork chops, a wagyu burger and elevated sides. For steak, Koestler Prime at Renaissance at Colony Park has been a local favorite for more than 25 years.
One thing to note is that the restaurants were hopping while we we visited, so for dinner in particular, we highly recommend making reservations in advance.
Ridgeland also offers fast-casual spots like Soulshine Pizza Factory and Another Broken Egg, ideal for travelers who prefer a spontaneous, quick bite over advance reservations.
Where to eat near Barnett Reservoir
On the way to Barnett Reservoir is the coolest restaurant in Ridgeland: Dogmud Tavern. This whimsical pub is a little bit Harry Potter, a little bit Hobbit and a whole lot of fun. Custom-made for fantasy fan and gamers alike, the shelves are stocked with everything from Monopoly and Scrabble to more strategy-centric favorites—all of which pair well with a pint or cocktail with hours of entertainment.

The menu spans New York–style hot dogs, taco trios, wings, burgers, and pizza (with cauliflower crust available for gluten-free diners). Cocktails include playful, game-inspired options like an adult version of Butterbeer, and there’s even a dice game where guests roll for shots. Regular trivia nights, themed events and fundraisers make the tavern a lively spot to meet friends or add something fun to a couples’ trip to Ridgeland.


There are also a few casual, boat-up spots like Shaggy’s On the Rez the at overlook Barrett’s Reservoir, perfect for buckets of beer with plenty of patio seating. Pelican Cove Grill is another favorite Ridgeland restaurant for waterfront views and a stop along Explore Ridgeland’s Cocktail Trail.

Exploring the Mississippi arts scene
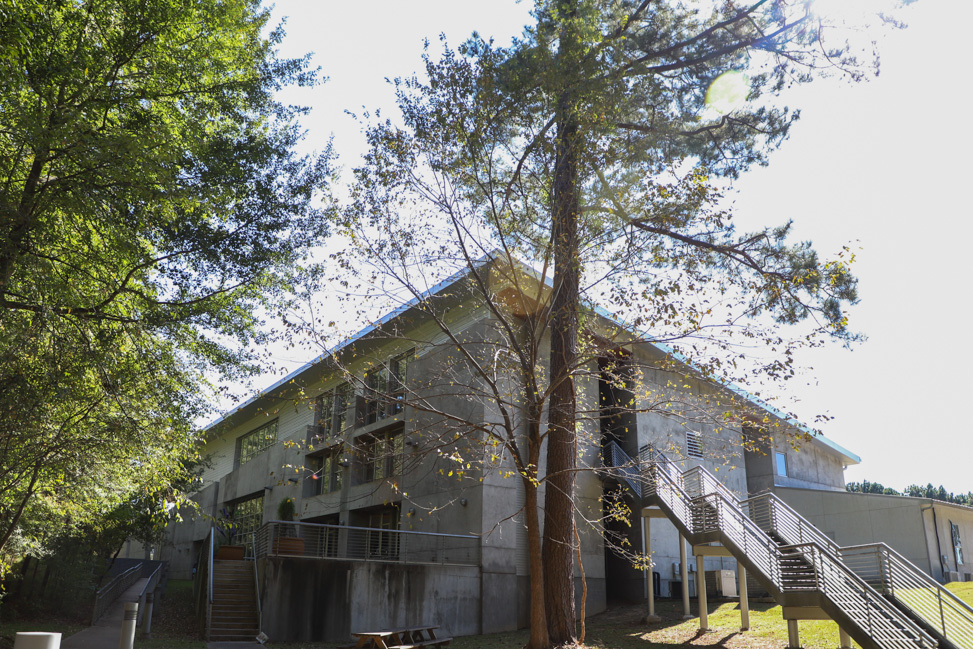
One of our favorite things to do in Ridgeland is visit the 20,000-square-foot Bill Waller Craft Center, home to the Craftsmen’s Guild of Mississippi. For more than 15 years, this nonprofit has showcased regional folk, traditional and contemporary crafts inside a sleek midcentury modern building—named for former governor and guild president Bill Waller—that’s a work of art in itself.

The guild includes more than 400 artists from Mississippi and neighboring states, many of whom sell their work in the gift shop, open daily. Admission is free, making it a worthwhile stop anytime you’re in Ridgeland.

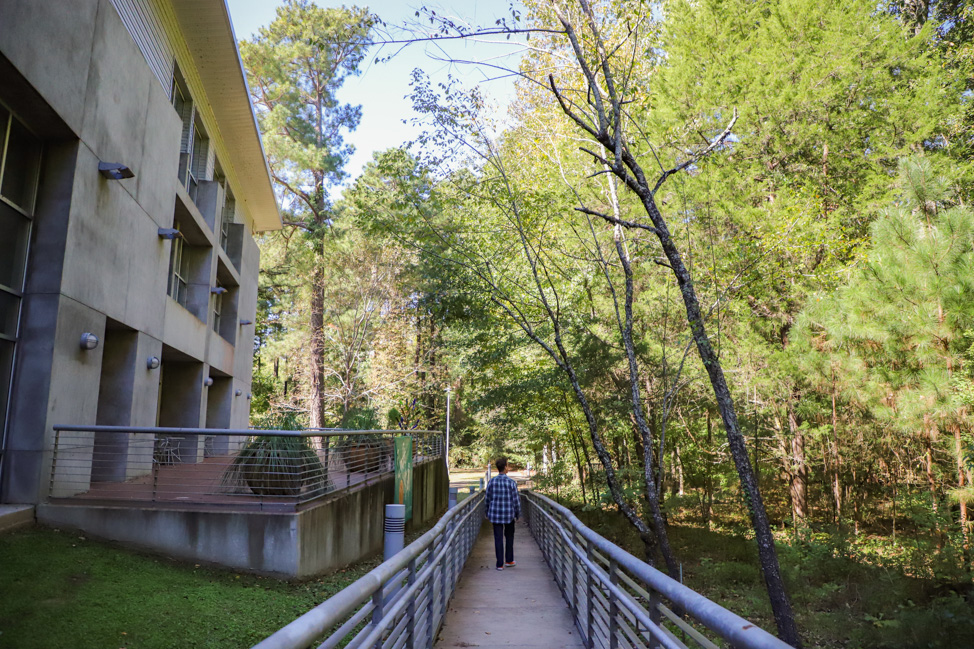
An added bonus: The Craft Center sits just off the Natchez Trace, with a boardwalk through shady woods leading to its back entrance. Those same woods are also home to thousands of synchronous fireflies, whose rare, twinkling display lasts only a couple of weeks each year.
For a creative date night in Ridgeland, the Craft Center offers seasonal workshops and classes—think Valentine’s or Christmas—taught by guild members skilled in everything from woodworking and weaving to stained glass and beadwork.


Other things to do as a couple in Ridgeland, Mississippi
But Ridgeland has plenty of things for couples to do beyond food, drinks and the arts. Whether you prefer the outdoors or a cozy indoor escape, here are additional ways Scott and I like to spend an afternoon together in Ridgeland.

Biking around Ridgeland
I love riding bikes and being outside, but I also like having a destination in mind. The Ridgeland bike share program was an amalgamation of our interests as we could borrow bikes for free with the use of the Koloni app then bike from coffee shop to boutiques, then onto lunch and the wildflower fields.

You can pick up bikes at two locations in Ridgeland: Old Town Crossing and the Ridgeland Visitors Center at Renaissance at Colony Park.

Serious cyclists can tackle sections of the Natchez Trace Parkway or the 10-mile Chisha Foka Trail, a paved path through historic Choctaw homelands lined with trees, wildflowers and wildlife.

A head spa treatment at Patina Hair Studio
As a long-haired girl, I love a good head massage—but I’d never had a true scalp treatment until discovering Patina Hair Studio. The service begins with a stylist using a camera wand to examine and analyze your scalp, then moves into a series of exfoliating and detoxifying cleanses to remove buildup. The best part? It all ends with a blissful head massage.

To top it off, the head spa treatment ends with a blowout, so my hair felt cleaner than ever and I walked out with bouncy waves. Scott loved his treatment, too—but if your partner isn’t into the idea, Ridgeland has plenty of day spas offering massages and other ways to unwind.
Afternoon tea at CW Organics Tea Room
I can never resist an afternoon tea—the pomp, the ritual, the snacks. So when we discovered a tea room just minutes from the head spa, it was the perfect way to continue our relaxing afternoon in Ridgeland.

CW Organics Tea Room is more than just an afternoon tea service; it’s a full-on tea emporium. The menu features loose-leaf teas brewed to showcase their natural flavors, warm scones with clotted cream and seasonal preserves, and rotating sandwiches and pastries.

I ordered the Tea Tier for One and Scott chose his own tea brew, and after chatting with owner Caroline Warner, I also picked up a custom blend for gut health—her Stomach Aid remedy—along with marshmallow root to add to my fall and winter tea routine.
Date night at TopGolf Ridgeland
For a fun date night in Ridgeland, we met friends at Mississippi’s first Topgolf just 15 minutes from Jackson.. Even if you’ve never swung a club, it’s more about the experience than the game: climate-controlled bays with TVs, high-tech targets that track your shots and plenty of laughs over each other’s swings.


If you want to mix things up, there’s also a 9-hole mini golf course, plus a full restaurant and bar downstairs—or you can order food and drinks right from your bay so you never have to take a break from your game.

For other ideas for travel to Mississippi, check out our guide to the outdoors in Ridgeland and adventures along the Natchez Trace Parkway.