Kansai International Airport is your gateway to one of the most wonderful regions of Japan, including Kansai’s most energetic and delicious city — Osaka. But how do you get to Osaka’s city center from here?


So, let’s say you’ve just arrived at the airport. your legs are numb, your brain is running on airplane meals, and now you’ve got one mission — get to Osaka’s city center without a hitch and without accidentally ending up in, say, Kobe or Wakayama.
But hey, you’ve got options — albeit a little too many. So many, it can get really overwhelming and confusing sometimes, especially for first timers. You got train, bus, taxi, and private transfer — each with its own pros and cons. Should you take the super-efficient train? The super-chill airport bus? Or just throw your luggage in a taxi and worry about expenses later? Spoiler alert: Not the taxi. It’s way too expensive, we’re not even gonna discuss it here. We’ll be focusing on just the train and the bus.
HOW TO GET TO OSAKA CITY CENTER
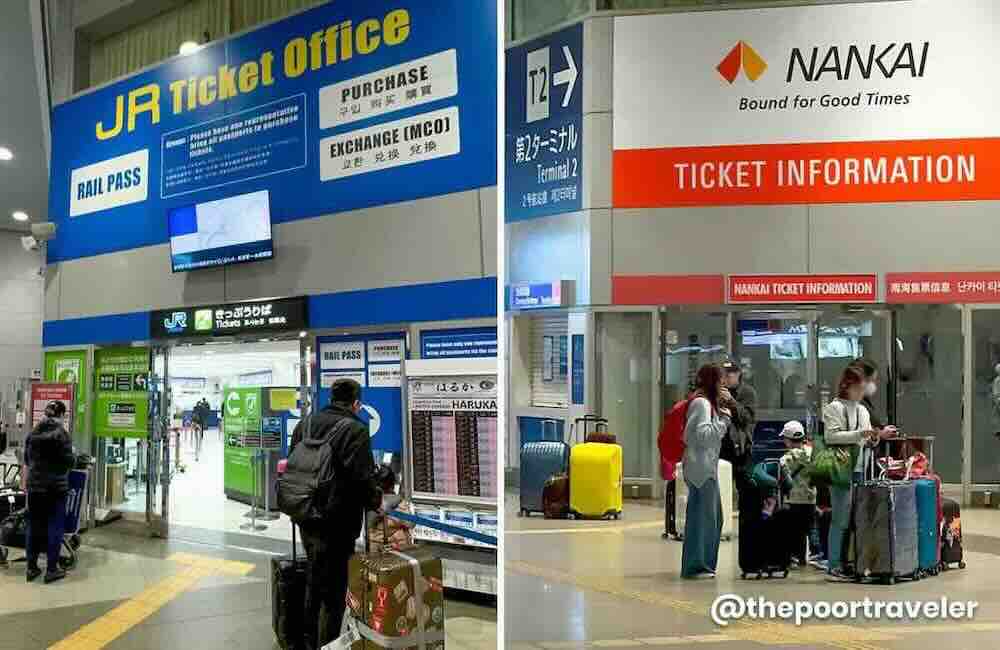
Just right in front of Terminal 1 is the Kansai Airport Train Station, which serves two railway companies: JR and Nankai. And you’ll also find buses close to the Arrival Hall.
First, let’s break it down. Osaka’s city center is roughly an hour to an hour-and-a-half away from Kansai Airport. But where in the city center are you going? There are three areas in particular that we think are most ideal for tourists, especially first-timers in the city: Namba, Umeda, and the area surrounding Shin-Osaka Station.
Kansai Airport to Namba
The Namba District refers to the bustling area that straddles the border of Naniwa Ward and Chuo Ward. “Chuo” means center or middle in Japanese, but think of Namba as the southern counterpart of Umeda. It is here that you’ll find two places that I bet, if you’re the one planning the trip, you have heard of or read about before: Dotonbori and Shinsaibashi.
These two districts are attractions on their own. These areas are always lively, crowded, and full of energy. They lie next to and are within walking distance of each other.
By Train
Nankai has a direct train line to Namba and they operate two main types of trains: the Nankai Airport Express and the Nankai Limited Express Rapi:t (Rapit).
NANKAI AIRPORT EXPRESS
The Nankai Airport Express is the regular train. It’s cheaper but also 10 minutes slower. But it’s not complicated at all. Just board the train and find a seat. No seat reservation needed. But on super peak hours, you might end up standing through the entire journey.
Travel Time: About 45 minutes
Fare: ¥970 (P375)
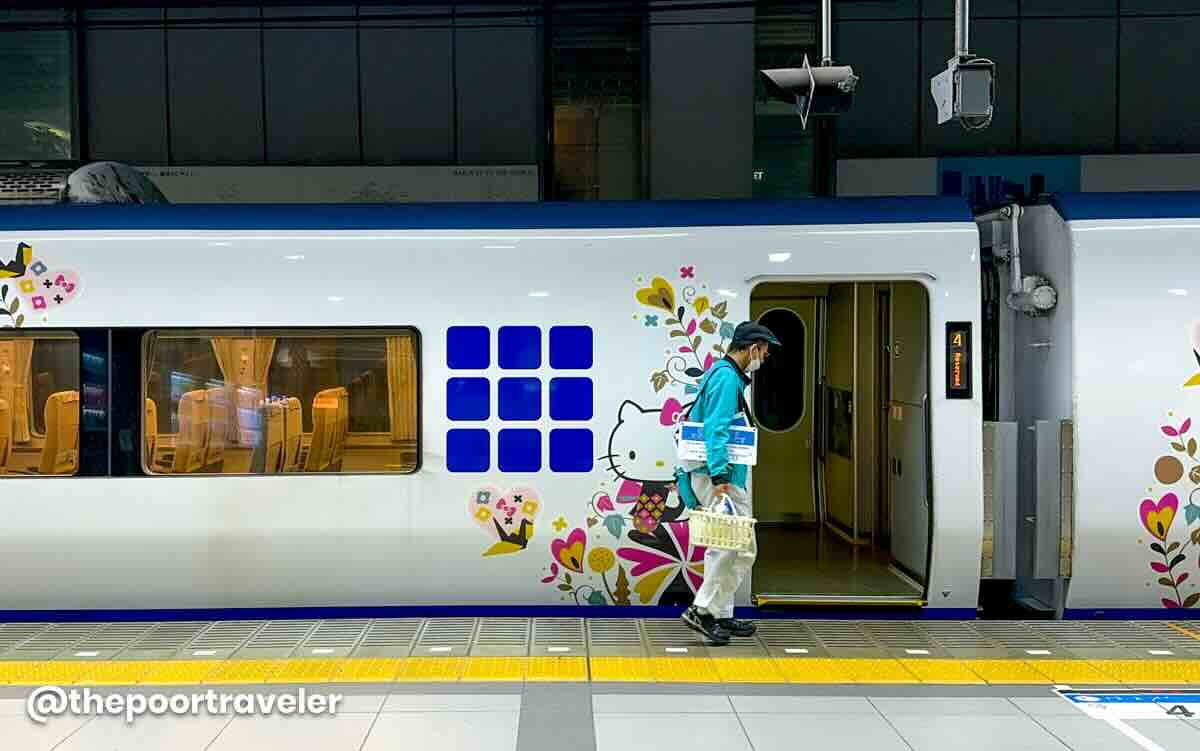
NANKAI LIMITED EXPRESS RAPI:T
The other Nankai train that can take you straight to Namba is the Nankai Limited Express RAPI:T. It’s called RAPIT but stylized as RAPI:T. It’s faster, more convenient, more high end. It’s easy to identify too. It’s glaringly blue, and it kind of looks like it has arrived from the future. If you prefer this upscale train instead, know that you’ll also need to settle an additional seat fee, which costs ¥520.
Travel Time: About 35 minutes
Fare: ¥970 + ¥520 seat fee = ¥1490 (P576)
Both these trains can take you directly to Namba Station and are covered by the Kansai Railway Pass (formerly known as Kansai Thru Pass), which works on most NON-JR Trains in Osaka and the region. This is different from the JR Kansai Area Pass. But unlike the JR counterpart, this pass can be used on non-consecutive days, making it more flexible.
Note that while the Kansai Railway Pass can be used on the Limited Express RAPI:T, the 520-yen seat or reservation fee is not covered.
By the way, if you’re interested in the Kansai Railway Pass, you can book with Klook. You can use our promo code THEPOORTRAVELERKLOOK for 5% OFF, capped at P300 pesos. You can also redeem discount vouchers at www.thepoortraveler.net/300discount and www.thepoortraveler.net/500discount
✅ GET YOUR KANSAI RAILWAY PASS HERE!
By Bus
If you’d rather take the bus to Namba, find one that will take you to the Osaka City Air Terminal (OCAT), which is Namba’s main bus terminal. When you arrive at the airport, proceed to the counter for OCAT Airport bus located at the Arrival Hall of Terminal 1.
It usually takes about an hour, sometimes longer, depending on traffic condition. You’ll find the schedule here.
Travel Time: About 1 hour
Trip Schedule: First Trip, 6:10 AM; Last trip, 10:40 PM
Fare: ¥1300 (P503)
Where to Stay in Namba
If you are still looking for hotels in Osaka, especially around the Namba area, here are some of the top-rated accommodations reviewed by travelers online.
🔥🔥🔥 Use AGODATPT for 10% off on select hotels! 🔥🔥🔥
Kansai Airport to Umeda (Osaka Station)
By Train
The Umeda District is one of the busiest in Osaka. It is here that you’ll find Umeda Station and Osaka Station, two of the most widely connected train hubs in the region. That’s why even though it’s located in Kita Ward or North Ward, it is often regarded as the heart of the city.
JR KANSAI AIRPORT LINE
If your hotel is in Umeda or close to Osaka Station, you can take the JR Kansai Airport Line (JR Kansaikuko Line). For the regular train, you only need to pay the fare. No seat reservation required. This train can take you directly to Osaka Station in about 75 minutes. It’s slow but you’ll reach your destination regardless.
Travel Time: About 70 minutes
Fare: ¥1210 (468)
Seat Reservation: None
JR LIMITED EXPRESS HARUKA
But if for whatever reason you want to reach the city fast or you’re holding a JR Pass anyway, you can hop onto the JR Limited Express HARUKA train. It stops at Osaka Station.
Fare is significantly higher. Haruka trains have RESERVED and NON-RESERVED SEATS. The price is the same. To reserve a seat, you can use the machines close to the entrance gates.
The Haruka Train is covered by most JR Kansai pass like the JR Kansai Area Pass, JR Kansai Area WIDE Pass, and JR Sanyo San’in Pass. Klook promo codes don’t work on JR Passes, but I’ll still add the links to the TPT Masterlist, where we compile all our travel essentials and recommendations.
Travel Time: 46 minutes
Fare: ¥2940 (P1137)
By Bus
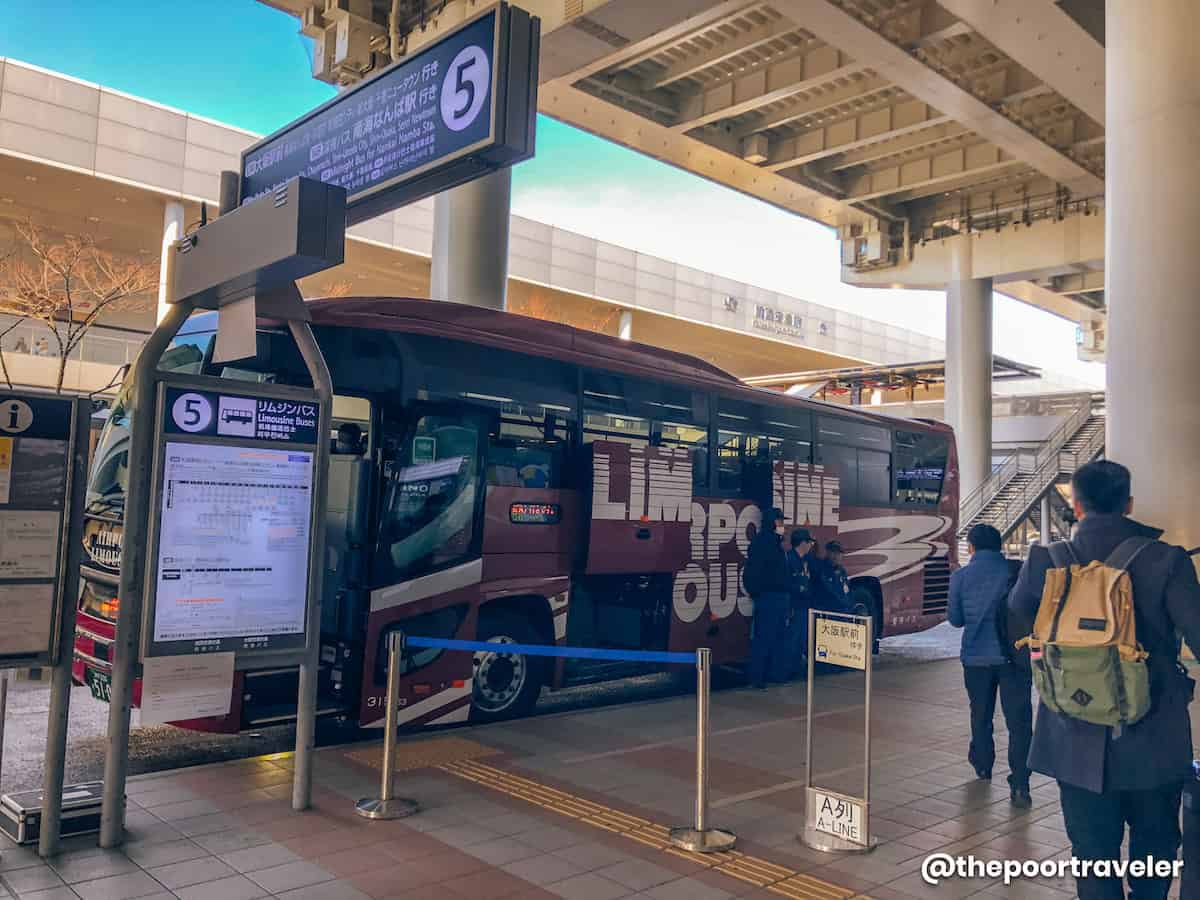
You can also board the Airport Limousine Bus to Umeda. There are three stops just around Osaka Station. All of these stops are at hotels, but you don’t need to book a room at these hotels to be able to ride these buses. Just figure out which of these three hotels is closest to your destination. Here are the stops:
- Hotel New Hankyu (Osaka Station)
- Hotel Hankyu Respire (Yodobashi Umeda Tower)
- Herbis Osaka (Osaka Station)
Some buses skip stops, so to be sure to consult the ever-reliable Google Maps or visit this page.
Travel Time: 60-75 minutes
Fare: ¥1800 (P696)
Where to Stay in Umeda
If you prefer to stay in Osaka, and are still looking for a place to stay, here are some of the top hotels in Umeda based on user reviews online.
🔥🔥🔥 Use AGODATPT for 10% off on select hotels! 🔥🔥🔥
Kansai Airport to Shin-Osaka Station
By Train
If you intend to travel to other prefectures by Shinkansen or bullet train, an ideal place to stay is the area surrounding the Shin-Osaka Station. Emphasis on SHIN, which means NEW in Japanese.
On top of the regular trains, this station also serves bullet trains. In contrast, Osaka Station – without SHIN – is NOT a Shinkansen Station.
JR LIMITED EXPRESS HARUKA
Shin-Osaka is also easily accessible from the airport. It can be reached directly by taking the same JR Limited Express Haruka train that I mentioned earlier.
It takes 52 minutes and only three stops. No transfers needed, but the fare is considerably higher — more than double the regular train at times.
Travel Time: 52 minutes
Fare: ¥2590 – ¥3890 (P1002-1504)
Train Transfer: None
REGULAR JR TRAIN
(JR Kansai Aiport Line/Kansaikuko Line)
If you’re on a budget, you can also go the same route to Osaka Station. Take the JR Airport Line, but after you alight at Osaka Station, transfer to another train to Shin-Osaka Station.
Travel Time: 1 hour 20 minutes
Fare: ¥1390 (P538)
Train Transfer: 1 (Osaka Station)
Where to Stay Near Shin-Osaka Station
Heading to other cities in the Kansai Region from Osaka? Consider these top-reviewed hotels near Shin-Osaka Station, as rated by travelers online.
🔥🔥🔥 Use AGODATPT for 10% off on select hotels! 🔥🔥🔥
Search for Osaka Hotels!

2025 8 25 – Frist uploaded