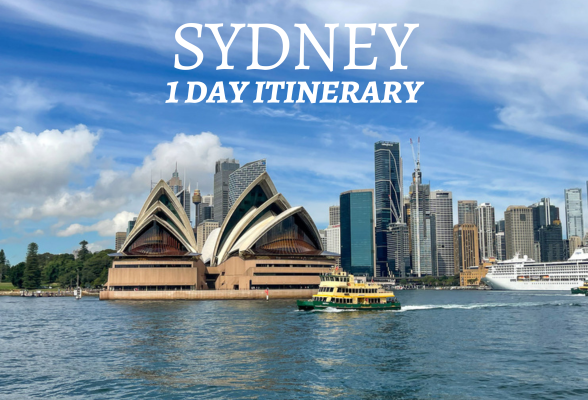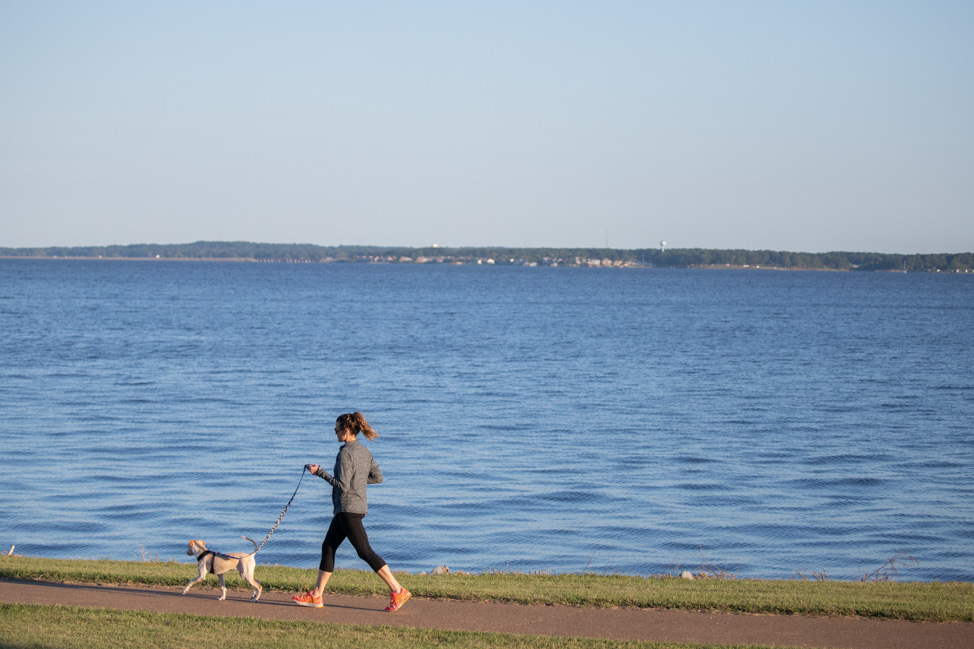
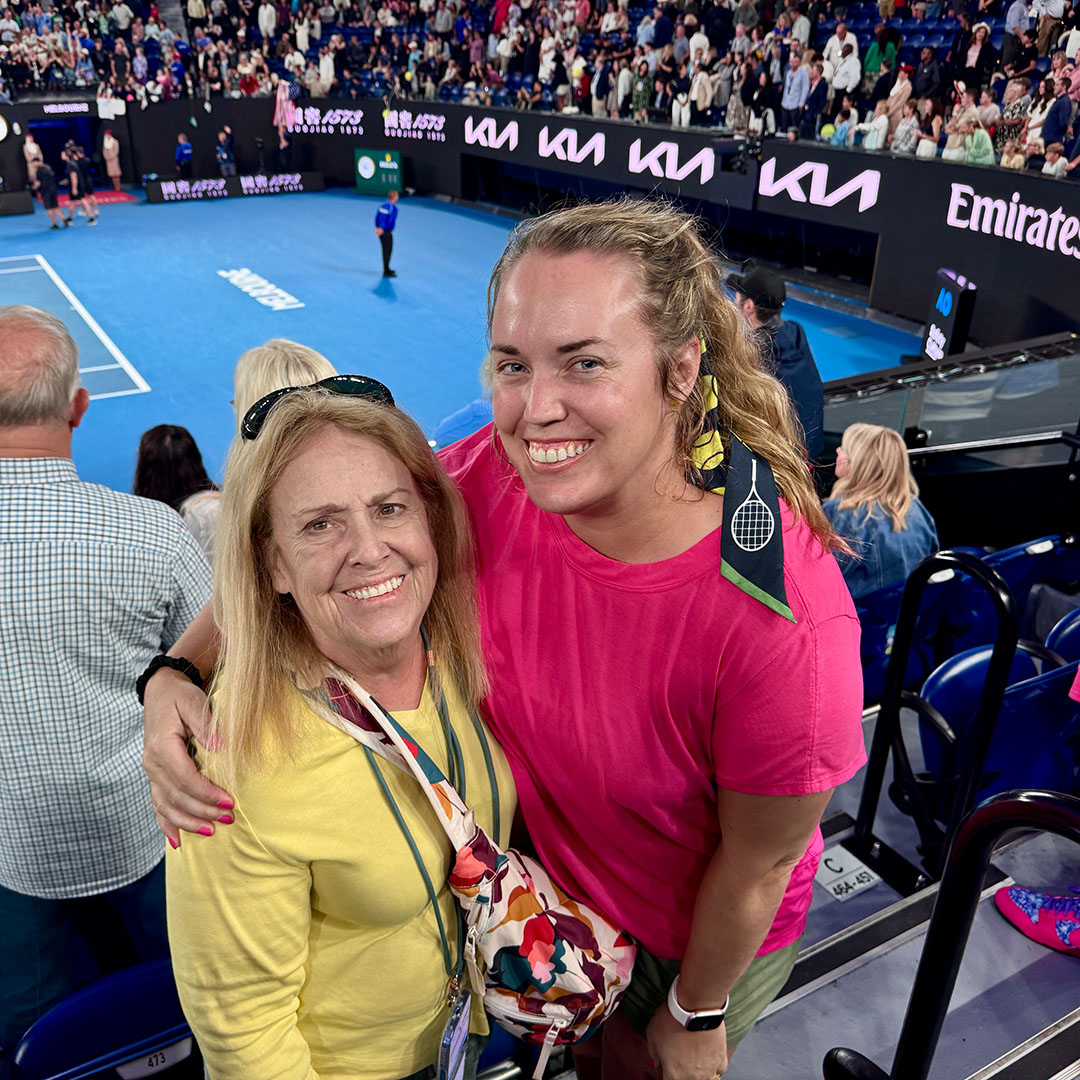
If you’re a long-time reader, you’ll know that my mom and I are on a mission to attend all four tennis majors—the Grand Slam events in England, New York, Paris and Melbourne—as well as the other 1000 and 500 WTA and ATP tournaments. This year’s big event for us was the Australian Open, and tickets for the 2026 AO (Jan. 12-Feb. 1) are officially on sale.
If you’re finding this post via Google, I’ll cut to the chase: I spent a ridiculous amount of time taking notes and making spreadsheets for the Australian Open and am sharing everything I learned while planning our trip to Melbourne.
Before you read any further, you may be wondering: Is the Australian Open worth attending? Simply put, YES. Is it also the best Grand Slam I’ve attended? Yes yes yes.
My mom and I loved this tournament and how approachable it is. Here’s why.
What is the Australian Open?
The first of the four annual Grand Slams, the Australian Open takes place each January during the peak of the Southern Hemisphere’s summer, which means plenty of heat, sunshine and a city positively buzzing with international visitors who are just as tennis-obsessed as I am. It’s warm on some days, sneakily chilly on others, so you best go prepared.
The Australian Open is one of two hard court Slams and is in the middle of the Aussie swing, which means you can catch some smaller tournaments like Hobart, Brisbane and Adelaide if you want to extend your trip Down Under—or even pair it with a week in New Zealand as there’s an Auckland 250 event before the AO that serves as a warm-up for players. Following the Australian Open, there’s the Middle East swing (also hard court), then we go into clay season in Europe capped off with Roland Garros in Paris in May and June.

From there, it’s grass season with the majority of tournaments in the UK and Germany leading up to Wimbledon in late-June and July. Then, back to hard court season and North America with the U.S. Open taking place in New York over two weeks in August and September, followed by the Asia swing and the WTA and ATP finals. After attending multiple U.S. Opens and the French Open just last year, planning a trip to the Aussie Open was our next big feat.
How to get tickets for the Australian Open
Tickets to the Australian Open go on pre-sale in September with the general sale going on now in October; exact date varies year to year. The official ticketing partner is Ticketmaster Australia, and we had no problem going on the app and getting tickets, versus Roland-Garros where it felt akin to getting Taylor Swift Eras tour tickets and we resorted to a lot of expensive resale tickets.
Day session tickets allow you into Melbourne Park beginning at 10am, while all night session tickets allow you into the grounds at 5pm. If you have day session passes, you can stay on the grounds until they close and enjoy the matches on the outdoor courts, you just won’t be able to access night matches in the two ticketed arenas if you don’t have a night session pass.
Which tickets should I get for the Australian Open?
The park has multiple venues where the Australian Open matches take place. Rod Laver Arena is the largest venue with a capacity of 15,000, while John Cain Arena seats 10,500 and Margaret Court Arena seats 7,500. Like Roland-Garros and other tennis majors, there are two main types of tickets.
Ground passes
Ground passes are available for every day session from qualies throughout the entire tournament; there’s even a seven-day grounds pass available for $99, an excellent deal. Prices for single-day grounds passes start at $10 per person and give you access to the outer courts and all the atmosphere of Melbourne Park from 10am until the grounds close.
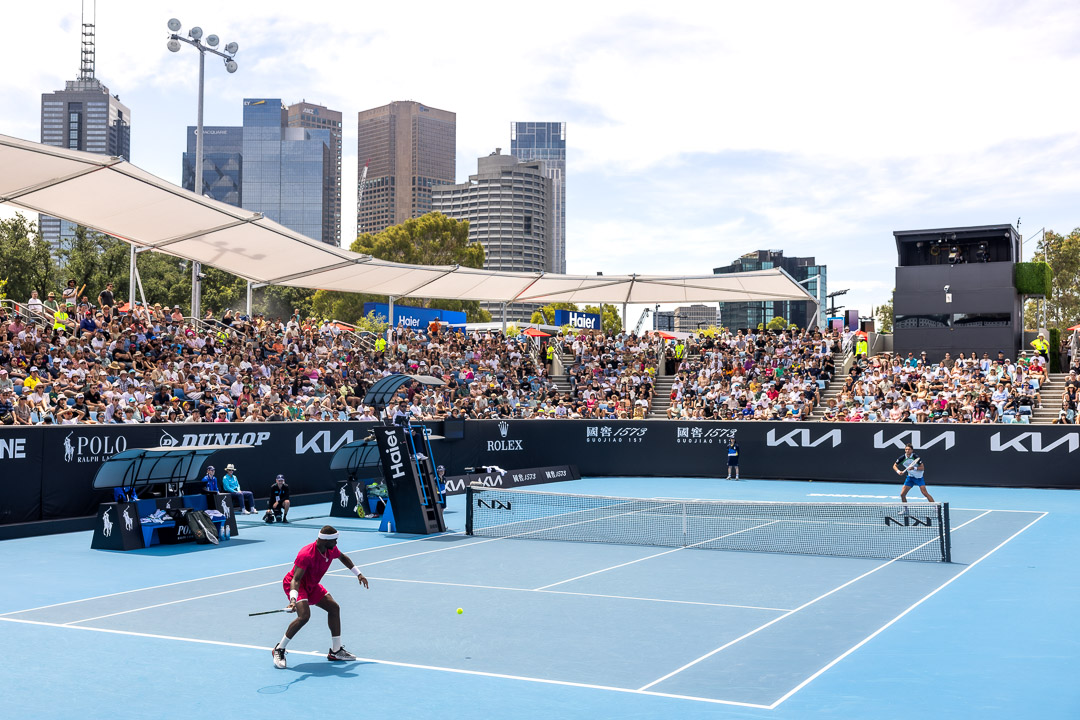
Grounds passes will not get you into the main stadiums, Rod Laver or Margaret Court, or the reserved section at John Cain Area. But if you’re going during the opening week, there are plenty of matches—including popular players like Ben Shelton, Emma Raducanu and Frances Tiafoe—held on the outside courts all day every day.
Ground passes give you the freedom to wander, sample the food and drinks, and see a mix of big names and rising stars on the side courts. But if you’re hoping to see Coco Gauff, Jannik Sinner, Carlos Alcaraz or any of the other tennis greats, spring for a stadium ticket instead.
Stadium tickets
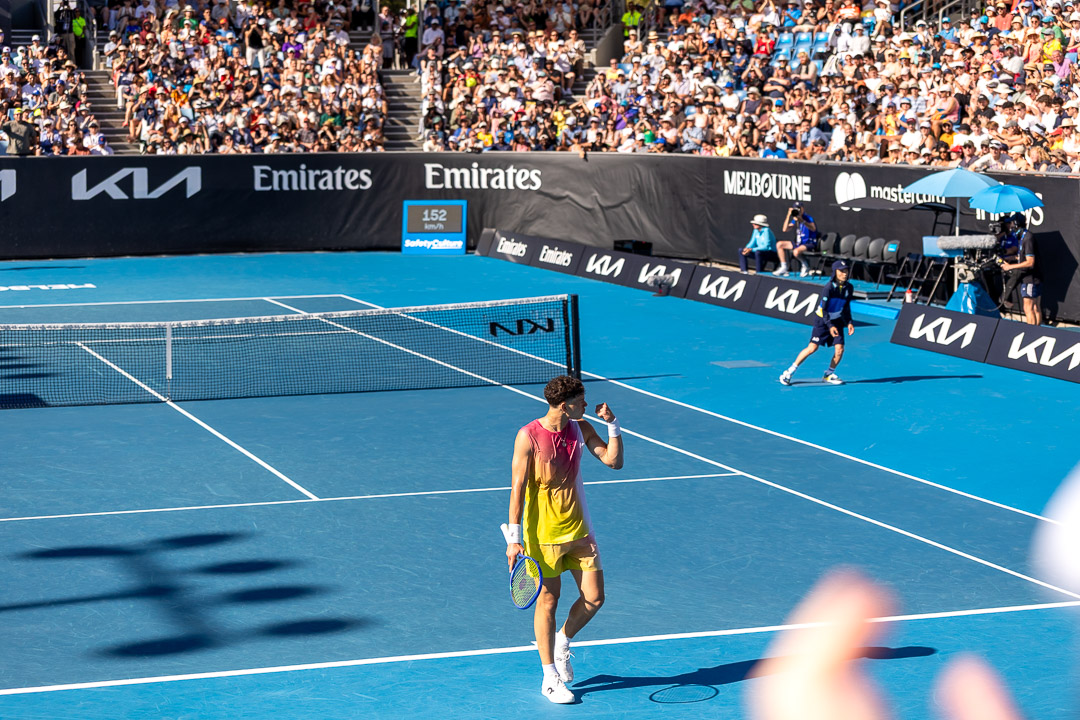
Stadium tickets mean you have a dedicated seat to one of the three main arenas: Rod Laver, Margaret Court or John Cain for the marquee matches. Buying tickets this far out, you’re kind of gambling on the arena since you won’t know the schedule until day of, which is why I bought a mix of tickets and visited all of them throughout our four days at the Australian Open.
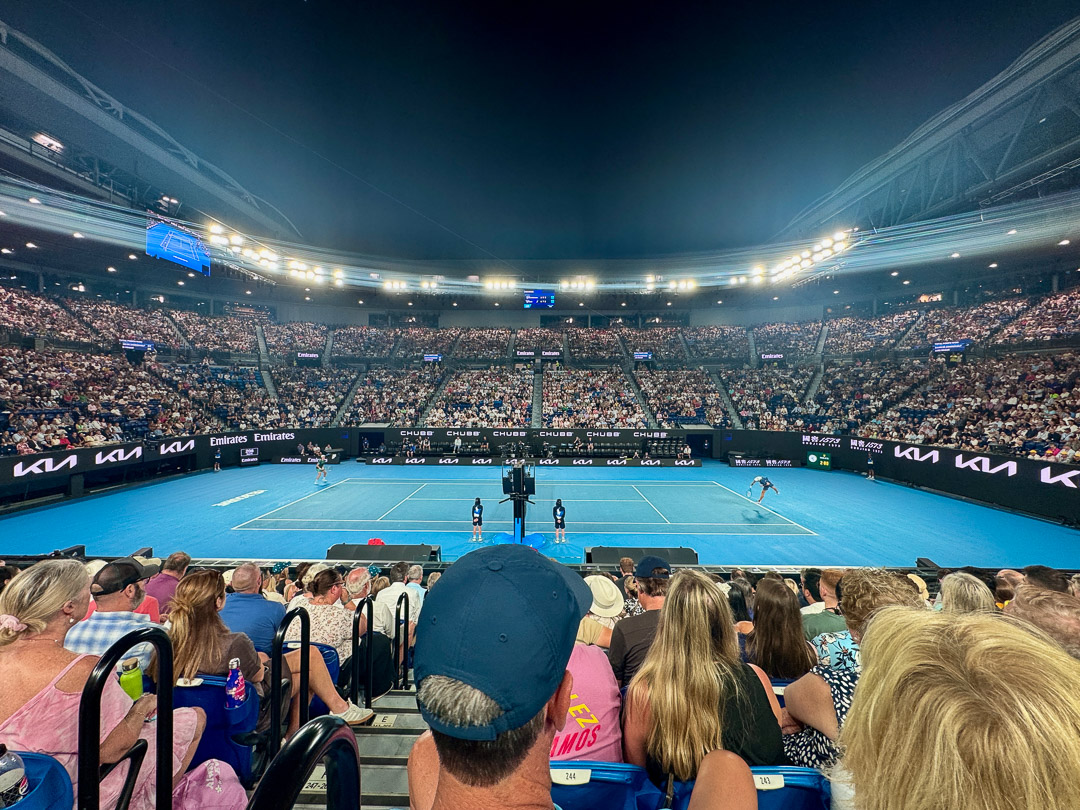
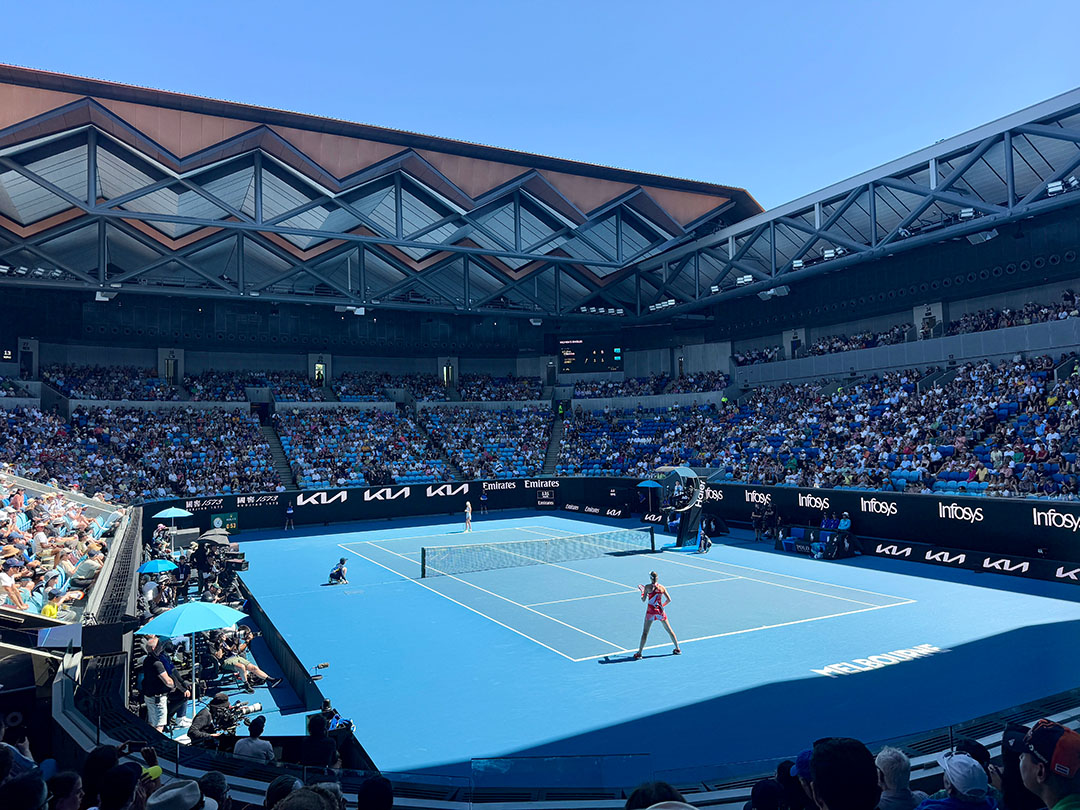
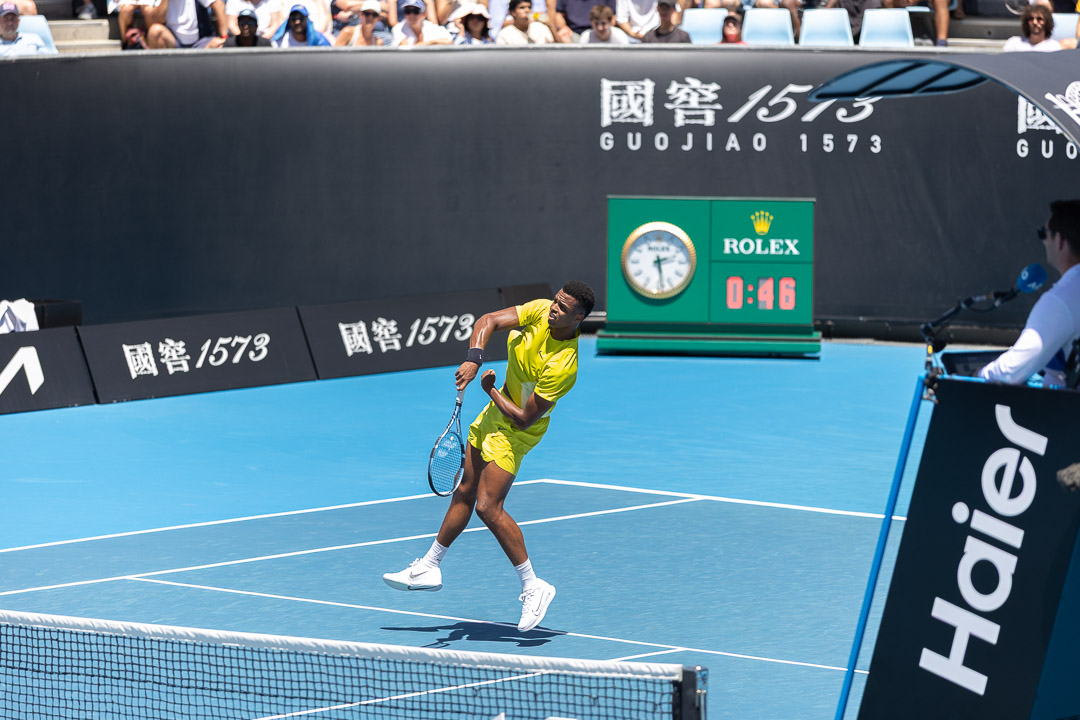
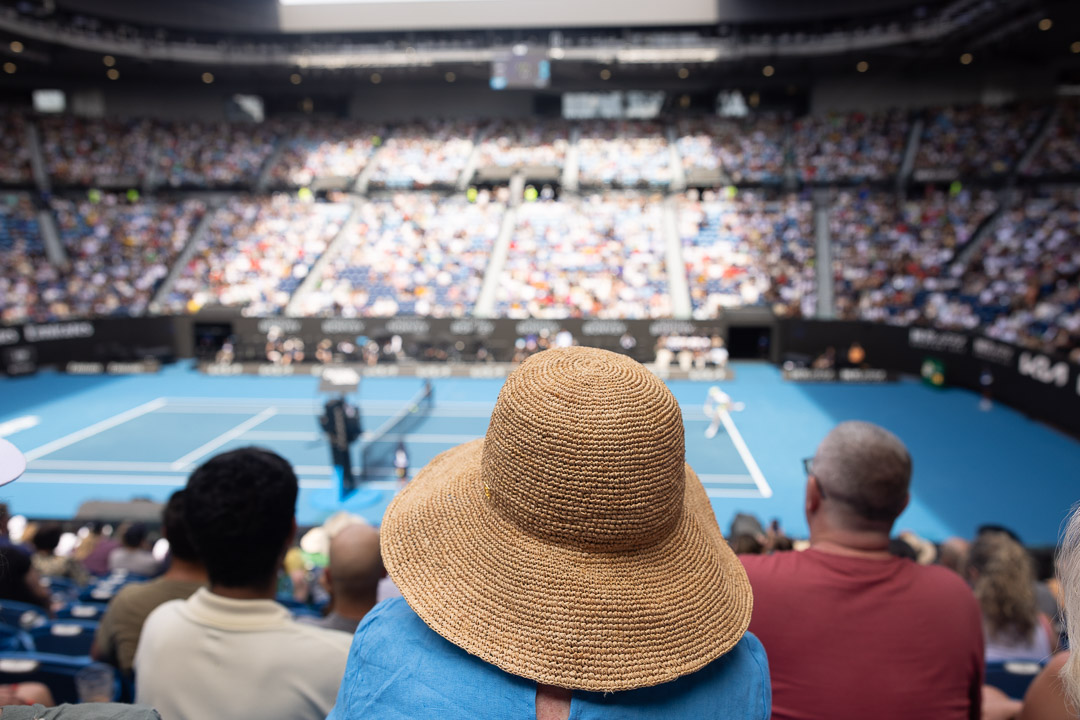
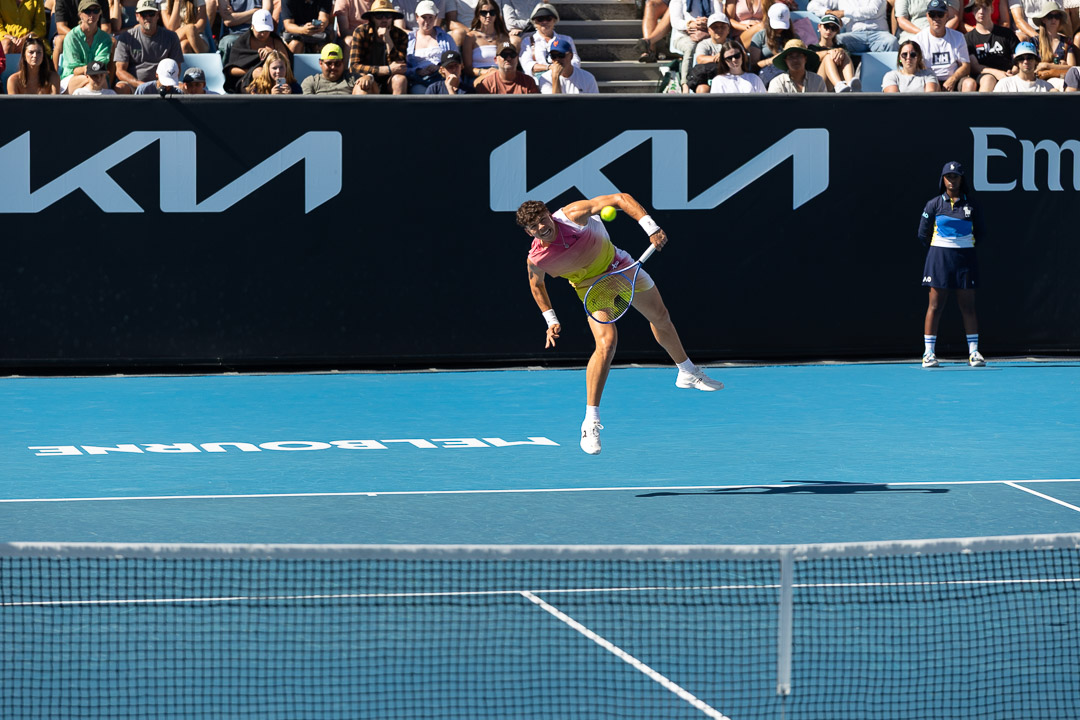
Rod Laver Arena
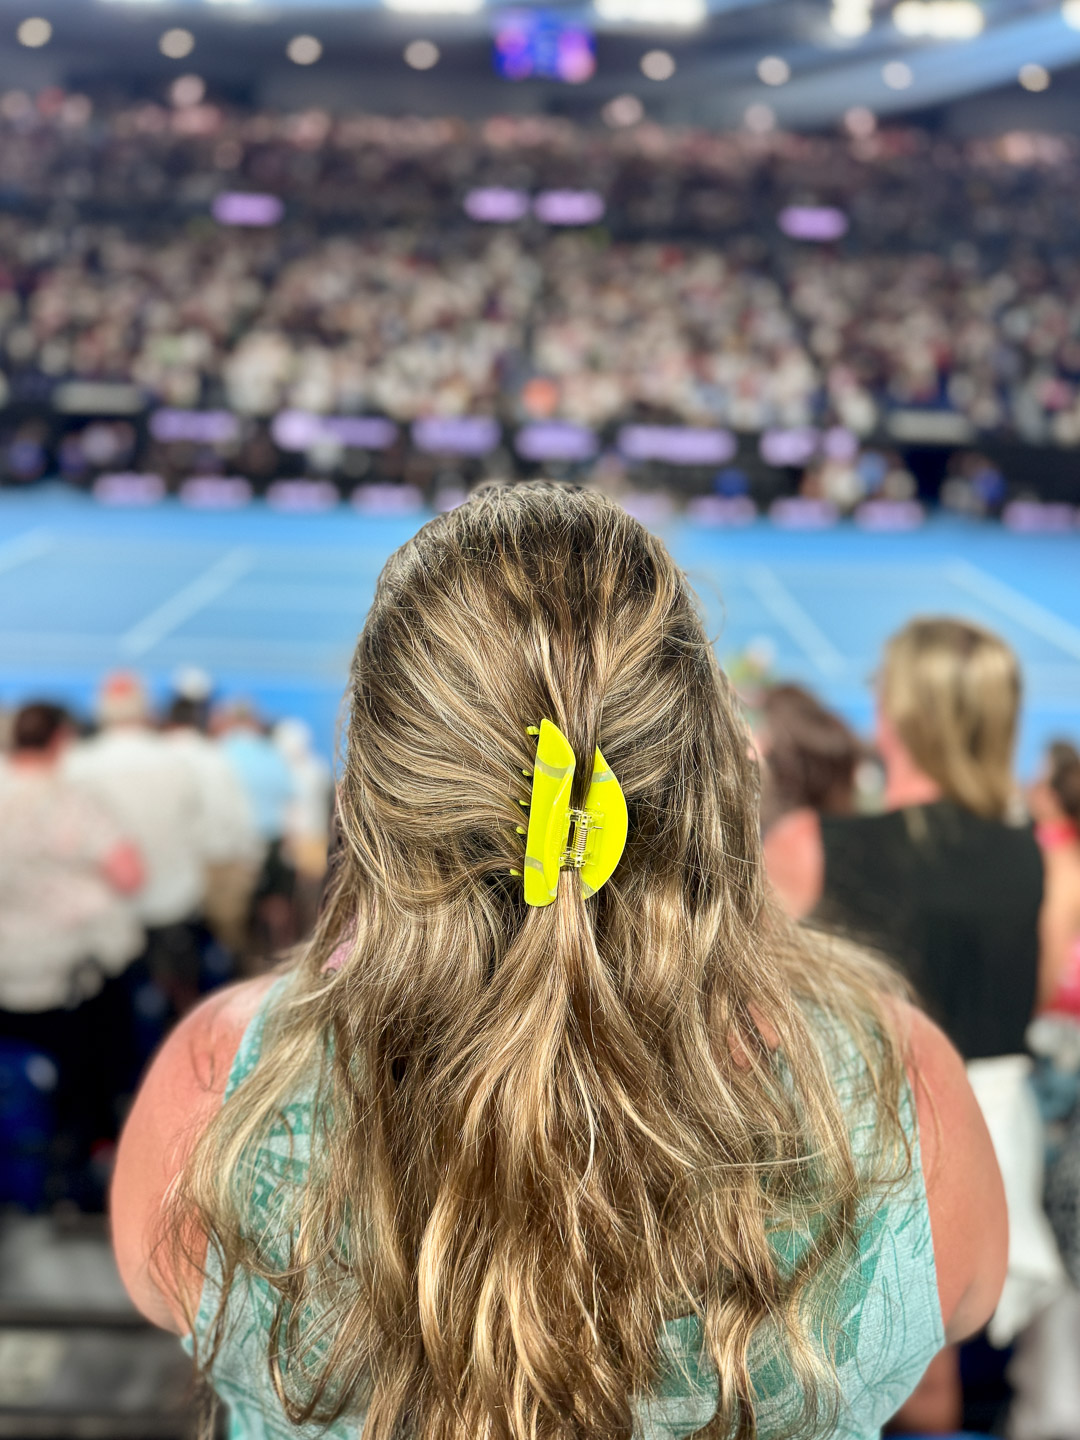
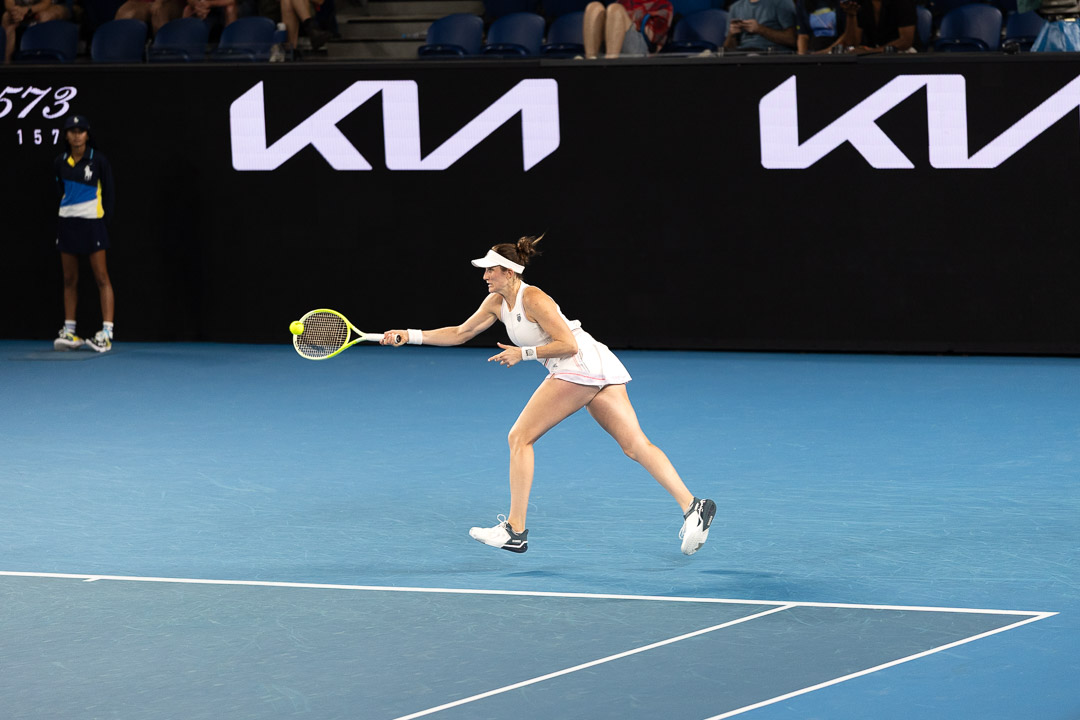
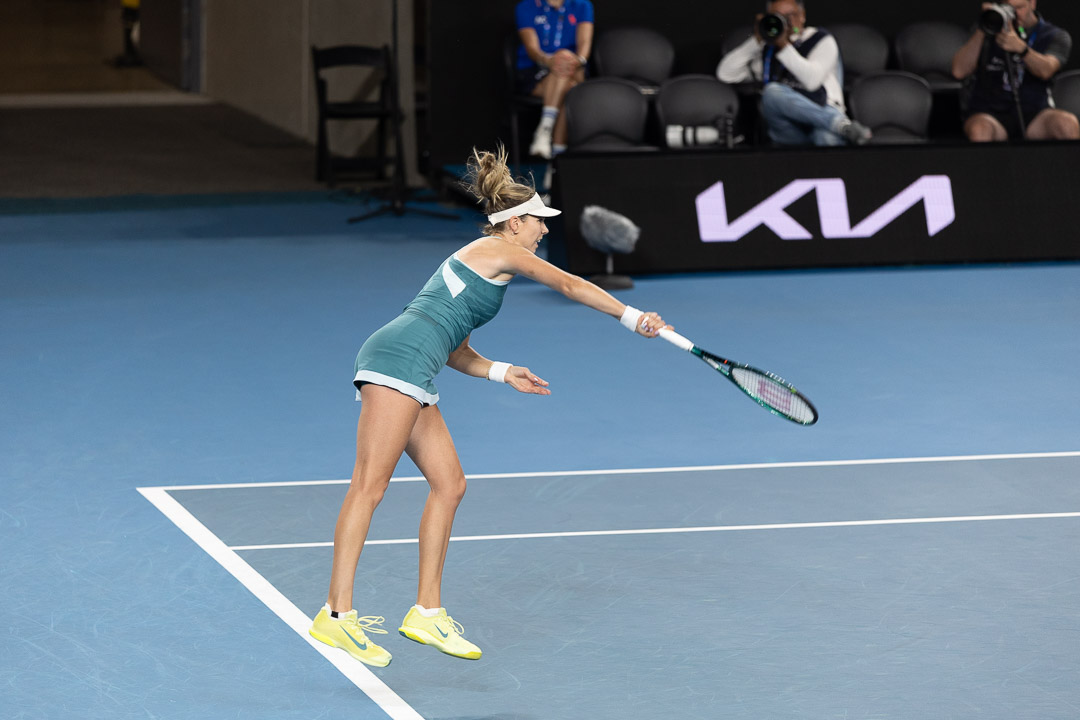
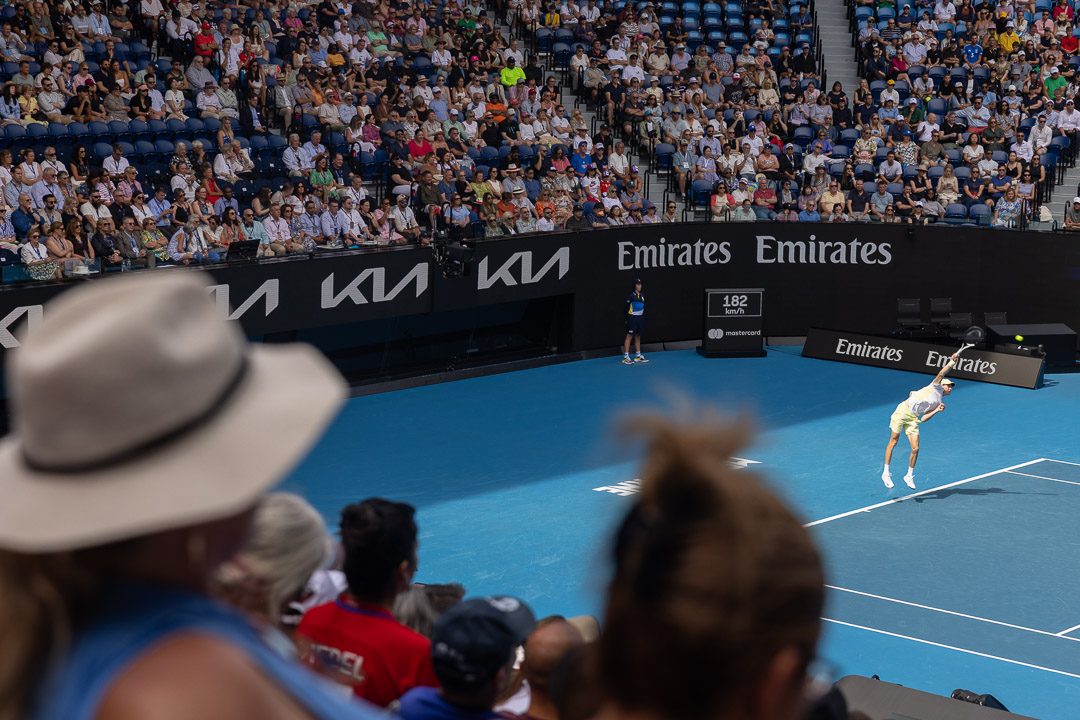
The largest stadium of the AO, Rod Laver Arena is truly electric. We saw several matches in Rod Laver, including night matches featuring fan favorite (and our favorite!) Coco and home country hero Alex de Minaur, as well as the annual Evonne Goolagong Cawley Day. Because the stadium is small by U.S. standards–for perspective, my college football stadium is seven times the size of Rod Laver Arena–there truly is no bad seat in the house. We went YOLO and got fourth and fifth row for night sessions because they were surprisingly affordable.
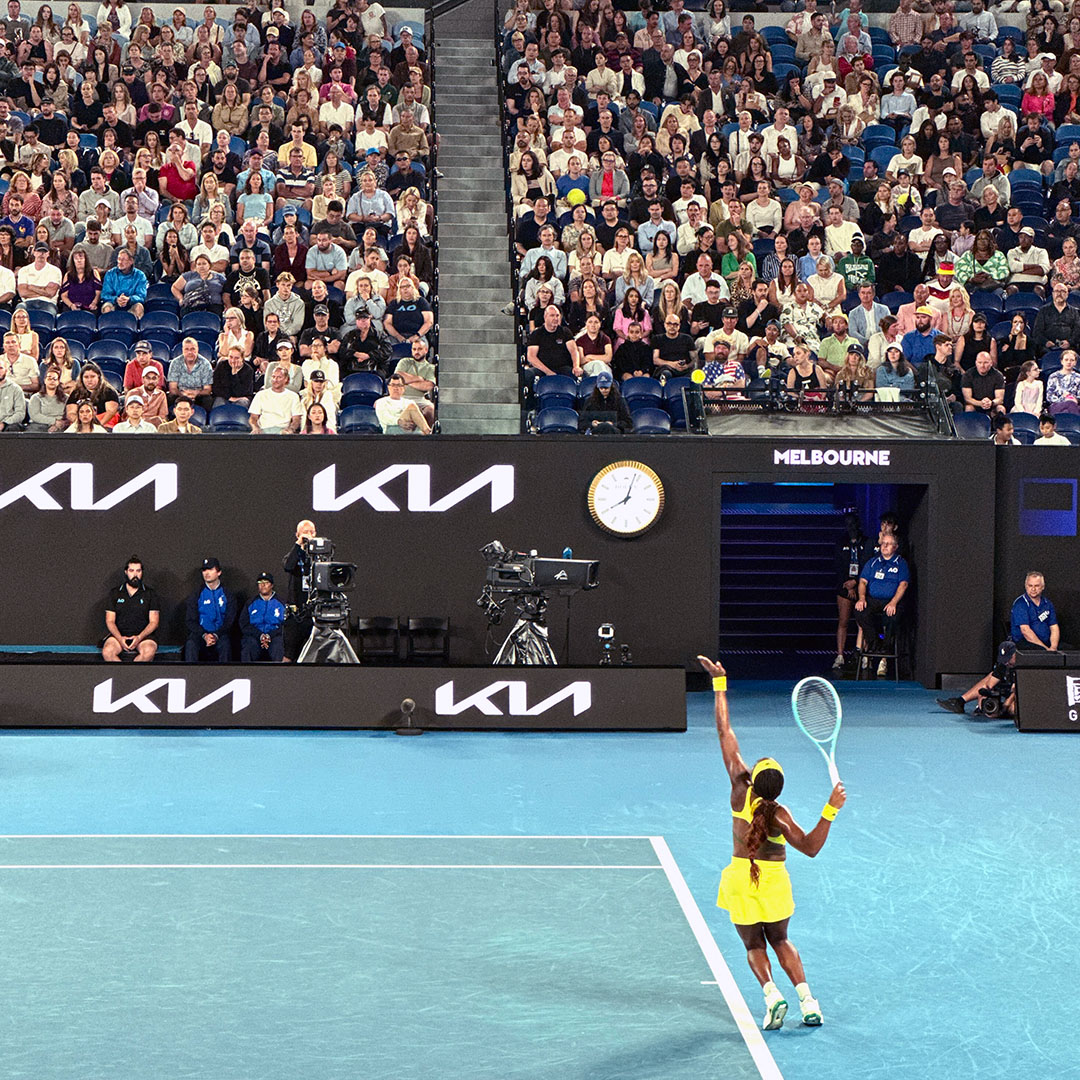
Prices for seats in Rod Laver Arena start at $75 a ticket for day sessions and $89 for night sessions. Rod Laver is covered by a retractable roof, so matches take place even when it’s raining. A ticket to Rod Laver Arena will not get you into Margaret Court Arena. It will get you into all outside courts and the non-reserved seats at John Cain Arena assuming they aren’t operating under a “one-in, one-out” approach as they did for some of the bigger matches while we were there.
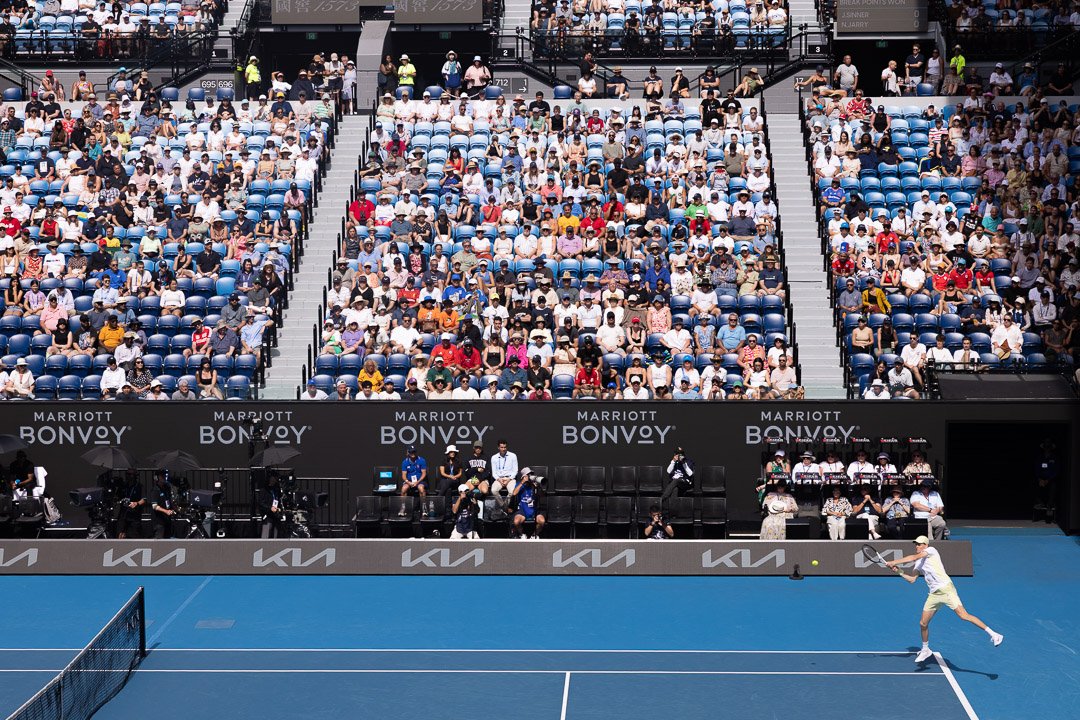
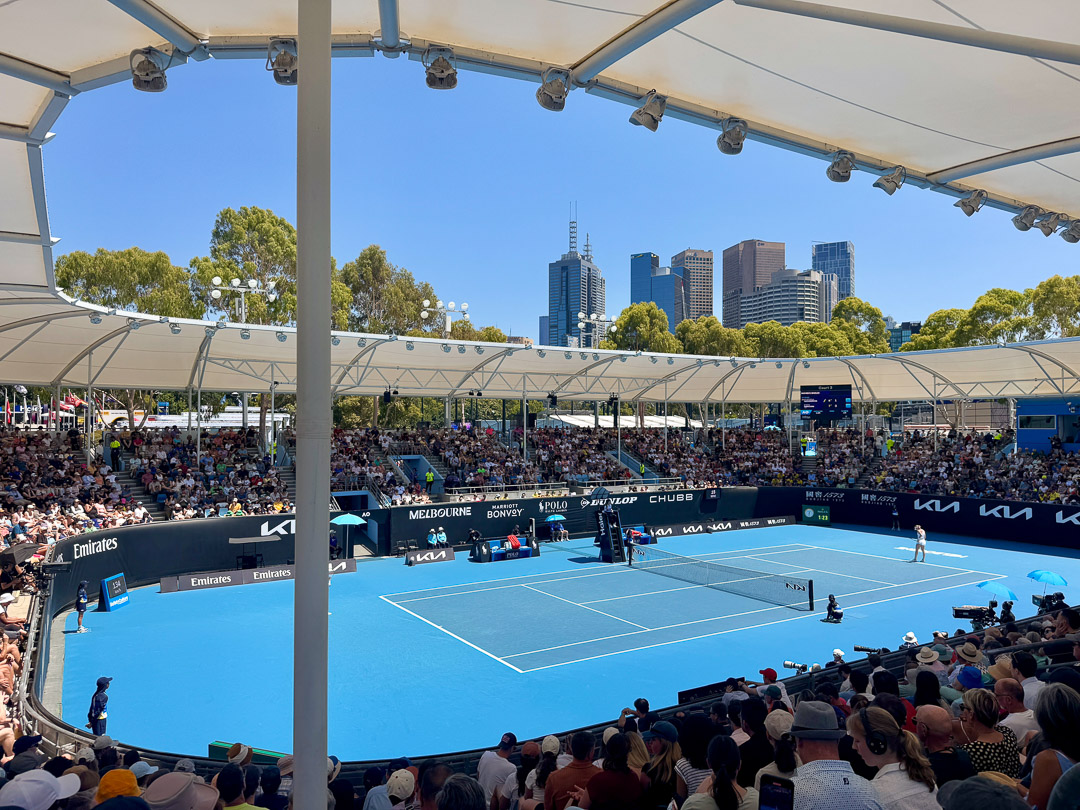
Margaret Court Arena
Margaret Court Arena is the third largest tennis stadium in Melbourne Park, but second to Rod Laver in terms of getting the big-name matches. It’s attached to Rod Laver via covered concourse.
Prices for seats in Margaret Court Arena start at $79 a ticket for day sessions and $69 for night sessions. Margaret Court has a retractable roof, so match play can continue during rain and extreme heat. A ticket to Margaret Court Arena will not get you into Rod Laver. It will get you into all outside courts and the non-reserved seats at John Cain Arena.
John Cain Arena
John Cain Arena is half-reserved seating, half-unreserved seating. Depending on the match, especially in the earlier rounds, your other stadium tickets or grounds passes will get you into the reserved side.
Prices for reserved seats in John Cain Arena start at $79 a ticket for day sessions and $65 for night sessions.
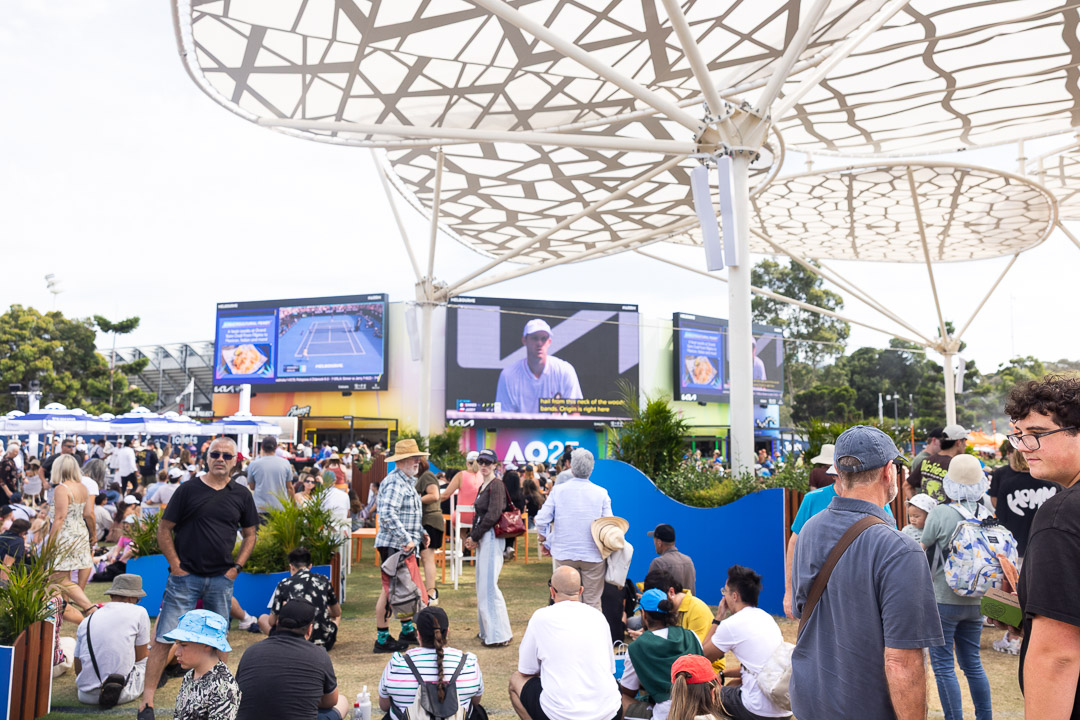
The AO Hilltop
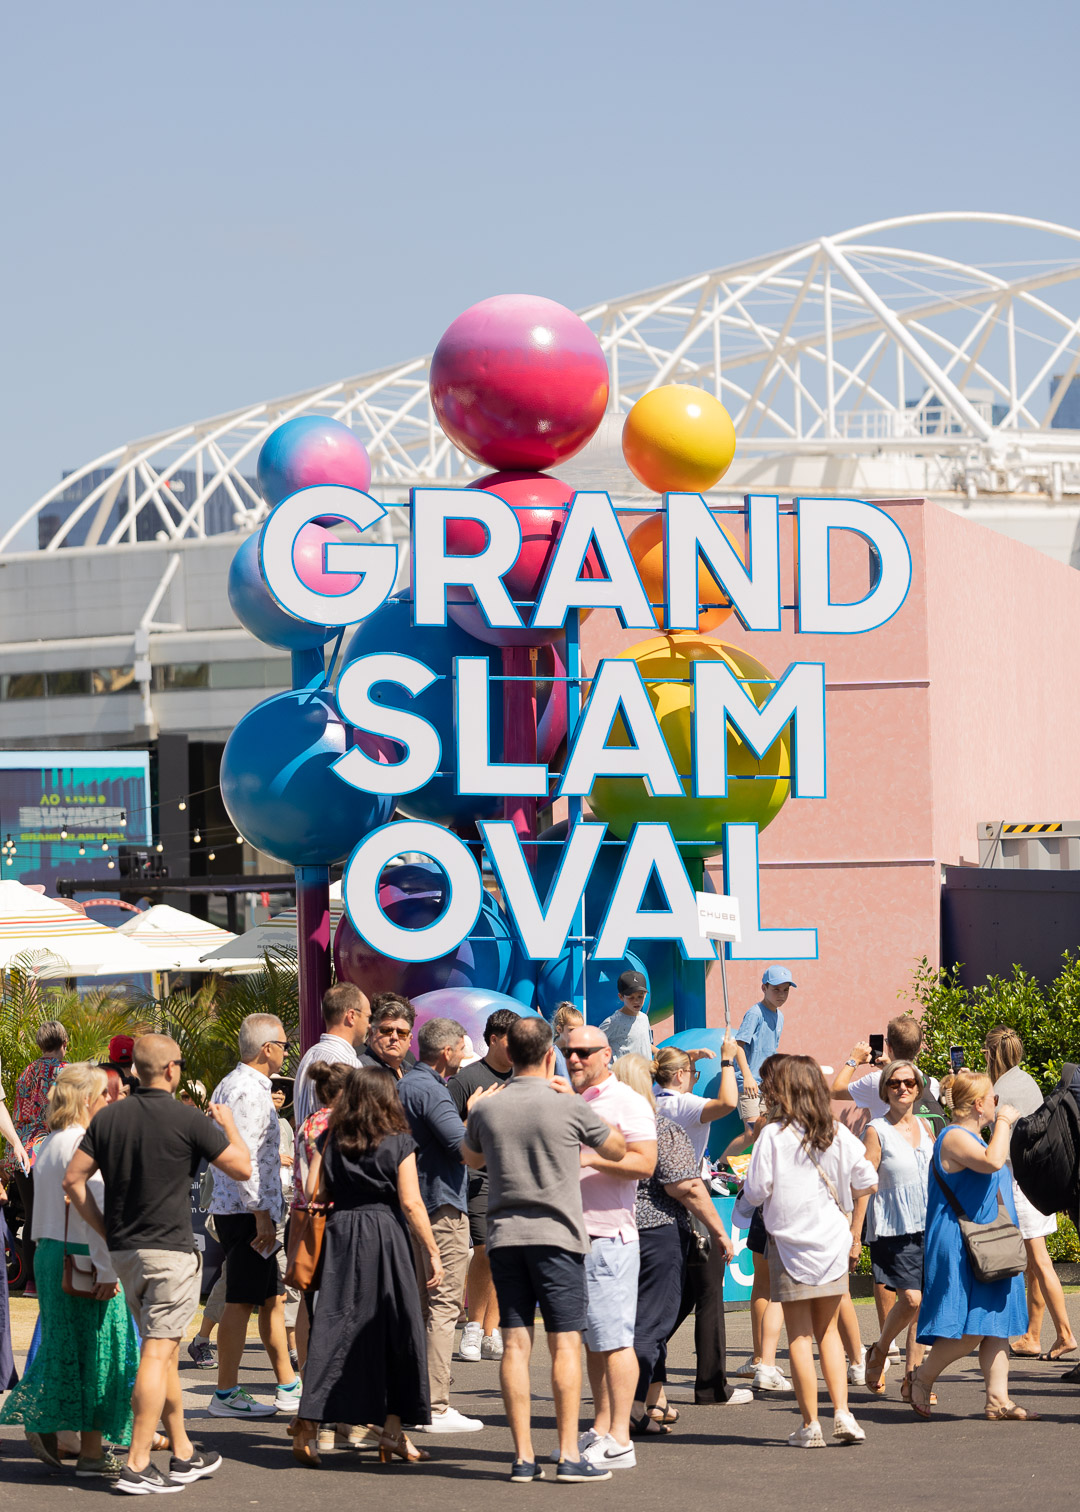
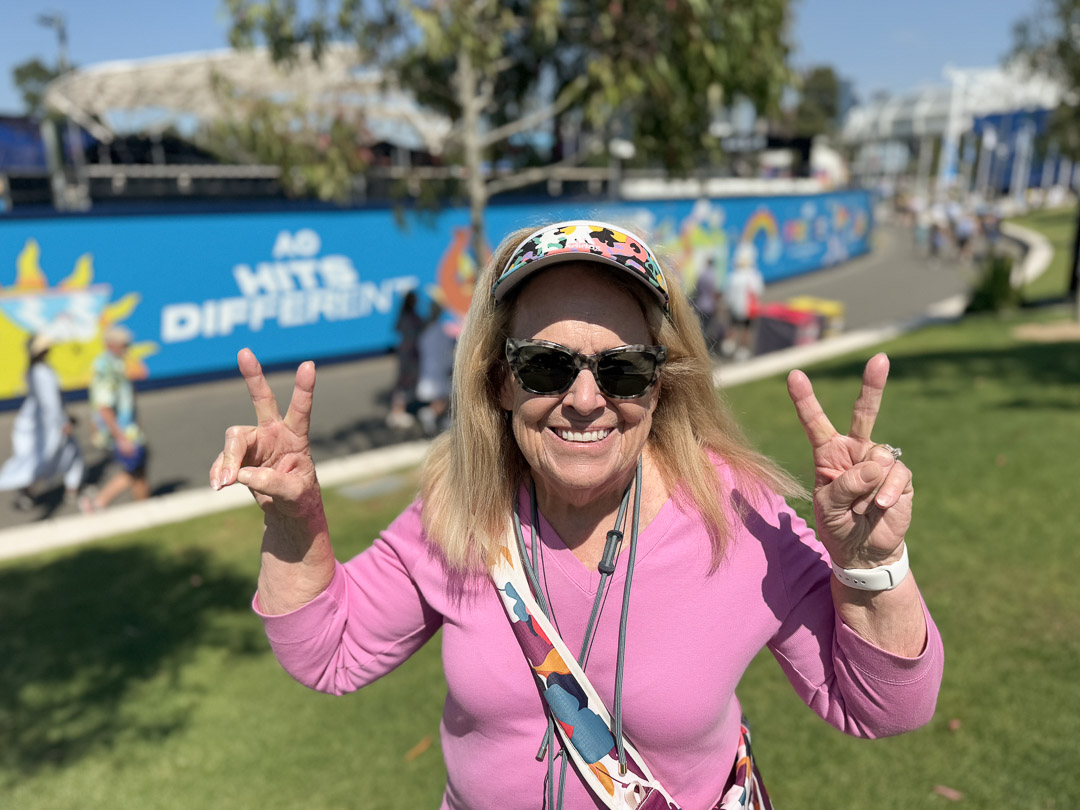
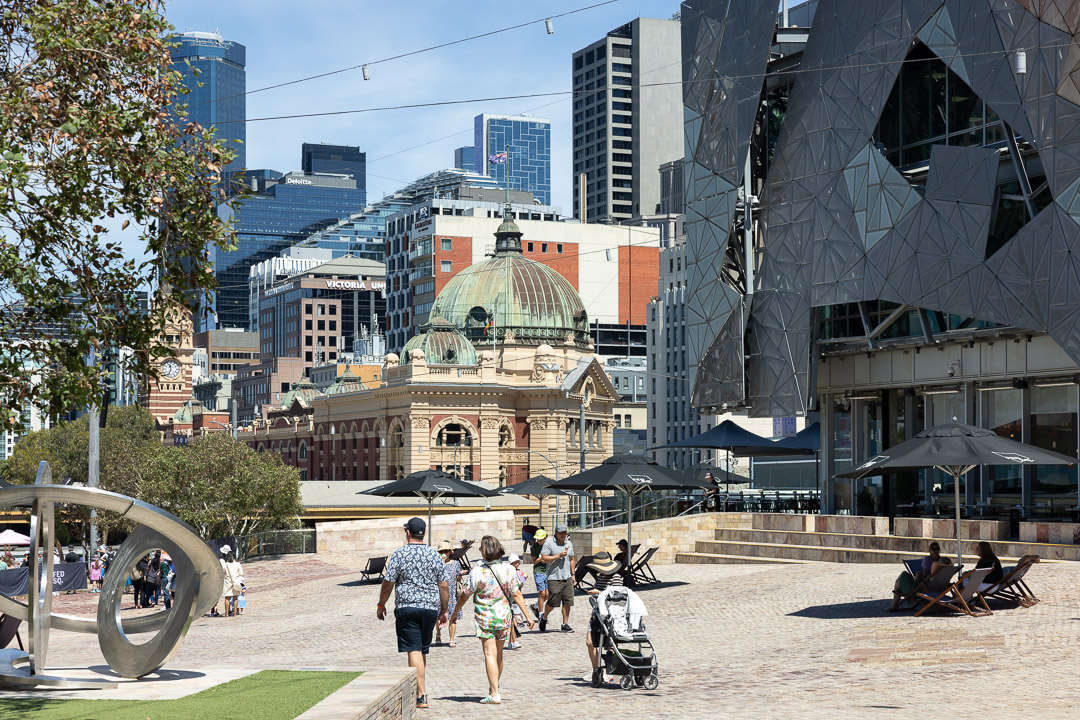
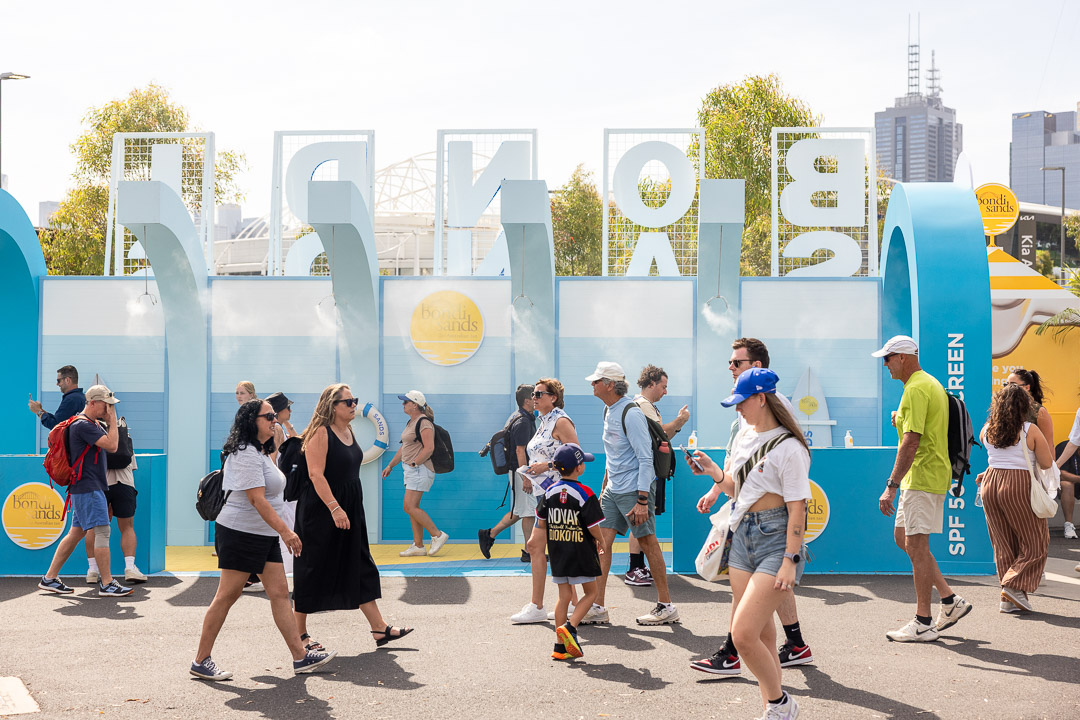
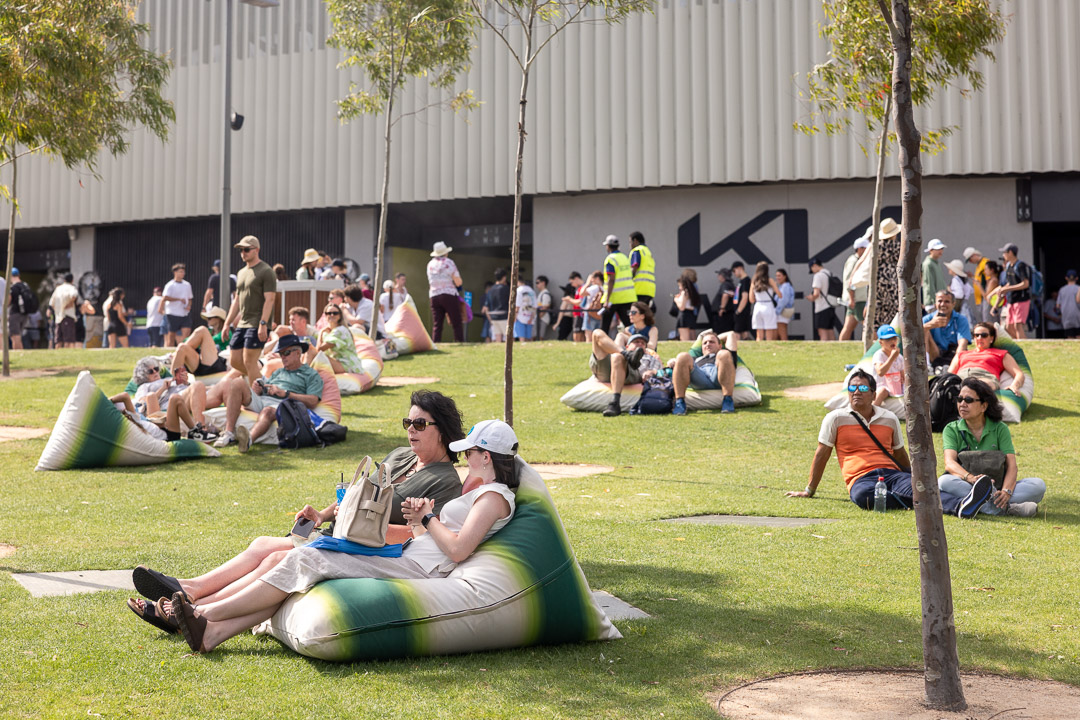
More casual fans or budget travelers can still enjoy the fun via the big screens at the AO Hilltop, a non-ticketed area that is open the entirety of the two-week main draw. It’s free to visit, and there are brands and activations on site, as well as great views of the Melbourne skyline.
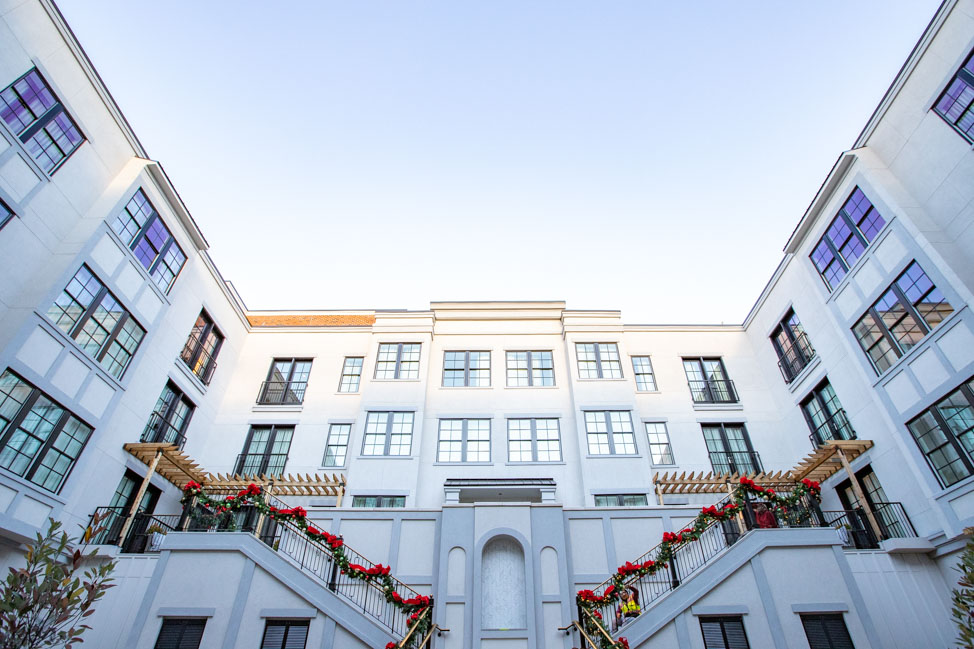
Getting to the Australian Open
The hardest part of getting to the Australian Open from America was obviously the flight, though we flew into Melbourne Airport and found it a very seamless travel experience. As the second largest airport in Australia, Melbourne Airport (MEL) is serviced by many nonstop flights daily from major international hubs; we arrived direct from Singapore.
We cashed in points from this credit card to fly business class on Singapore Airlines there and in QSuites on Qatar Airways on the way back, paying just the cost of taxes. If you’re based in the US and have not started playing the credit card points game, let me convince you it’s worth it to fund your tennis trips along. I’ve got a full post on how to get started with credit card points here.
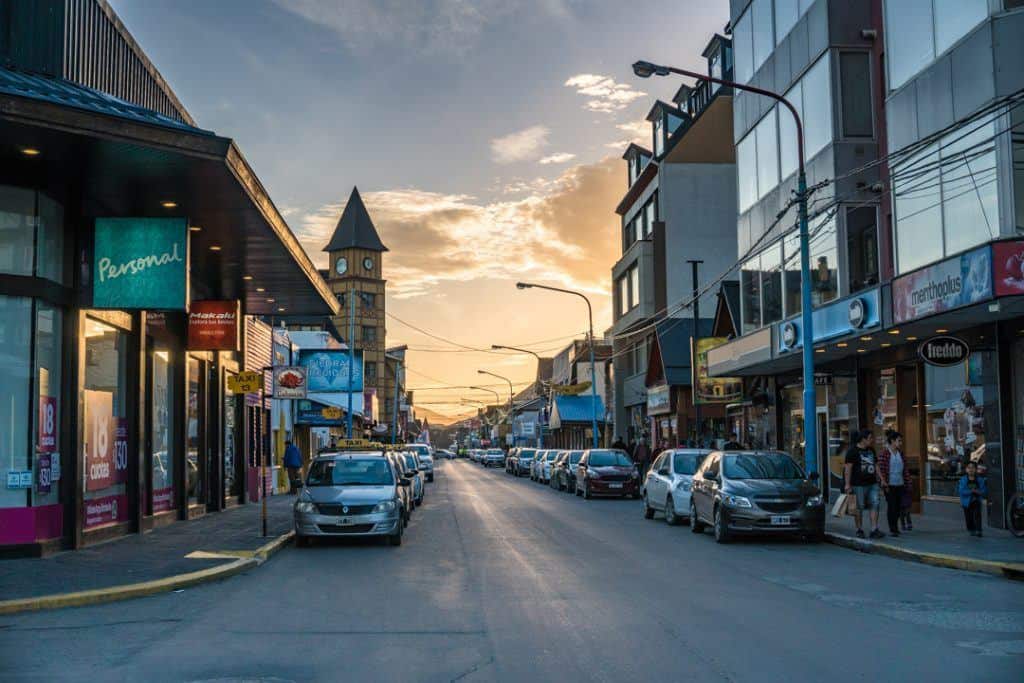
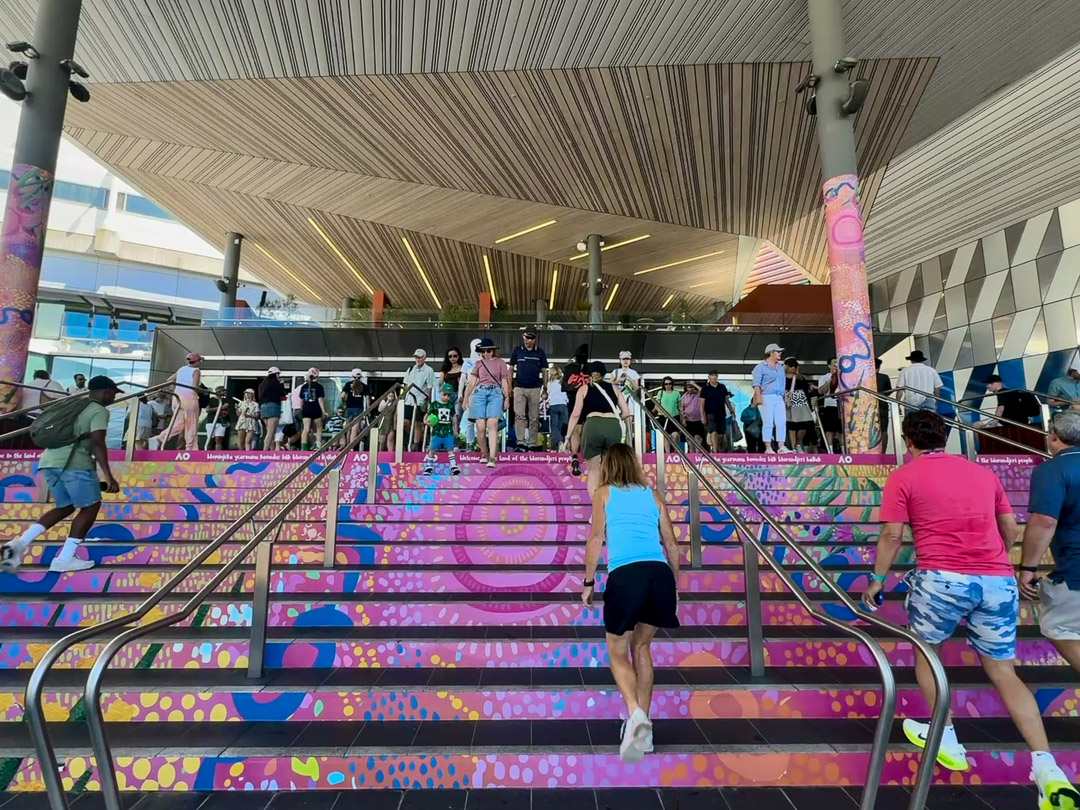
From Melbourne Airport to our vacation rental was just 20 minutes by Uber.Once you’re in Melbourne, it is extremely easy to get to the Australian Open. We took Ubers everywhere and never paid more than $10 a trip, even during surge pricing times. The location of the Australian Open is so convenient that you can also walk if you’re staying centrally, or alternately, take an Uber to the central core and walk the rest of the way.
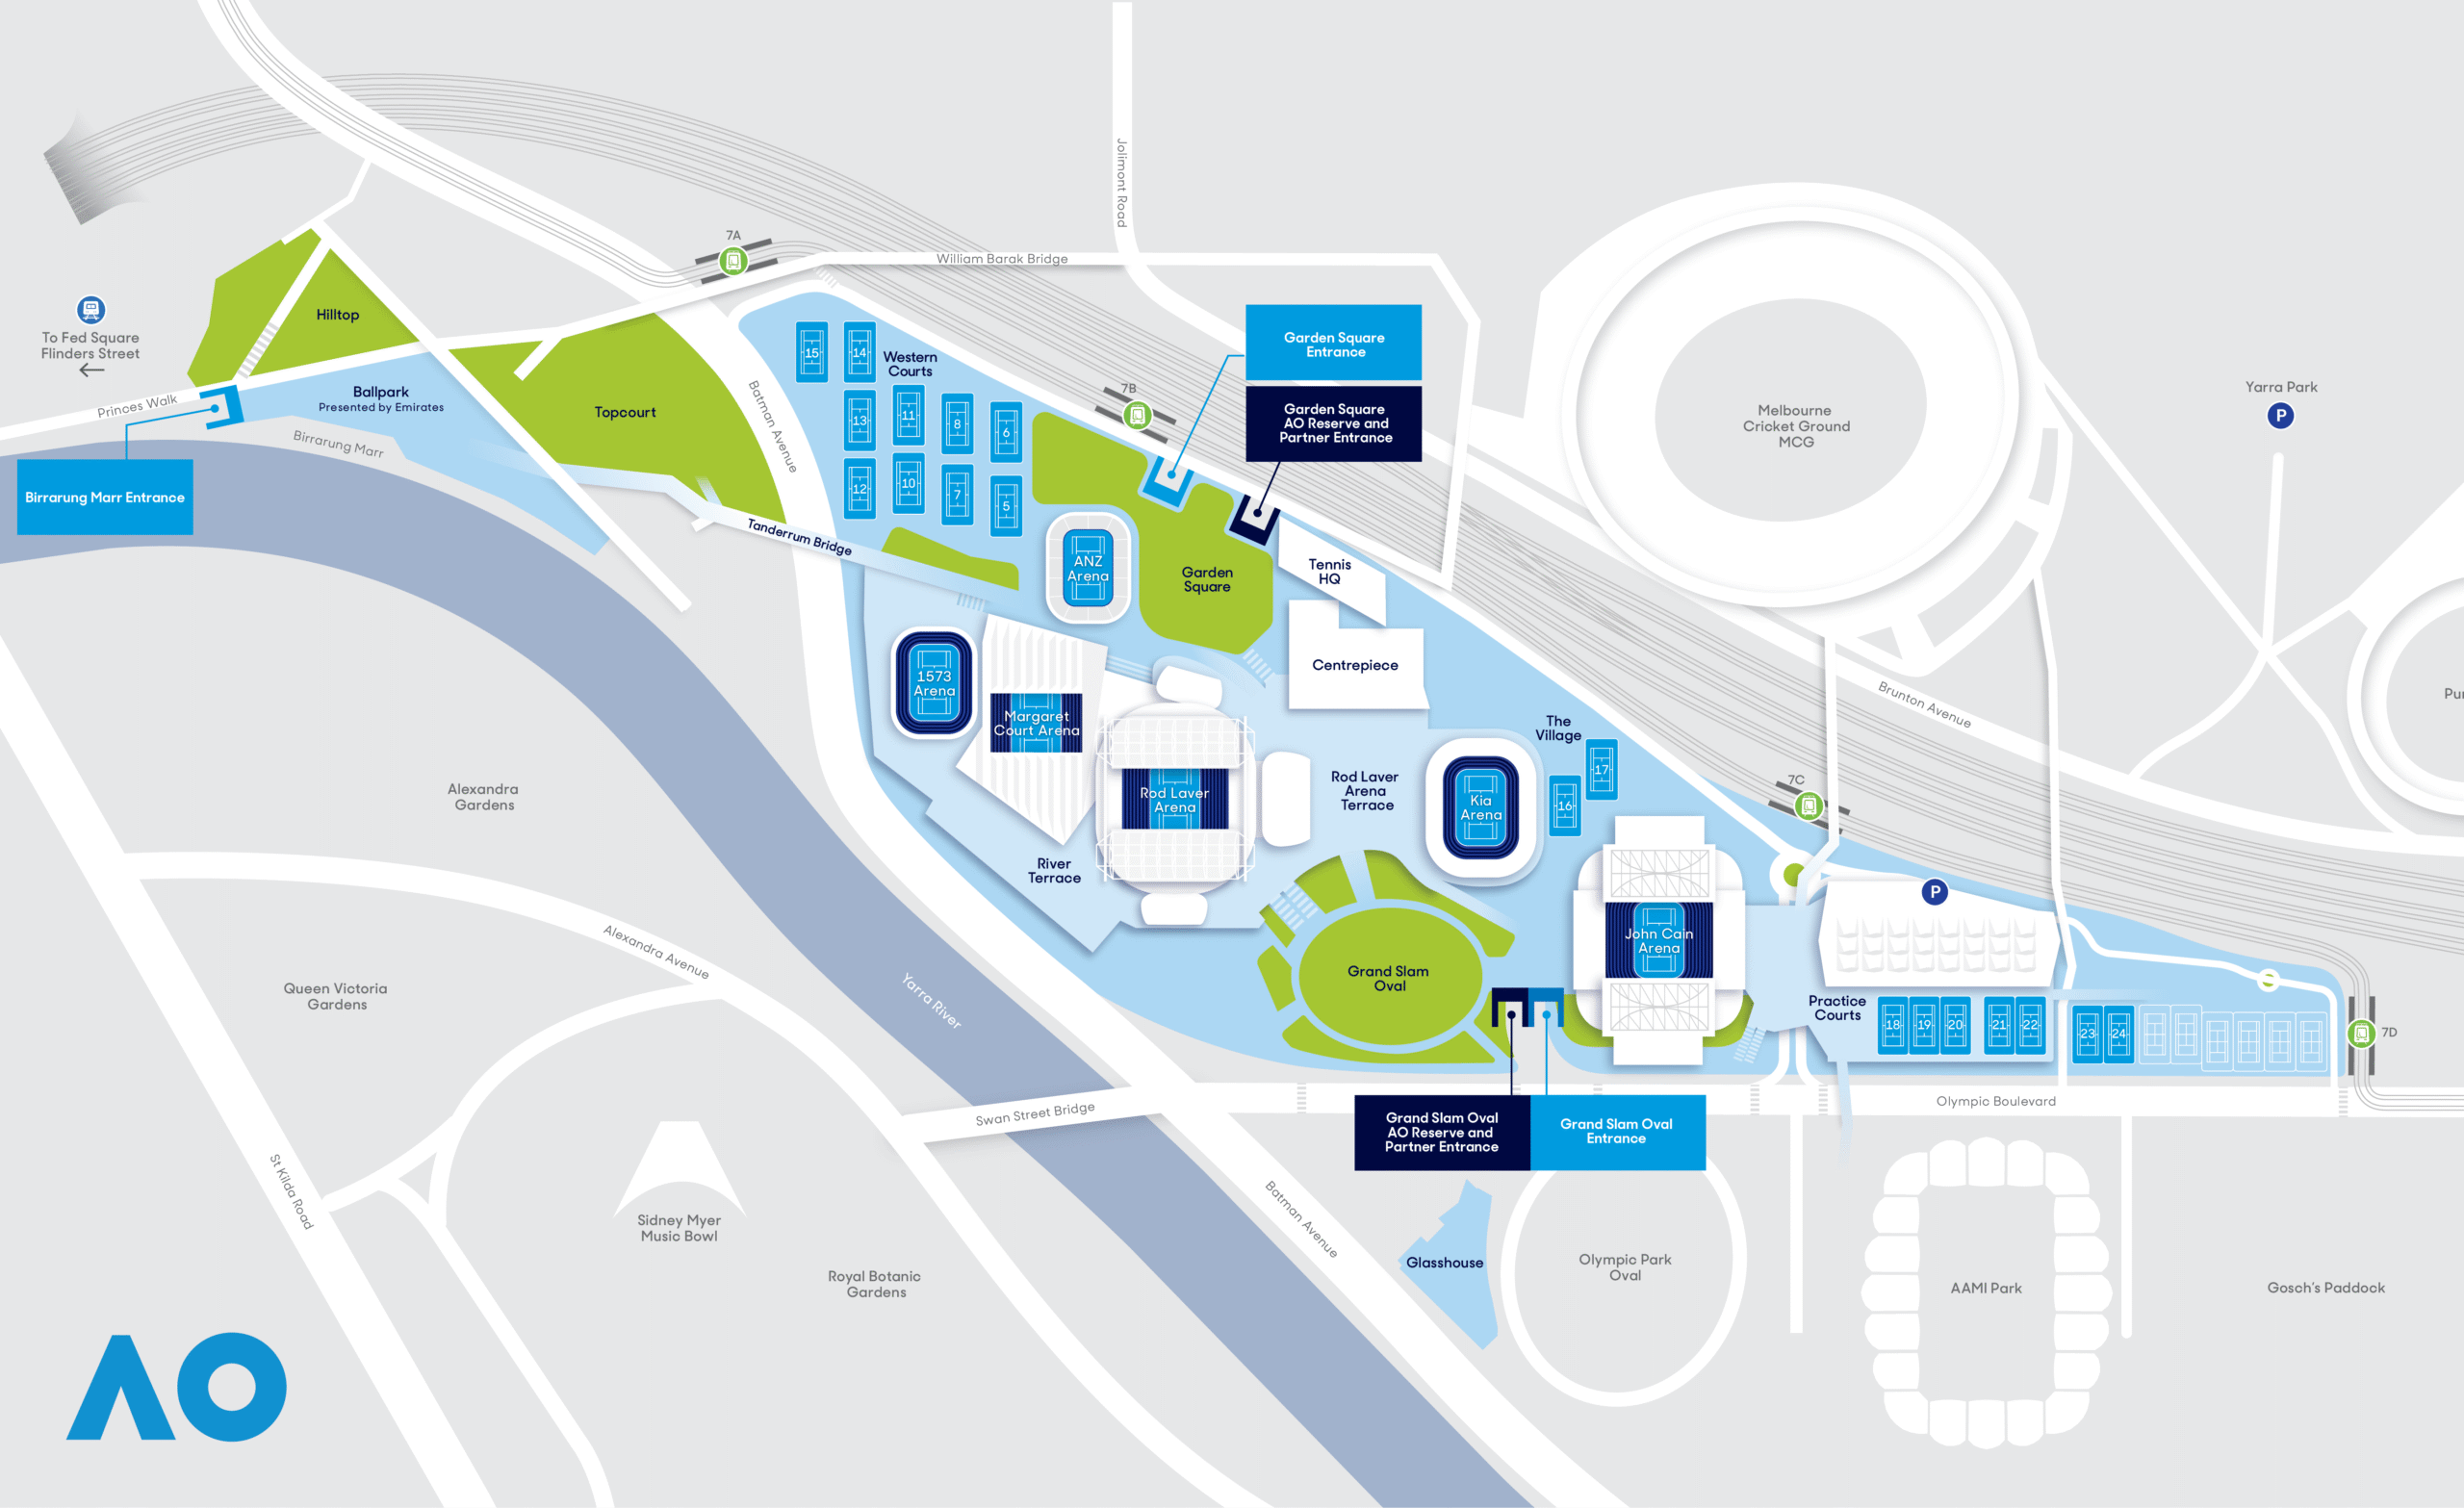
But there’s also a free tram in Melbourne to the Australian Open. From Flinders Street Station, you can hop on a tram straight to Melbourne Park or walk across the Tanderrum Bridge through Birrarung Marr to reach the Garden Square entrance. Richmond Station also offers an easy walk along Olympic Boulevard to the Grand Slam entrance, while Jolimont Station provides another convenient option just a short stroll through Yarra Park.

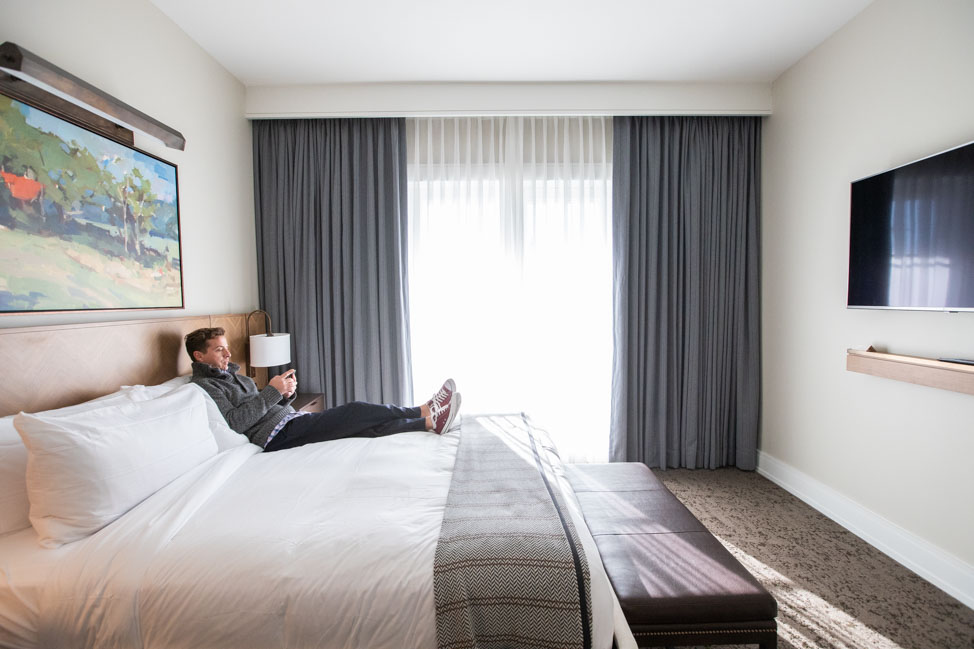
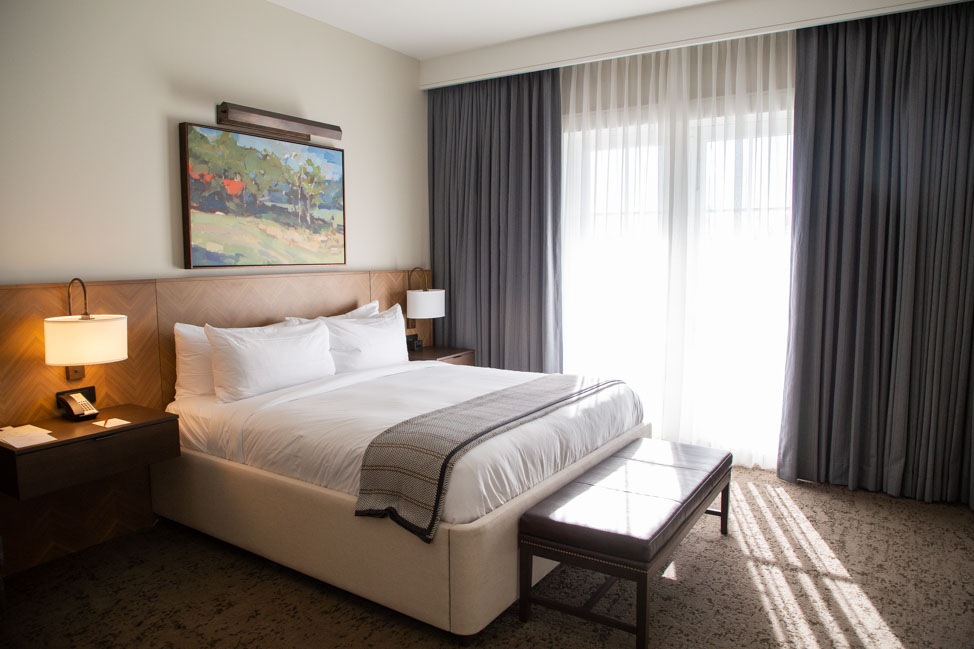
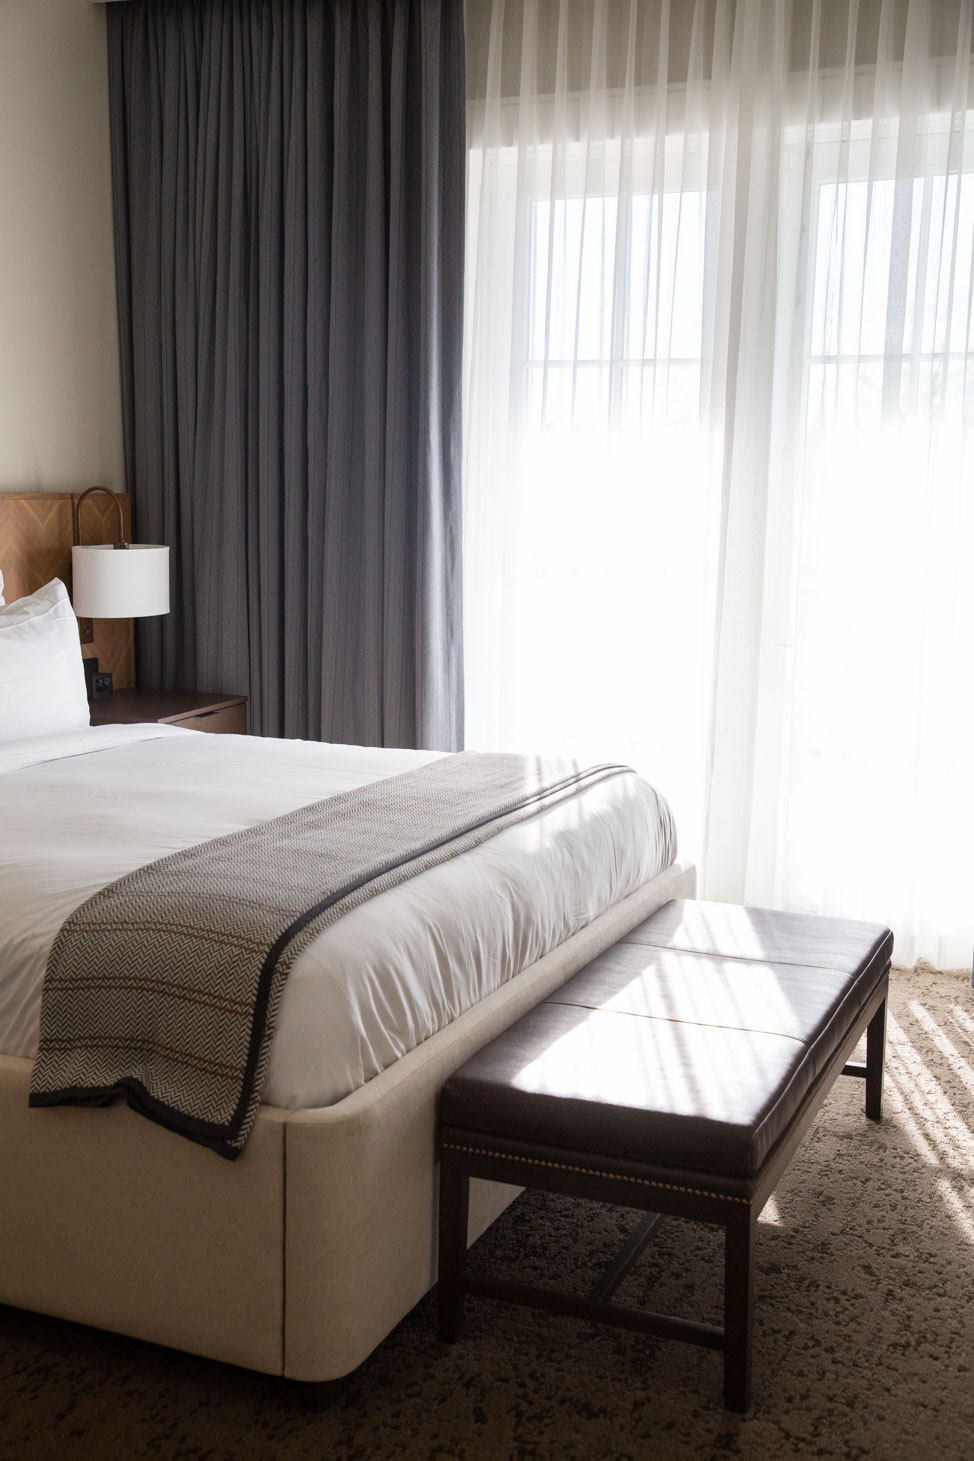
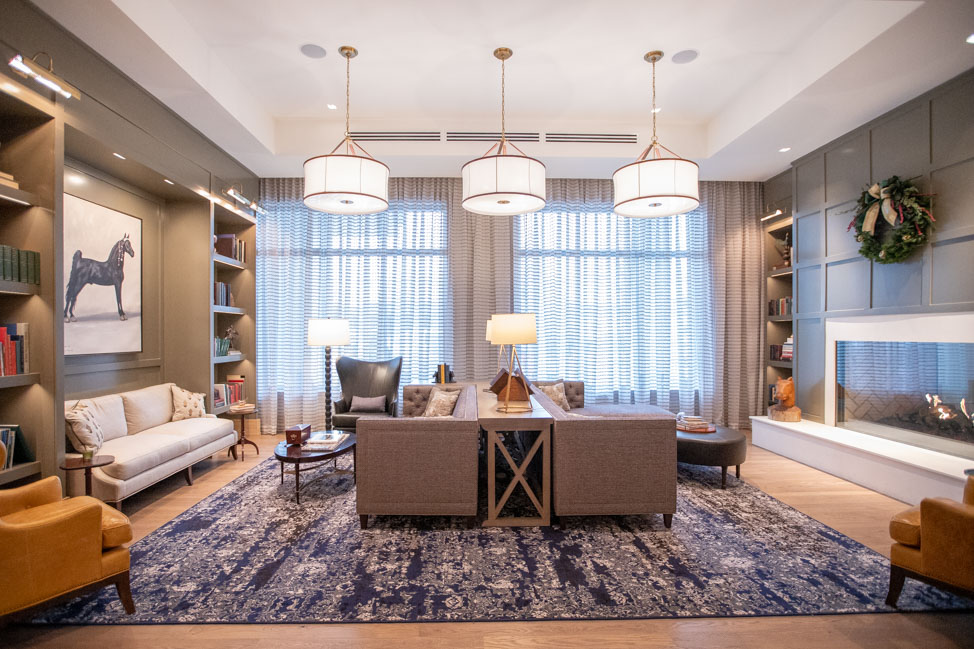
Where to stay in Melbourne for the Australian Open
You can stay anywhere in Melbourne and easily reach the Australian Open grounds. Since there were six of us traveling, we opted for a four-bedroom vacation rental in South Melbourne, which was such a fun location to be in both for exploring the city and getting to and from the tennis.
If you’re looking for a hotel in Melbourne instead, Melbourne Park is sandwiched among the Central Business District (CBD), East Melbourne, Southbank and Richmond. All of these hotels are close to the tennis:
What it cost us to go to the Australian Open in 2025
Cost is obviously going to vary based on where you’re coming from and also your exchange rate. In 2025, the U.S. dollar was strong compared to the AUD, so we came out on top. We also used points for flights, so just paid $100 or so in taxes and fees. Here’s what everything else cost us (in USD):
- Grounds passes to the AO: $32 per person
- Margaret Court day session: $159 per person for seventh row
- Rod Laver arena night session: $206 per person for fifth row
- Vacation rental in South Melbourne: $78 per person per night
- Uber to the tennis: $8-12 each way
If you’re using credit cards abroad, make sure you use a card without foreign transaction fees (most of the big travel cards like the Chase Sapphire Reserve, the CapitalOne Venture X and the AmEx Platinum do not have FTCs). Of all the Grand Slam and ATP/WTA 1000 events I’ve attended, this was by far the most afforable.
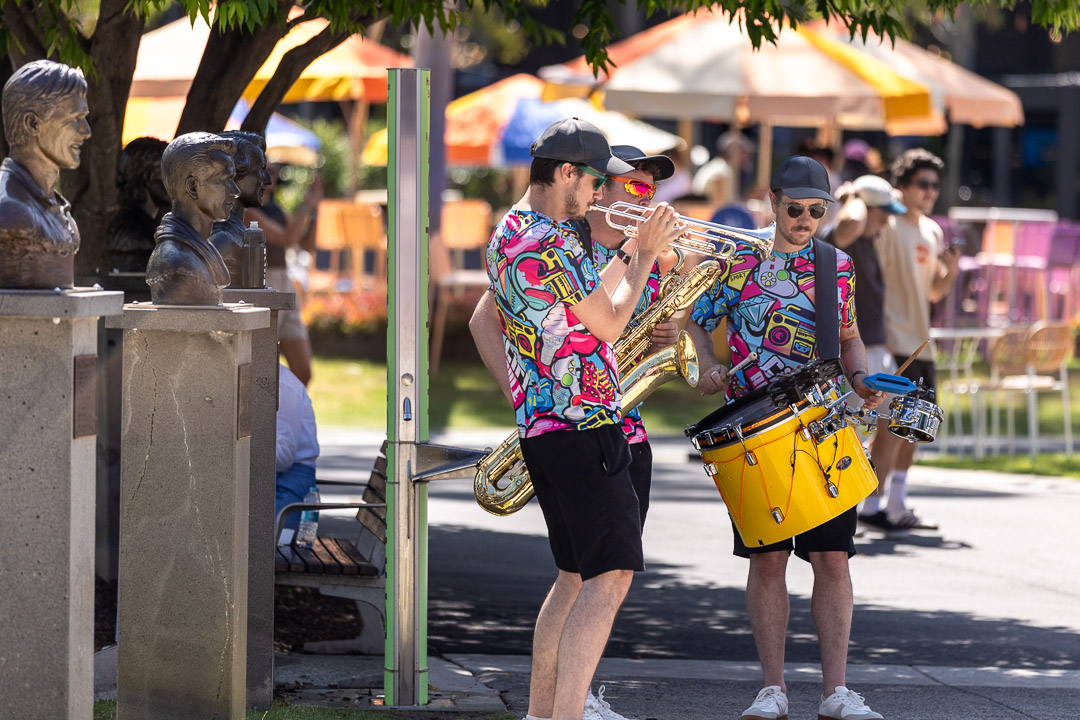
The AO experience
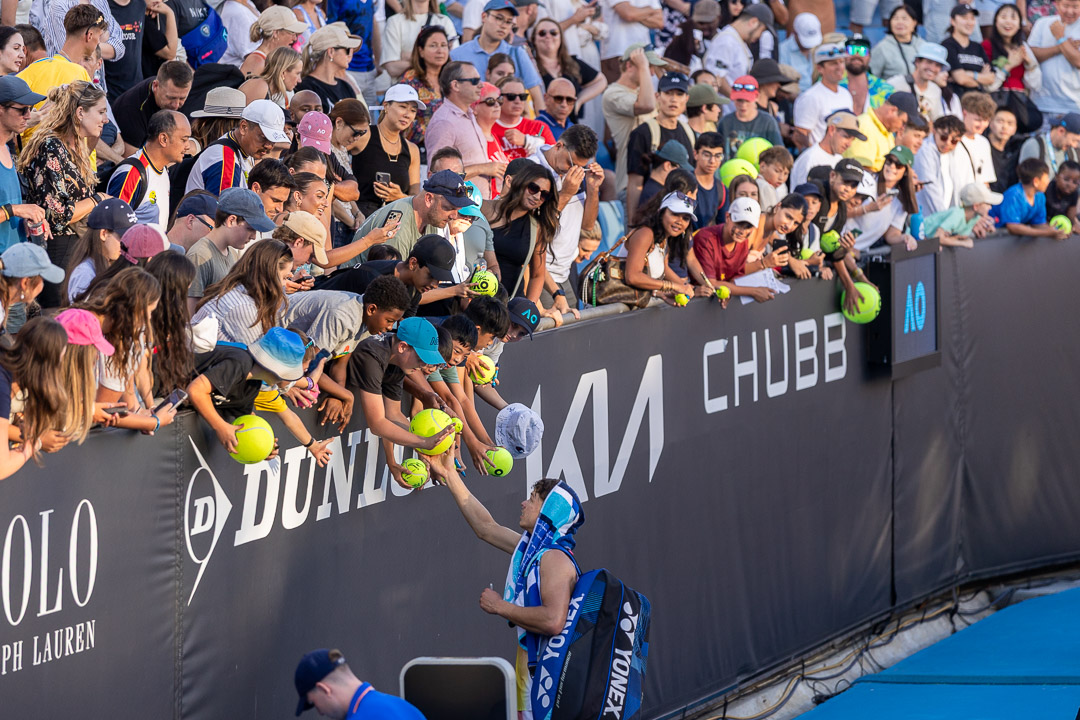
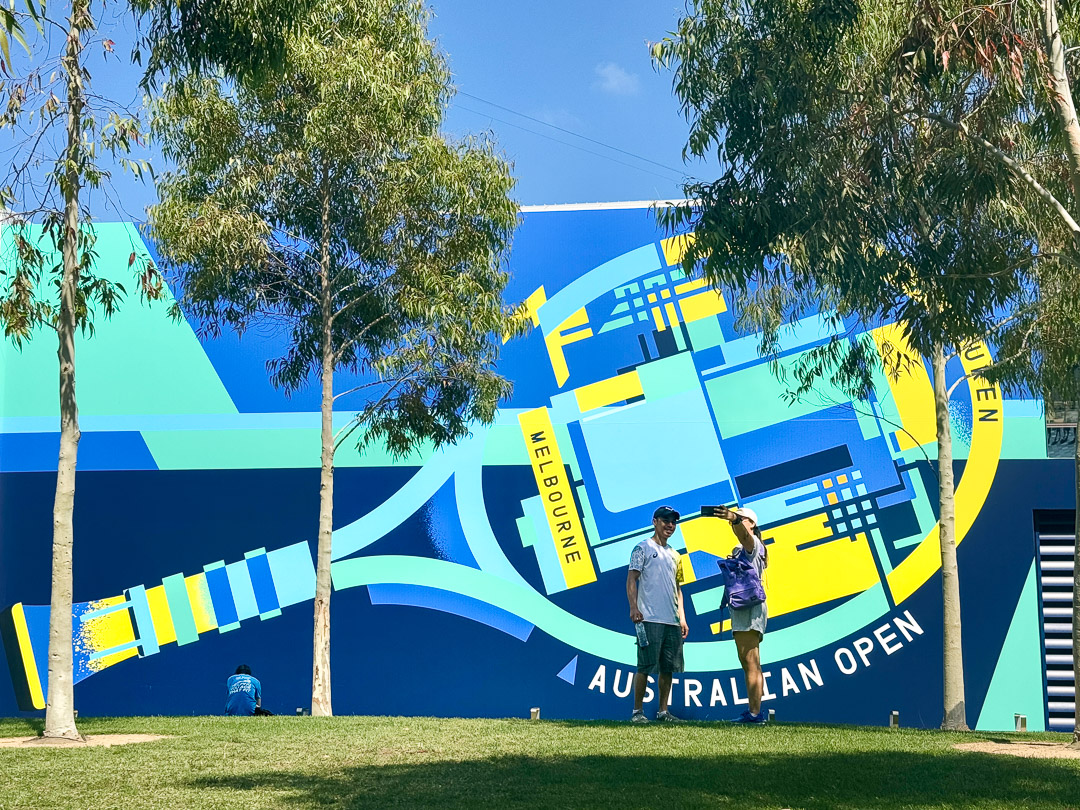
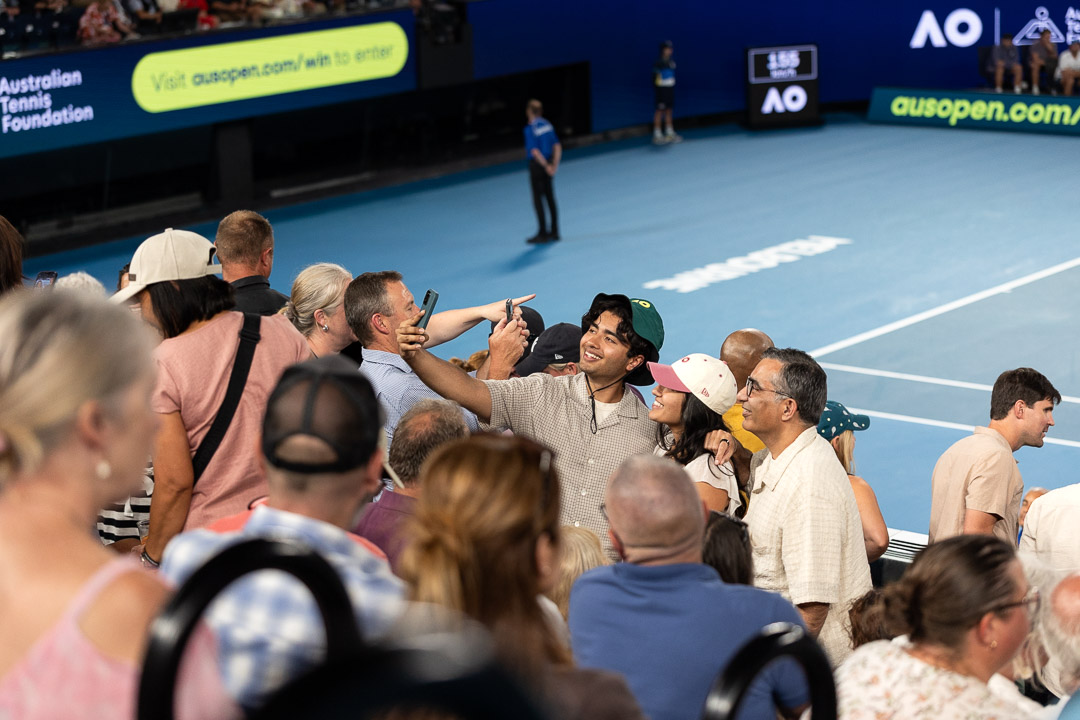
The tagline is “the AO hits different,” and they’re not wrong: Everything about “the tennis” (what Aussies call the Australian Open) was just plain fun. It truly felt like summer Down Under, and from the Bondi Sands sunscreen stations to the various brand activations, I was in love with this tournament from the second we stepped foot onto the grounds.
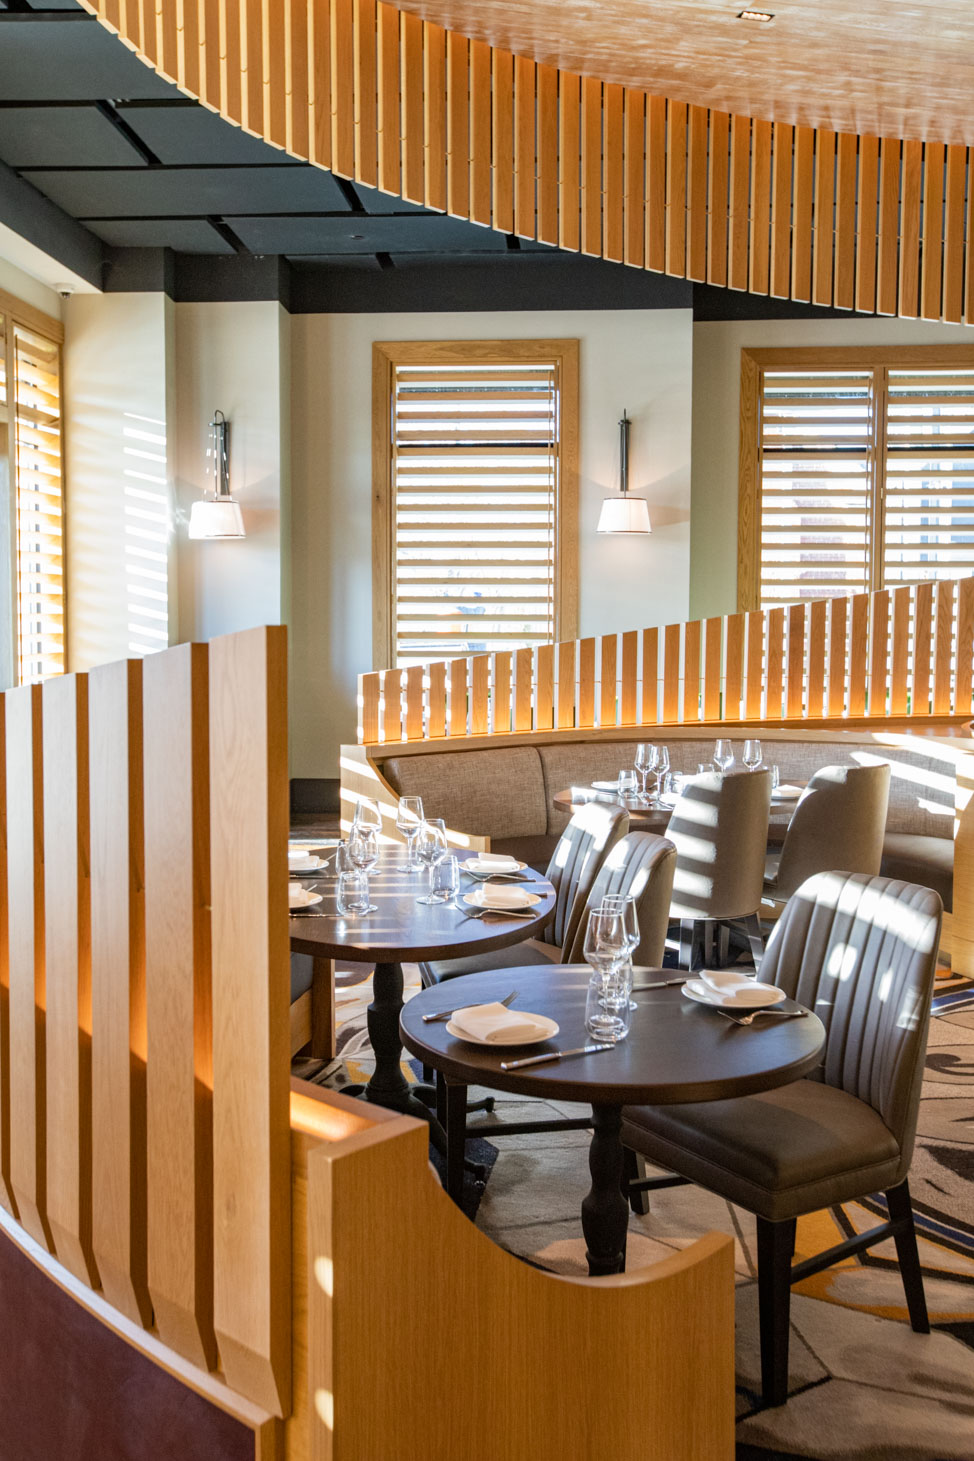
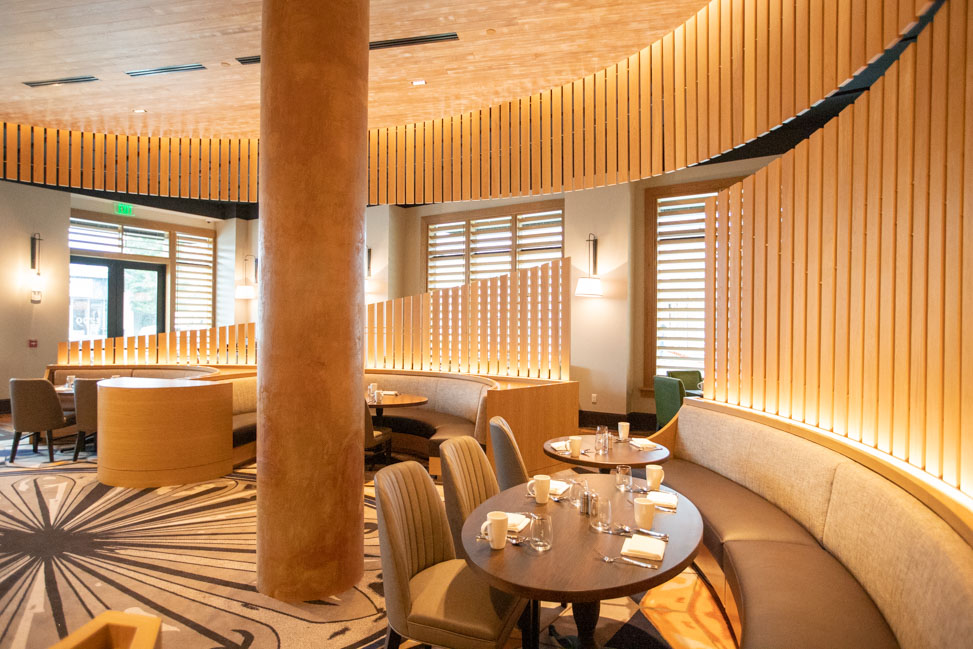
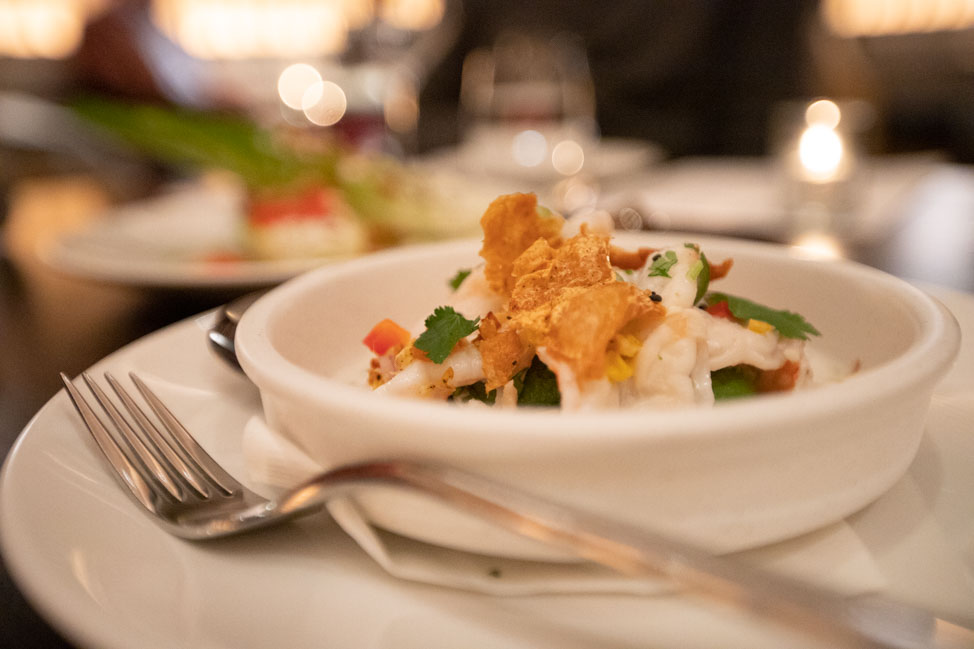
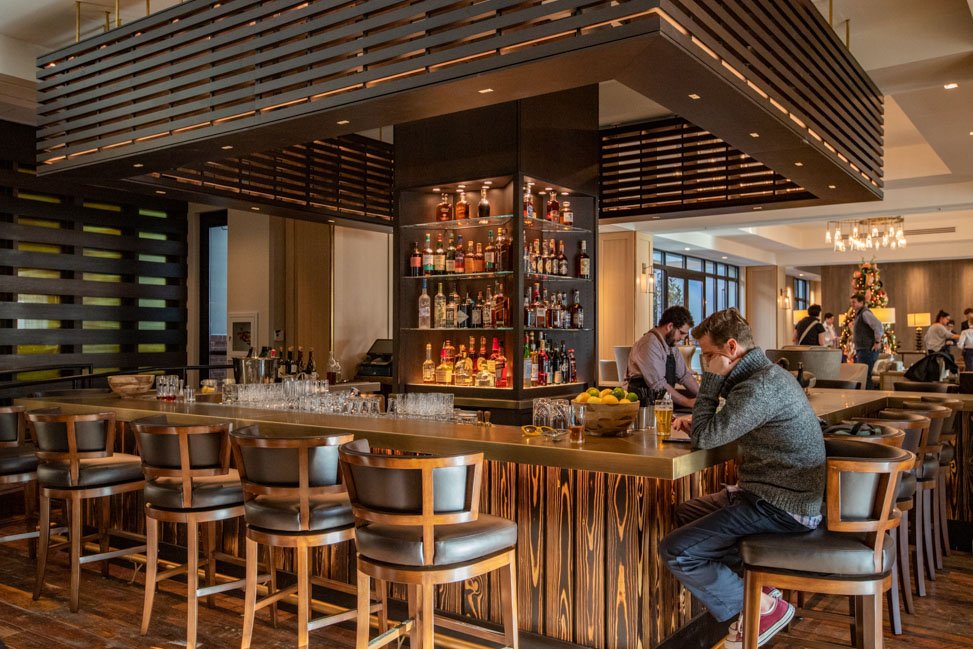
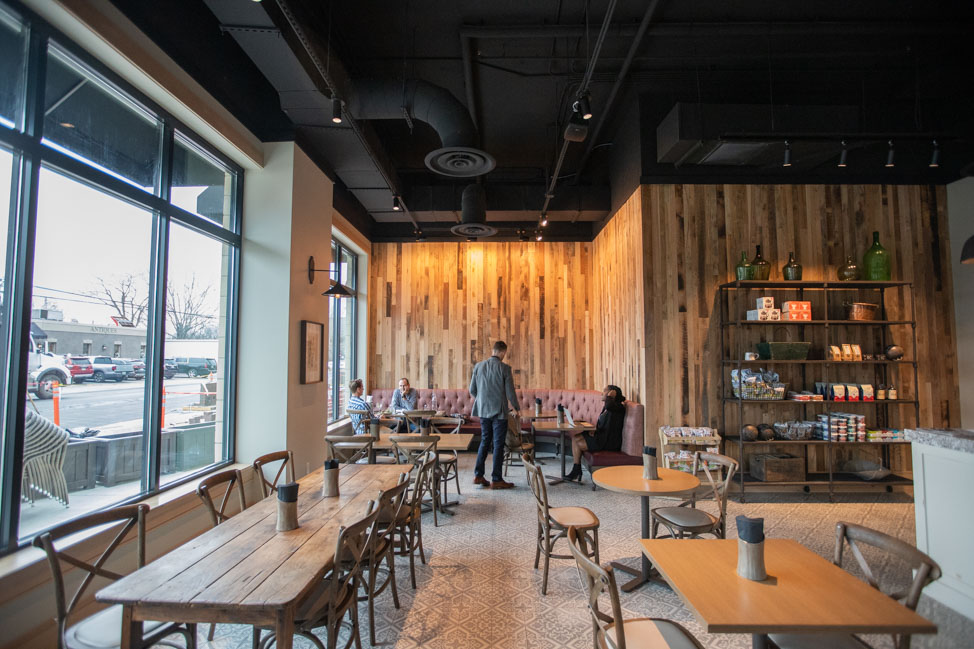
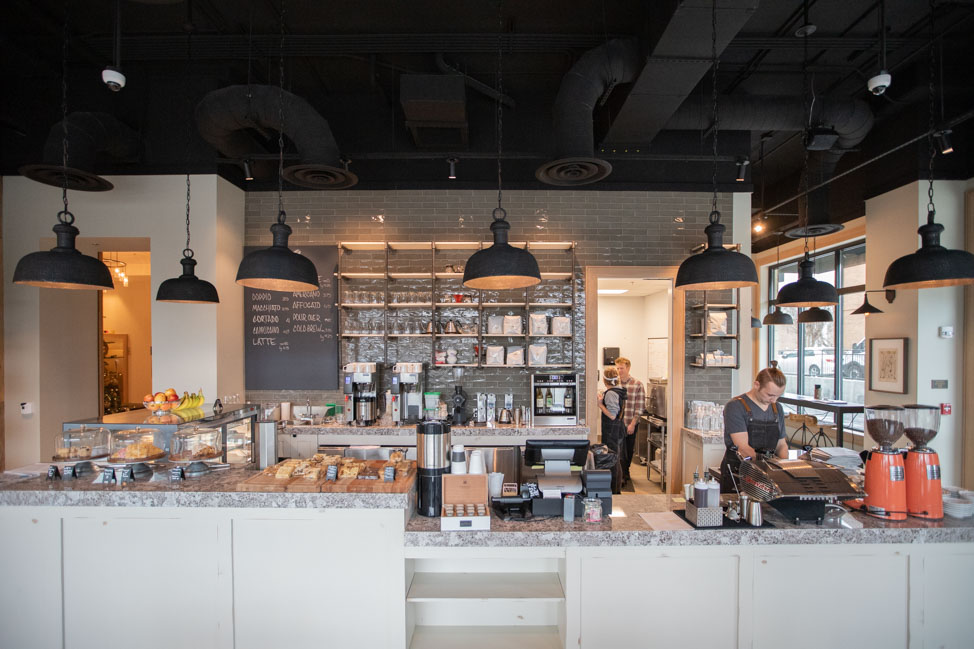
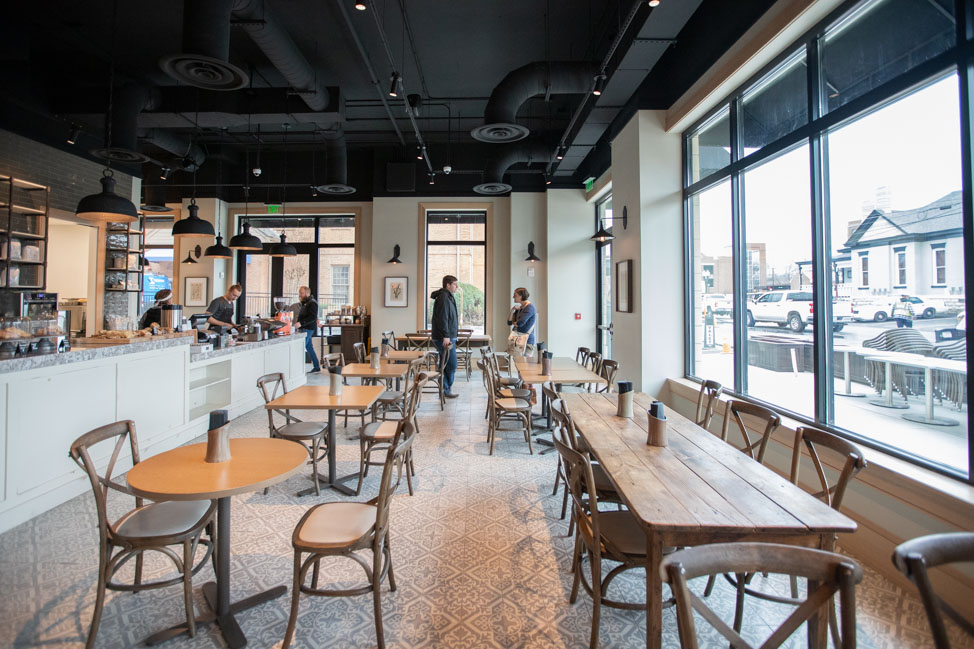
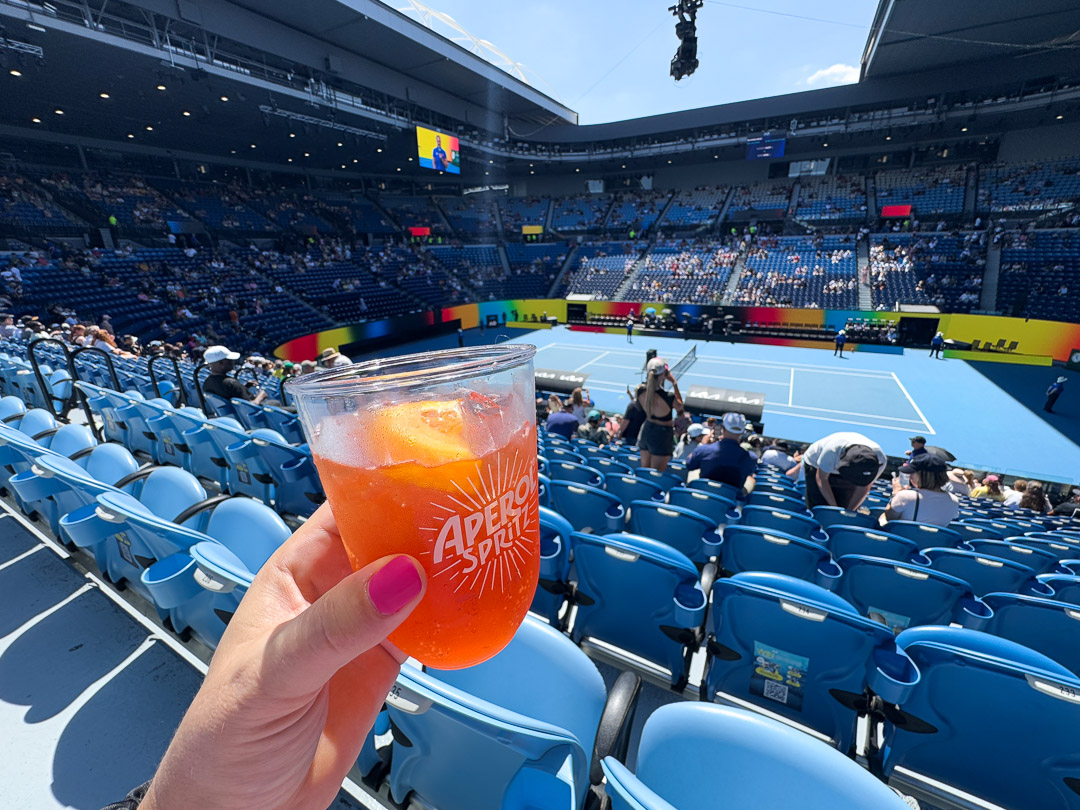
The food and drink at Melbourne Park were great, with plenty of gluten-free, vegetarian and vegan dining options. Because Melbourne is such an international city, a lot of the vendor booths are eclectic in food offerings. One of my favorite bites were the Bao buns inside the food concourse at the arenas, and I also had my share of Aperol Spritzes, as Aperol is one of the tournament’s big sponsors.
I think the grounds were the most fun part for our non-tennis fan travel buddies, so be sure and take time to explore Melbourne Park.

What can you bring into the Australian Open?
In terms of what you can bring into a Grand Slam event, the Australian Open was the most lax. There is no clear bag policy, so I took a small backpack from Lululemon that held my hat, sunscreen, refillable water bottle, wallet with my government ID and other necessities.
If you’re new to tennis tournaments, I recommend always carrying these items no matter where you’re traveling:
- Meds — I love this supplement case for storing my Tylenol, allergy medicine, etc.
- Eyedrops and chapstick — it can get dusty no matter the court
- Battery charger for my phone — I prefer this power bank for my iPhone
- Visor for blocking the sun — I have several of these for both tennis and spectating
- Sunscreen stick for reapplication — this is my ride or die as it doesn’t melt in my bag
- Long-sleeve T-shirt or light jacket — because even in Australia in the summer, it can get cool at night
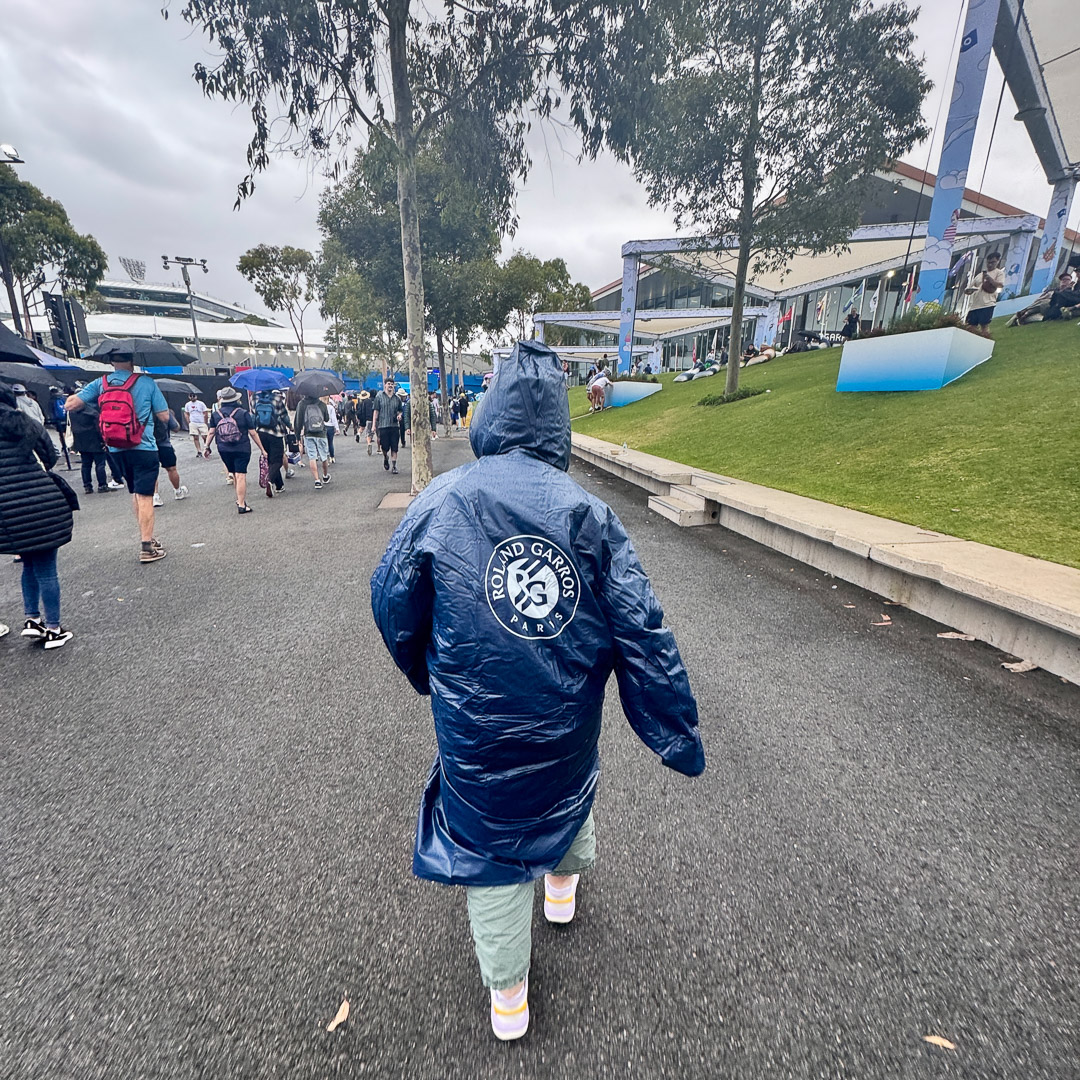
The rain did come out to play one afternoon, and so did our Roland-Garros ponchos. You can get a small, reusable one like this poncho to throw in your back if getting wet is a concern and you don’t want to take up valuable space with a rain jacket.
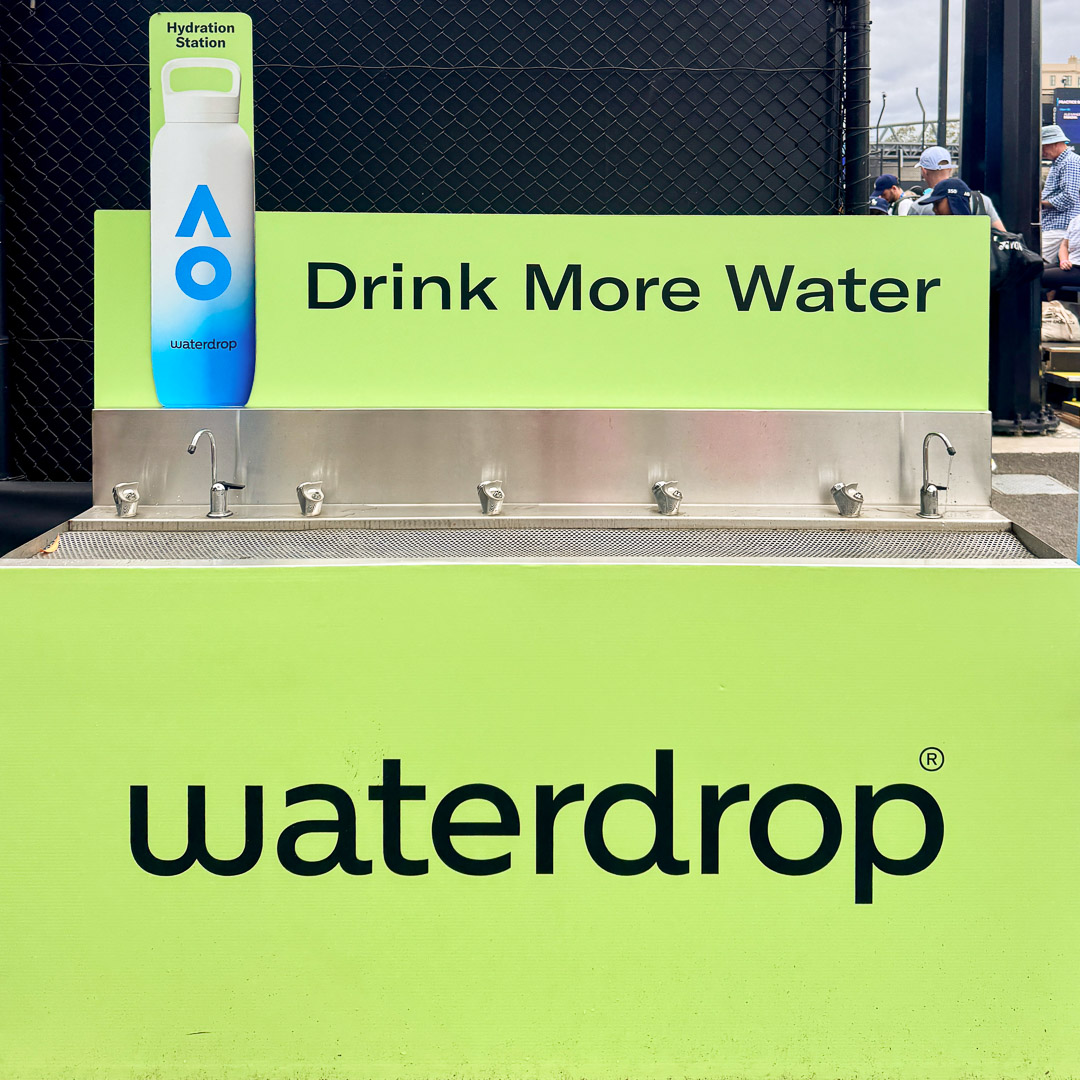
Because this is Australia and they’re serious about conservation, there were water refill stations everywhere, so pack your reusable water bottle and take advantage of them.
FAQs about the Australian Open
Here are some of the top questions I was asked about planning a trip to the Australian Open. Feel free to add anymore in the comments, and I’ll answer as I read them.
If I have a ticket to Rod Laver, can I get into Margaret Court Arena?
No. Each pass is a separate ticket. There are 33 hard courts in use during the Australian Open. Any of the arena tickets will get you into all the outdoor courts, including Show Courts 2 and 3, each of which hold 3,000 fans, but not to the other arena (the exception being the non-reserved section in John Cain Arena).
How reliable is the Australian Open app?
While my data service worked fine during day hours at the AO, the app was not great for keeping up with matches in real time, which could have been due the data lag with so many cell phones pinging the same towers. I kept up with other matches via Google’s homepage instead as the game scores update in real time.
How can I stream the Australian Open in Australia?
If you’re from the U.S. and want to watch the AO when you’re not on site, you’ll need a VPN to log into your streaming service back home. I use NordVPN when traveling, and I’ve had no issues accessing Tennis Channel Plus or ESPN+ when abroad.
If you have a TV in your hotel or vacation rental, 9News and 9Now both broadcast the Australian Open, but I found they did not have all matches, so the VPN avenue was the best route for me as a super fan who wanted to catch up on every match I missed.
Getting between stadiums at Australian Open
Margaret Court and Rod Laver arenas are attached by a covered concourse, so if you happen to have tickets to both, it’s easy to bop between them. John Cain Arena is a bit further away, but not too far, and the outer courts are pretty spread out so study the map and allot ample time if you’re trying to make a specific match.
That said, we found the flow of the Australian Open a lot easier to navigate than Roland-Garros with a lot more room to move around between courts.
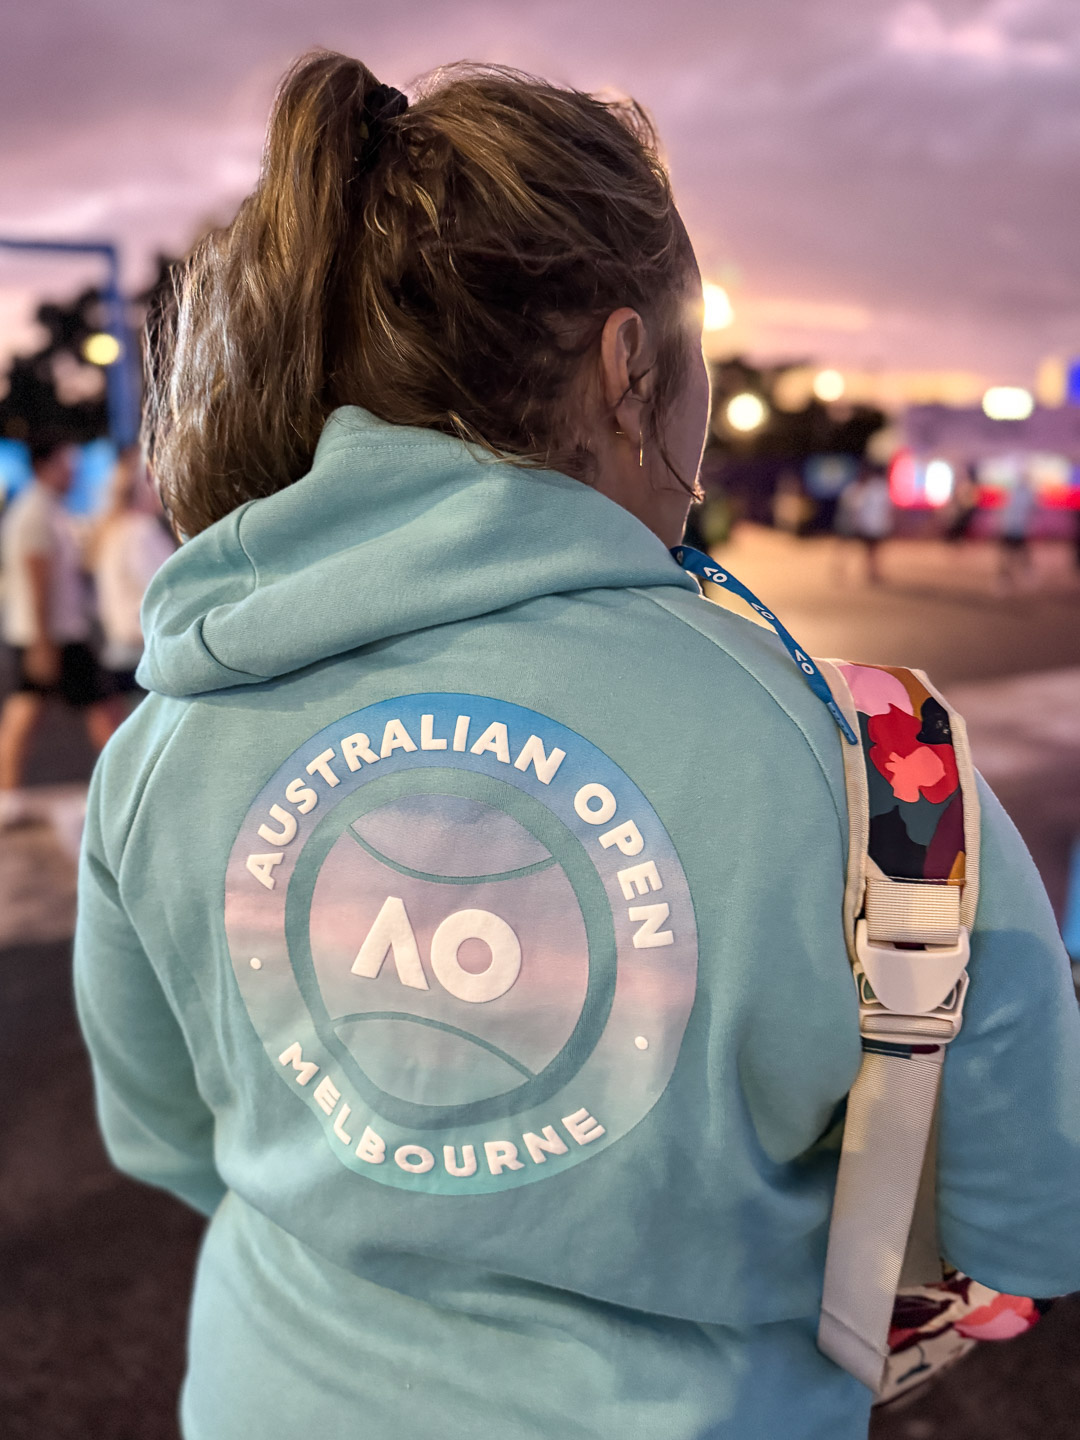
Buying merch at Australian Open
The Australian Open had some great merch. My favorite store was the main AO store next to Court 3 at the base of Margaret Court Arena, and we loaded up on T-shirts and AO hoodies, as well as gifts for the kids. All the other brands like Ralph Lauren had their own pop-up stores, but we mostly found them overprice and the merch not as cute as the main store.
There are also merch stands in the concourse of the main arenas that sell some of the primary AO designs and other accessories like visors and stuffed animals.
Queuing to get into the courts
The only time we ran into an issue in getting into an outside court with the general ticket (i.e. not an assigned stadium seat) was when Emma Raducanu played Ekaterina Alexandrova in a lengthy first-round match on Court 3 just before Gael Monfils went up against Giovanni Mpetshi Perricard. It was a double whammy of big names, and many fans arrived early for Monfils, thus taking up seats for the Raducanu match.
Because this court is one of the larger non-arena courts just outside of Rod Laver and Margaret Court, it was packed. My mom and I arrived during the women’s match so we easily got seats, but the rest of our crew arrived mid-match and waited an hour to be seated since it was one in, one out. So if you don’t have an assigned seat and really want to see a big name on an outside court like this one, plan to arrive before the match starts (or even during the match prior).