From the ever-popular East Coast to the dramatic landscapes of the West Coast, here are the best beaches in Australia!
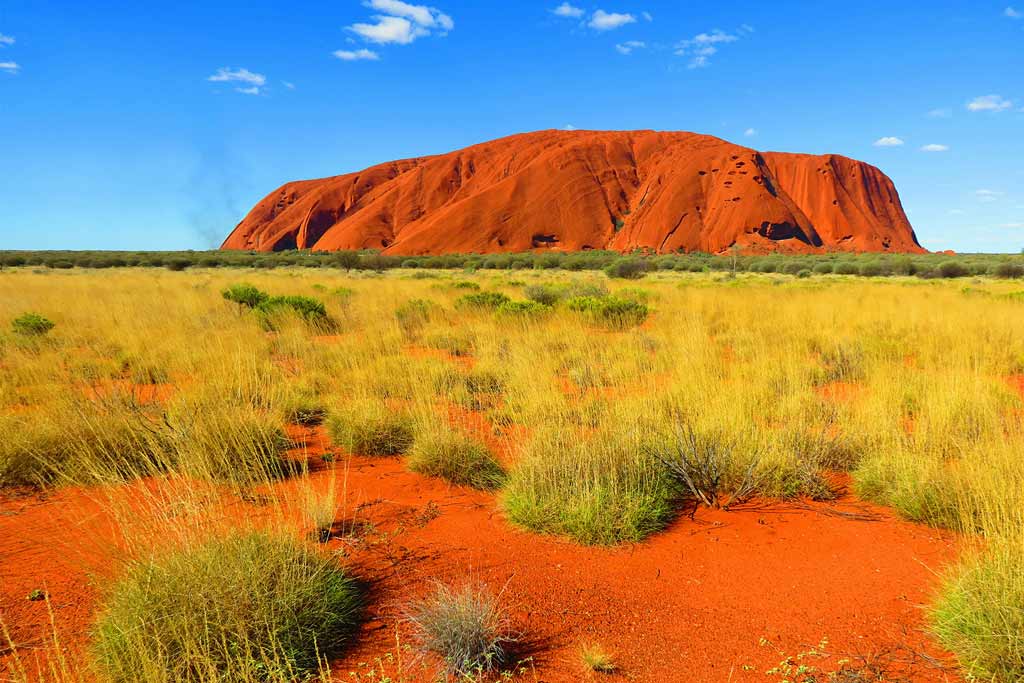
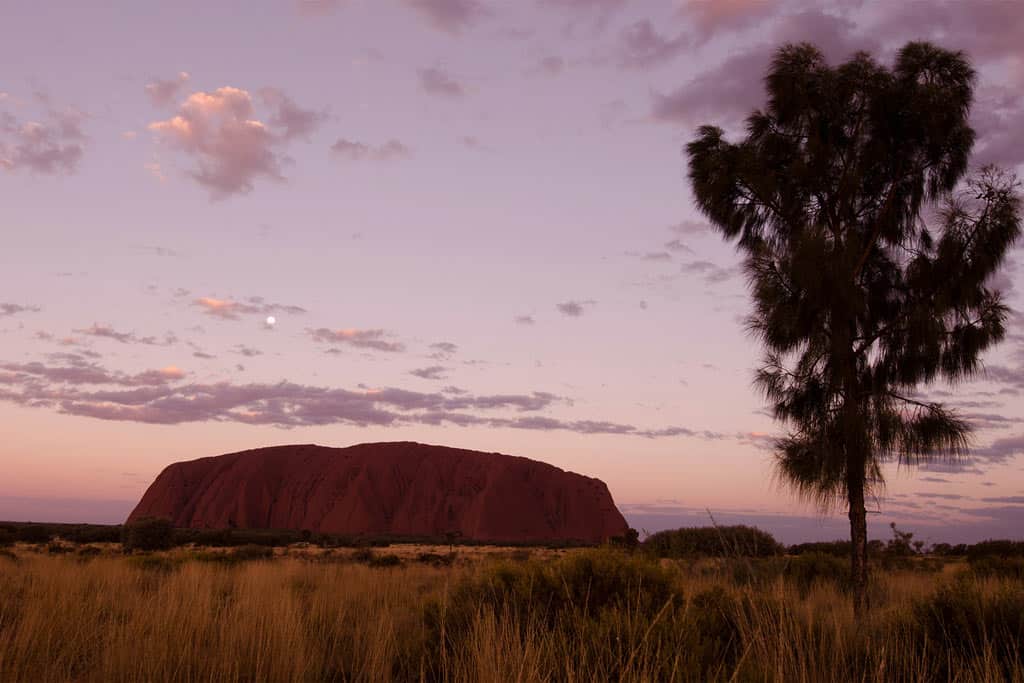
Australia has so much to offer, from snowy mountains to arid deserts to ancient rainforests and more.
But what draws in the majority of travellers Down Under? Beaches!
No one can argue that the beaches in Australia are spectacular.
Most beaches are public domain, meaning there are no entry fees, no parking fees, and no exclusive memberships.
Anyone and everyone can enjoy the picture-perfect beaches in Australia, whether you want to surf and scuba dive or relax on the sand.
With such a gigantic and varied coastline, Australia has so many different types of beaches as well!
Head to the Gold Coast or Bondi Beach for glitz and glamour by the beach. Road trip down the South Coast of New South Wales for amazing surf and fewer crowds.
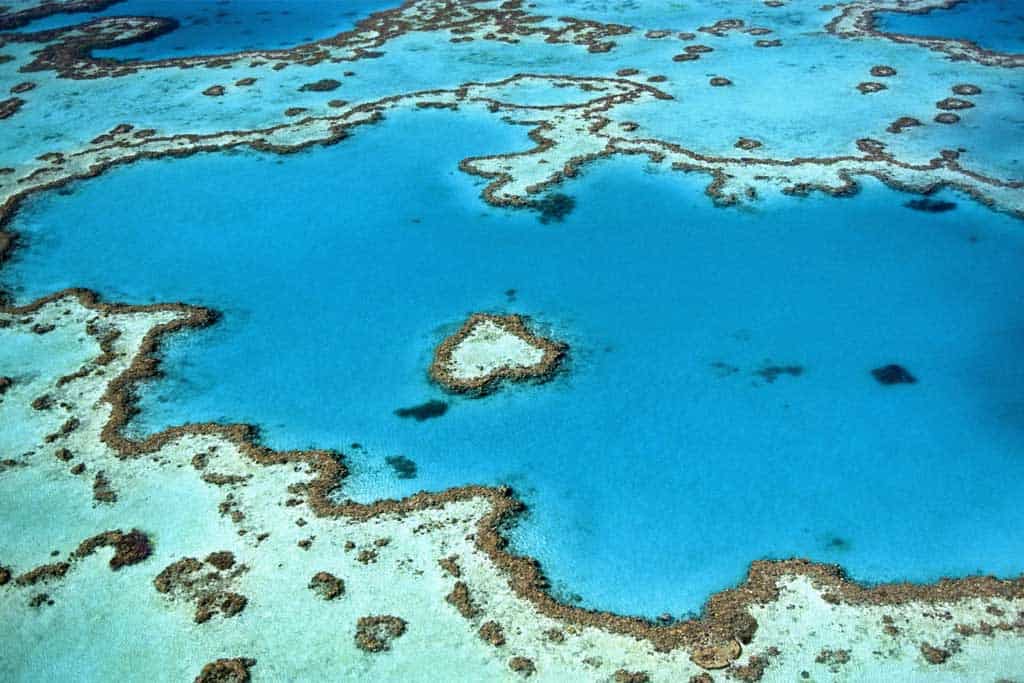
Or go to Tropical North Queensland to dive in the Great Barrier Reef and lounge on idyllic islands.
For some less touristy and wild beach landscapes, head to the remote coastlines of Tasmania or South Australia. Or go west for some iconic Western Australia experiences, like riding a camel across Cable Beach or seeing quokkas on Rottnest Island.
No matter what you want to do, Australian beaches have you covered.

Table of Contents
- 22 Best Beaches In Australia
- 1. Whitehaven Beach, QLD
- 2. Lucky Bay, WA
- 3. Cable Beach, WA
- 4. Bondi Beach, NSW
- 5. Squeaky Beach, VIC
- 6. Horseshoe Bay, QLD
- 7. Wineglass Bay, TAS
- 8. Hyams Beach, NSW
- 9. Almonta Beach, SA
- 10. Burleigh Beach, QLD
- 11. Stokes Bay, SA
- 12. Little Salmon Bay, WA
- 13. Surfers Paradise, QLD
- 14. Bells Beach, VIC
- 15. Noosa Main Beach, QLD
- 16. Cottesloe Beach, WA
- 17. Byron Bay Main Beach, NSW
- 18. Turquoise Bay, WA
- 19. 75 Mile Beach, QLD
- 20. Vivonne Bay, SA
- 21. Nudey Beach, QLD
- 22. Binalong Bay, TAS
22 Best Beaches In Australia
Whether you want to surf in New South Wales, mingle with wildlife in Western Australia, seek out wild coastlines in South Australia, or embark on outdoor adventures in Tasmania, a beach holiday in Australia is always a good idea!
Here are our favourite Australian beaches. They are listed in no particular order – every single one is amazing in its own way.
The best way to get around is to rent a car and explore on your own! We recommend Rental Cars, which has the largest range of vehicles for the best value on the market.
1. Whitehaven Beach, QLD
Whitehaven Beach is truly one of the world’s most breathtaking places.
There are several components of Whitehaven Beach. There is the southern end, which consists of 7km of velvety soft, white silica sand. The northern end of Whitehaven Beach also has soft silica sand and a hiking trail that takes you up to Hill Inlet Lookout.
Nestled between the two ends of Whitehaven Beach is Hill Inlet. Here, the turquoise waters of the Coral Sea and the brilliant white sands swirl together and create a mesmerising scene.
Whitehaven Beach is located on Whitsunday Island, one of the 74 islands in the Whitsundays archipelago of Tropical North Queensland.
Because Whitehaven Beach is located on this remote island, you can only get here by booking a tour or a private charter from Airlie Beach or Hamilton Island.
2. Lucky Bay, WA
Lucky Bay is one of the most pristine beaches in Western Australia. Its white sands and sapphire waters make it exceptionally photogenic.
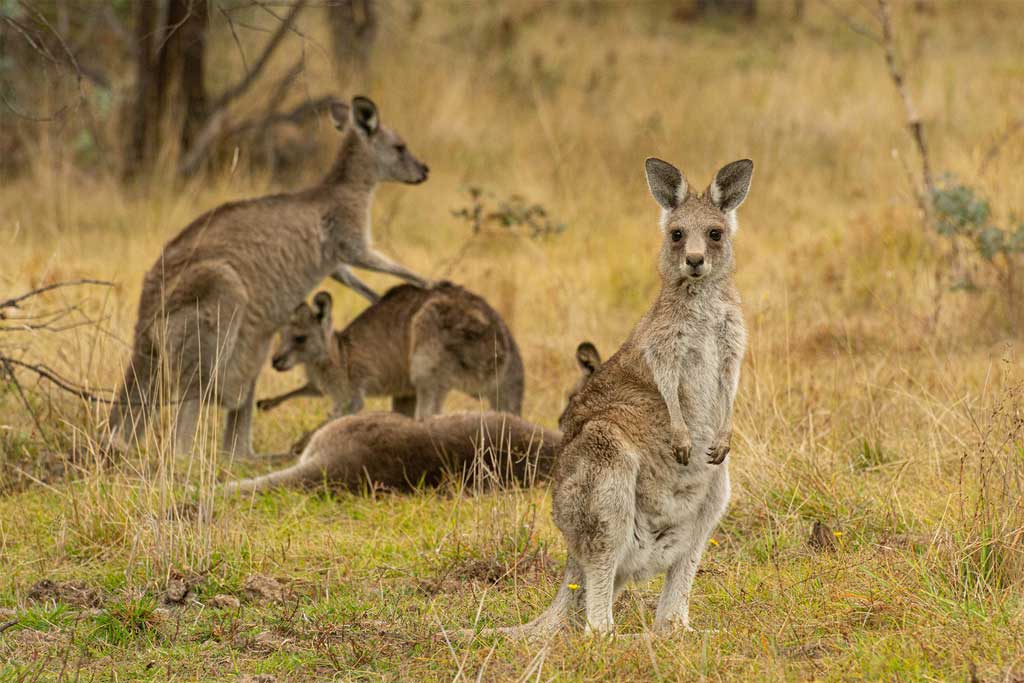
But most visitors come to Lucky Bay for the wildlife! The beach is known for its resident kangaroos that love to frolic on the beach, particularly at dawn or dusk.
Lucky Bay is located within Cape Le Grand National Park near Esperance, Western Australia. It’s one of the most famous beaches in Australia’s south west, though there are tons of other less-popular beaches in the area that are just as beautiful.
We recommend an Esperance to Perth road trip for the best beach-hopping experience!

3. Cable Beach, WA
Nestled on the edge of the remote Kimberley region in Western Australia, Cable Beach is truly iconic.
With the turquoise Indian Ocean on one side and the rough red cliffs of the Kimberley on the other, Cable Beach showcases the vibrant natural colours that Western Australia is famous for.
The beach itself is located in Broome, and consists of 22 kilometers of fine, powdery sand.
The best things to do at Cable Beach are watch the sunset over the ocean, or ride a camel across the sand.
Or, combine the two on a sunset camel ride – the ultimate way to experience Cable Beach!
4. Bondi Beach, NSW
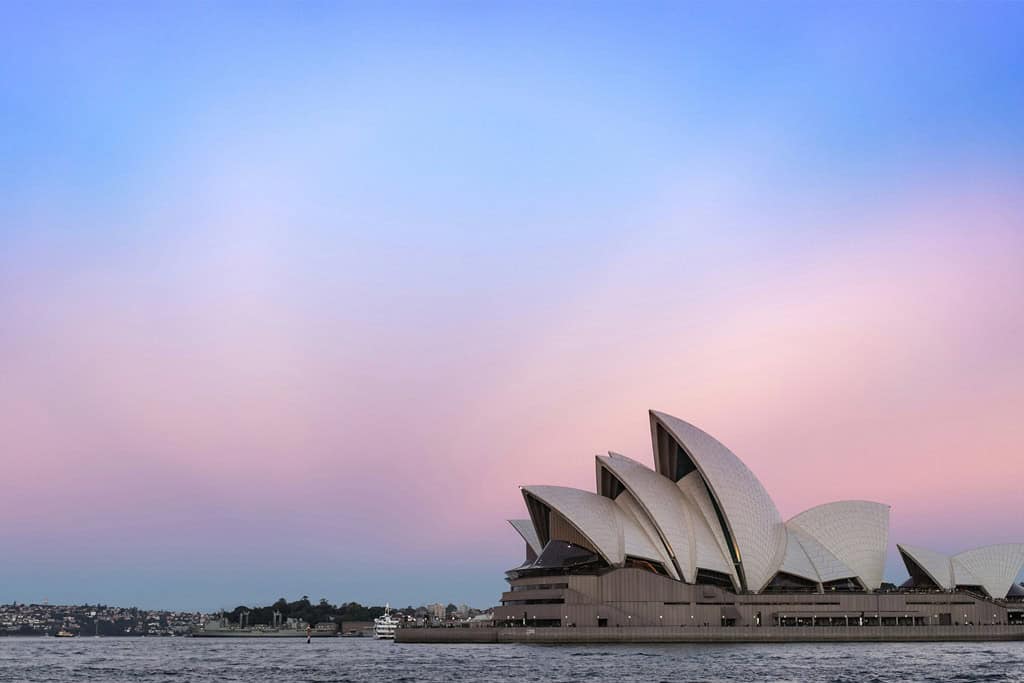
As one of Australia’s most popular beaches, few travellers leave New South Wales without a stop in Bondi Beach! Just a short drive or train ride from Sydney Harbour, Bondi Beach is a Sydney hotspot that is full of fun things to do.
A busy esplanade lines Bondi Beach, with colourful murals adorning the concrete walls. There is a skate park, an outdoor gym, and lots of cafes and shops right next to the sand.
At the southern end of the Bondi Beach walking path, you’ll find the iconic Bondi Icebergs and the start of the Bondi to Coogee Coastal Walk.
Bondi Beach itself boasts refreshing waters, golden sands, and lots of space for sunbathing or swimming. Take your Bondi Beach adventures to the next level with scuba diving or surfing!
Just note that Bondi Beach can be crowded, as it is easily one of the most famous places in New South Wales and all of Australia.
5. Squeaky Beach, VIC
Another iconic beach to add to your Aussie bucket list is Squeaky Beach.
Located in Wilsons Promontory National Park, Squeaky Beach is renowned for its unique quartz sand that makes a distinctive squeaking sound underfoot.
In 2024, Squeaky Beach was honored as Australia’s best beach by Tourism Australia, marking the first time a Victorian beach ever received this title.
The beach is accessible via a scenic walk from Tidal River and is a popular spot for swimming, sunbathing, and photography. However, visitors should be cautious of sudden swells and strong currents, as the beach is open to the Bass Strait.
Read next: 19 Best Beaches In Victoria, Australia
6. Horseshoe Bay, QLD
Another beautiful beach to visit in Australia is Horseshoe Bay on the north shore of Magnetic Island.
Just a short ferry ride from Townsville, Magnetic Island is a tropical island paradise where travellers can slow down and reconnect with nature.
Magnetic Island is home to many incredible beaches, but Horseshoe Bay is arguably the best.
Known for its expansive sandy beach and calm waters, Horseshoe Bay is perfect for swimming, paddleboarding, and kayaking. There are water sport equipment rentals readily available, making it a hotspot for both relaxation and adventure.
Surrounding Horseshoe Bay, you can find a variety of cafes and restaurants, such as the Marlin Bar, where visitors can enjoy local cuisine with picturesque sunset views.
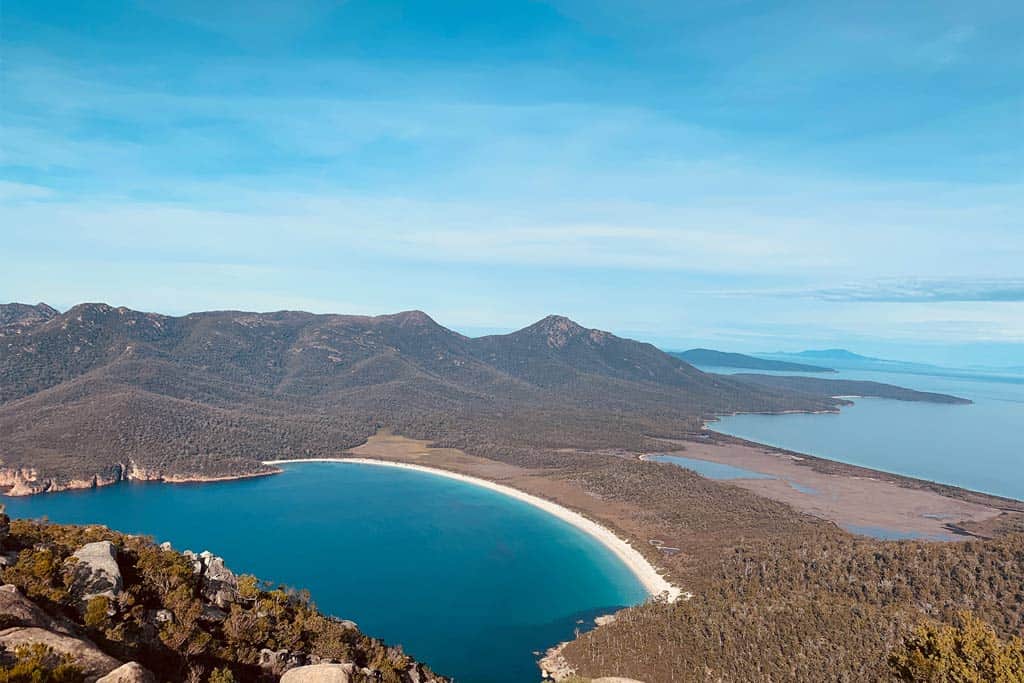
7. Wineglass Bay, TAS
Wineglass Bay is an iconic and beautiful beach in Freycinet National Park, Tasmania.
The beach is a long, curved strip of brilliant white sand framed by calm waters, dramatic mountains, and the lush forests of Freycinet National Park.
Not only is Wineglass Bay beautiful to look at, there are lots of fun things to do here and in the surrounding Freycinet National Park.
Take on the Wineglass Bay and Hazards Beach Circuit Walk, or hike up Mount Amos to find sweeping panoramic lookout over the bay.
Or immerse yourself in nature by camping, abseiling, or rock climbing in Freycinet National Park just next to Wineglass Bay.
You can also experience Wineglass Bay on a day trip from Hobart, on a scenic flight, or on a sightseeing cruise. The calm waters of Wineglass Bay are stunning from every angle!

8. Hyams Beach, NSW
Situated about 2 hours south of Sydney on the gorgeous South Coast of New South Wales lies Jervis Bay. This coastal territory is like heaven for beach lovers!
Jervis Bay has many incredible beaches with glimmering white sands. The White Sands Walk is the best way to soak in the sights along the glamorous coastline.
Located at the southern end of the White Sands Walk is Hyams Beach, the crown jewel of Jervis Bay.
Hyams Beach has consistently been ranked one of the whitest beaches in Australia thanks to its brilliant sand.
The water is calm and shallow, making it a top spot in Jervis Bay for families. Surrounding Hyams Beach you can find campgrounds, rock climbing spots, scuba diving spots, and more.
You can easily visit Hyams Beach on a day trip from Sydney, or you can stay overnight! Overnight visitors may want to camp in the wilderness at Booderee National Park, or choose a hotel in the nearby town of Huskisson, New South Wales.
9. Almonta Beach, SA
Another one of Australia’s best beaches is Almonta Beach in South Australia. It’s a favoured spot among photographers and those seeking a peaceful retreat on the Eyre Peninsula.
Almonta Beach is located in Coffin Bay National Park, a remote area of South Australia. It’s a very secluded spot with expansive white sands, clear turquoise waters, and serene natural beauty.
Easily accessible via an unsealed road suitable for 2WD vehicles, Almonta Beach offers a tranquil setting ideal for swimming, beachcombing, and wildlife observation.
Other top things to do in this beautiful part of the Eyre Peninsula include 4WDing near the sand dunes in Coffin Bay National Park, swimming with sea lions or cage diving with sharks in Port Lincoln, or sampling fresh seafood at Coffin Bay Oyster Farm.
Read more: The 9 Best South Australia Road Trips
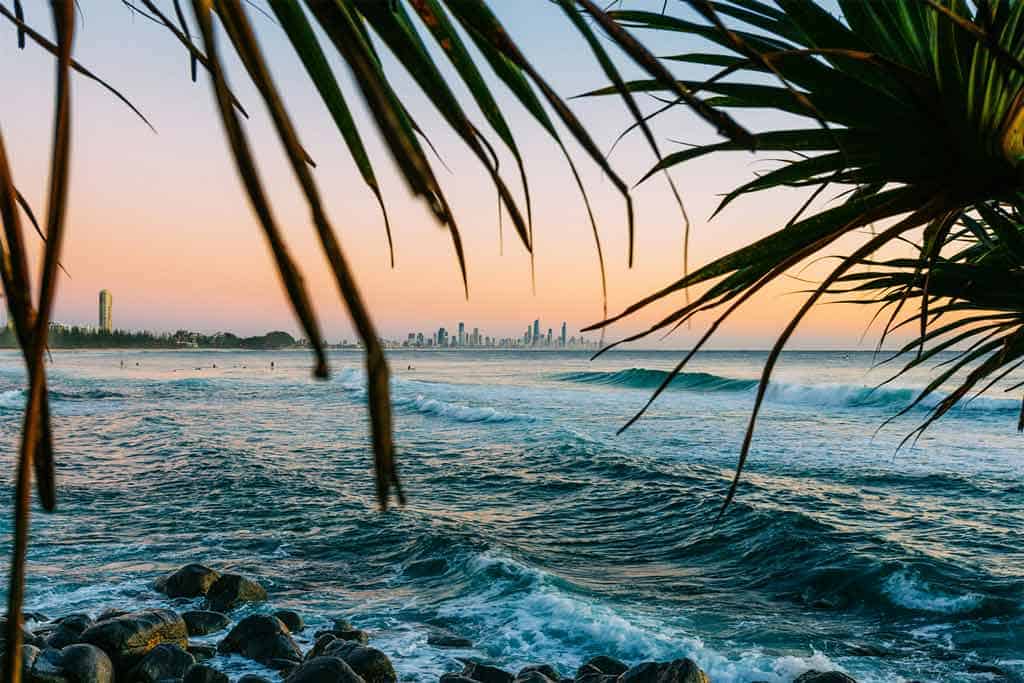
10. Burleigh Beach, QLD
Burleigh Beach is one of the most notable beaches on the Gold Coast. And that’s saying something, since the Gold Coast is a strip of Southeast Queensland coastline that is quite literally packed with incredible beaches.
Like most Gold Coast beaches, Burleigh Beach has amazing surf, soft sand, and ample space for swimming or sunbathing.
A standout feature of Burleigh is the nearby lush headland of Burleigh Head National Park, where you can enjoy scenic walking tracks with panoramic ocean views.
There is also a wide grassy park right behind the beach with outdoor BBQs and fresh water taps. This makes it a convenient spot for people who are camping or road tripping around the Gold Coast area.
11. Stokes Bay, SA
Kangaroo Island is a gorgeous destination just off the coast of Cape Jervis, South Australia.
Filled with national parks, wildlife, and dramatic cliffs, it’s a hotspot for day trips from Adelaide and multiday camping adventures.
A highlight of Kangaroo Island is Stokes Bay, a beautiful beach on the island’s north coast.
Stokes Bay is renowned for its unique access through a natural rock tunnel that opens onto a pristine stretch of white sand and clear turquoise waters. This hidden gem offers a tranquil scene with plenty of protected rock pools and abundant marine life.
Other nearby attractions to see on Kangaroo Island include Kangaroo Island Wildlife Park, Seal Bay Conservation Park, and the Remarkable Rocks in Flinders Chase National Park.
12. Little Salmon Bay, WA
A must-see destination in Western Australia is the famous Rottnest Island!
Located just a short ferry ride away from Perth, Rottnest Island has quaint biking trails, a gorgeous coastline, and a healthy popular of quokkas (often thought of as Australia’s happiest animals due to their adorable smiles).
While visiting Rottnest Island, exploring the coast is the best way to absorb the natural beauty here.
Little Salmon Bay is one of the top places on Rottnest Island, and is one of the most beautiful beaches in Western Australia.
This sheltered bay offers ideal conditions for swimming and snorkeling, especially during easterly winds when the waters are calm and visibility is excellent. Little Salmon Bay features a designated snorkel trail, guiding visitors through a diverse underwater ecosystem teeming with colorful corals, fish, and other marine creatures.
Accessible by bike or the island’s shuttle bus, Little Salmon Bay provides a tranquil escape for nature enthusiasts and beachgoers.
Explore more of the coastline with these amazing Perth beaches!
13. Surfers Paradise, QLD
Surfers Paradise is one of the most famous beaches and neighborhoods on the Gold Coast.
With its glittering skyline, bustling nightlife, and photo-worthy beach, Surfers Paradise is a popular spot for travellers on Australia’s East Coast.
While the beach is a major drawcard, it’s worth noting that it can be prone to strong rips and dumping waves, making it essential for swimmers to heed safety warnings. But experienced surfers and sunbathers should have no problem at this iconic beach.
Another fun idea while visiting the Gold Coast is to take a sunset cruise around Surfers Paradise. This is a lovely way to wind down after a big day of beach-going, and you’ll get the best views of the famous skyline at sunset!
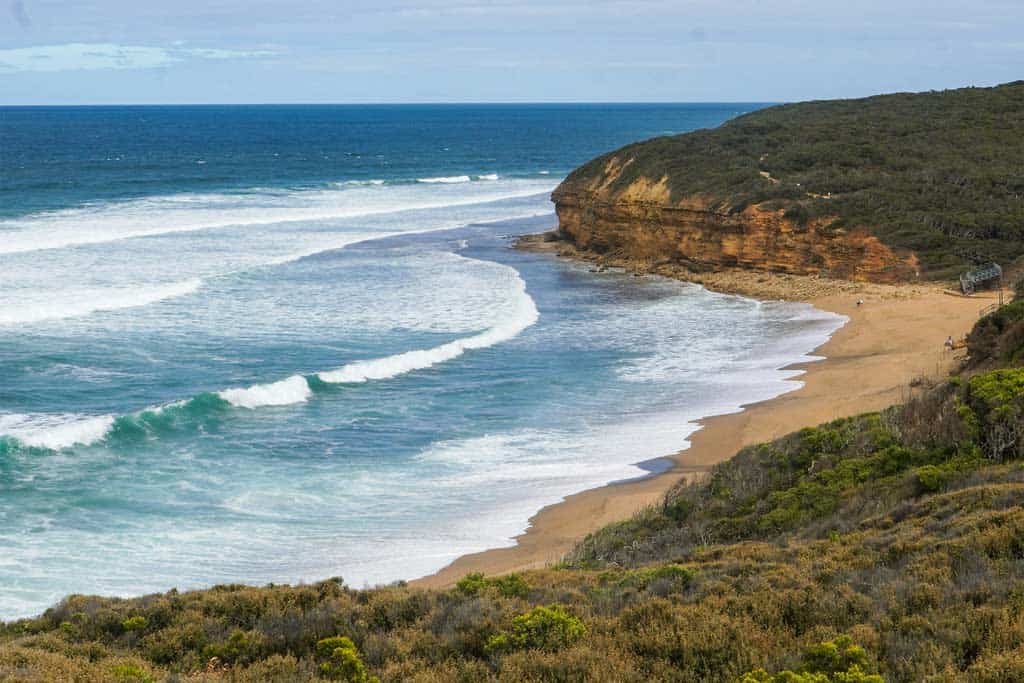
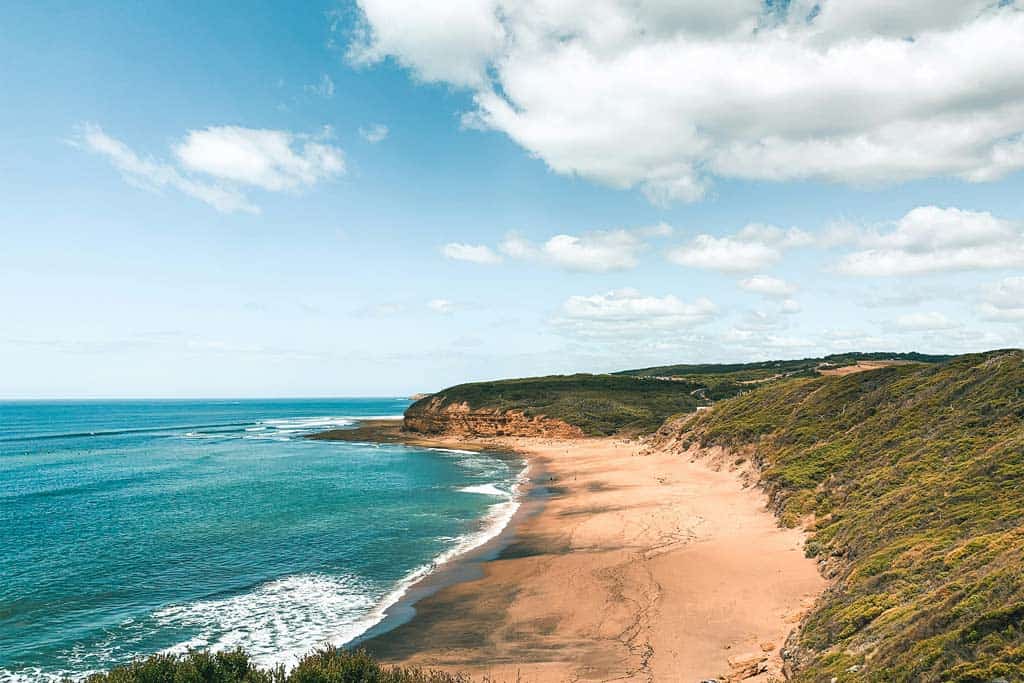
14. Bells Beach, VIC
Bells Beach, situated along Victoria’s iconic Great Ocean Road near Torquay, is revered as one of Australia’s most legendary surf destinations.
Known for its powerful right-hand reef breaks and dramatic sandstone cliffs, it has been the spiritual heart of Australian surfing for decades.
Since 1961, it has hosted the Rip Curl Pro, the world’s longest-running professional surfing competition, drawing elite surfers and passionate crowds each Easter.
Bells Beach is not just a surfing icon, it’s also a beautiful beach to see before you hit the Great Ocean Road.
The surrounding area has scenic walking trails, Indigenous cultural heritage sites, and a vibrant local food scene, making Bells Beach a must-visit for both surf enthusiasts and nature lovers alike.
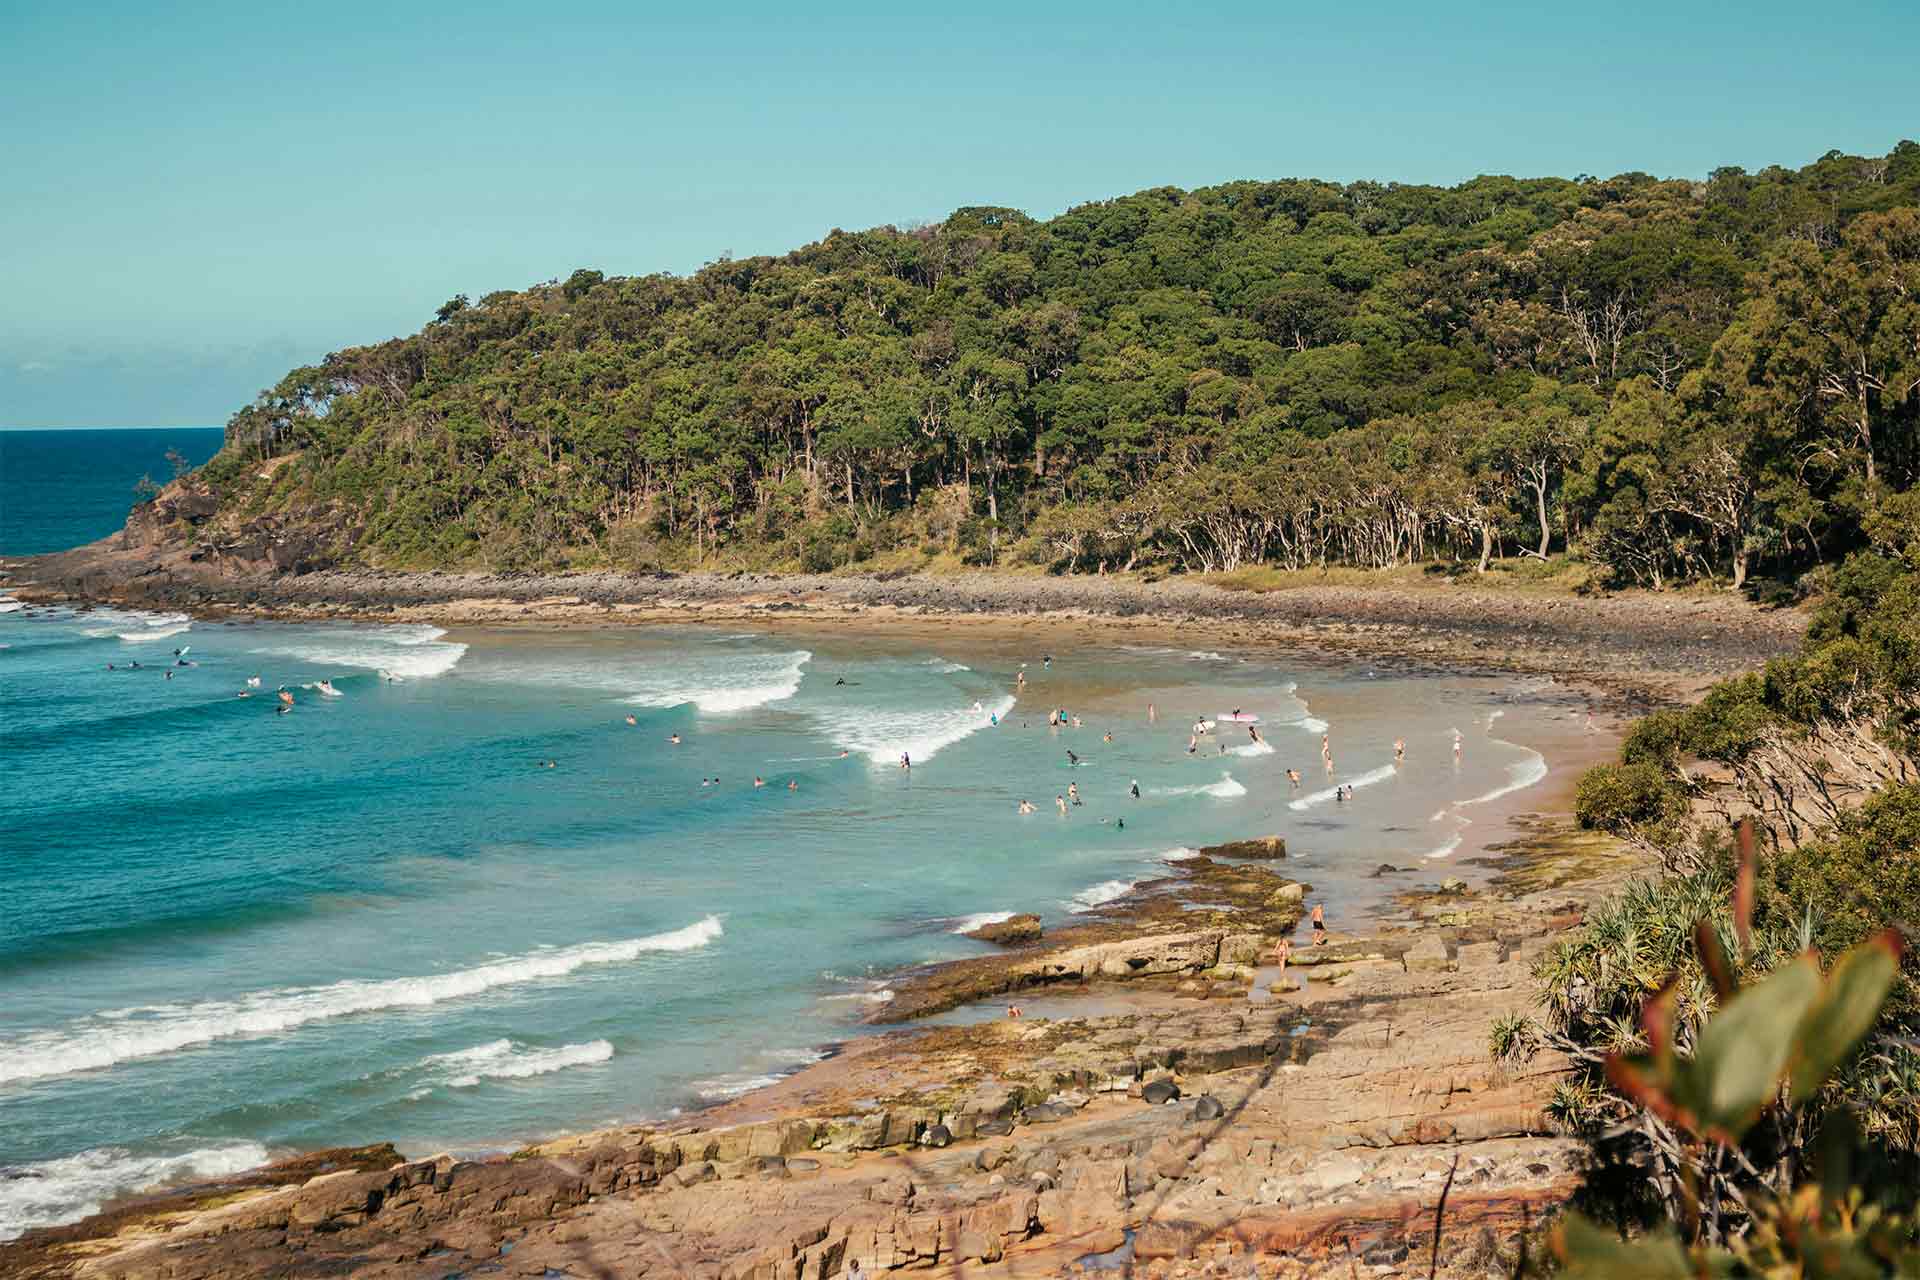
15. Noosa Main Beach, QLD
Noosa is a hotspot for travellers along the East Coast of Australia. And Noosa Main Beach is often the very first stop people make when they arrive at this beautiful part of the Sunshine Coast!
With crystal clear waters, amazing surf, and the nearby greenery of Noosa National Park, this patrolled beach is safe and stunning.
It’s conveniently located within walking distance of the town centre, making it easy to combine a beach day with your shopping, dining, and sightseeing activities in Noosa.
This beach has consistent waves that are great for beginner surfers. Try a surf lesson or opt for something more chill like a paddleboard rental. Noosa is the perfect place to frolic in the warm water of the Sunshine Coast!
Read next: The Perfect 3 Days In Noosa Itinerary
16. Cottesloe Beach, WA
Perth’s Cottesloe Beach is another one of the top beaches in Australia.
A favorite among locals and tourists alike, Cottesloe Beach offers excellent conditions for swimming, surfing, and snorkeling, especially at North Cottesloe where marine life thrives.
Accessible via the Fremantle train line, it’s just a short walk from Cottesloe Station, making it convenient for visitors relying on public transport.
The surrounding area boasts a vibrant café and dining scene, perfect for enjoying sunsets over the Indian Ocean.
Every March, Cottesloe Beach transforms into an open-air gallery during the ‘Sculpture by the Sea’ exhibition, showcasing artworks from around the world.
17. Byron Bay Main Beach, NSW
The Main Beach in Byron Bay is another one of Australia’s best beaches! However, the entire Byron Bay area is filled with amazing beaches, and many would consider the quieter, less popular ones to be better than the Main Beach.
But if you’re just arriving in Byron Bay, New South Wales, head straight for the town’s Main Beach to swim, surf, snorkel, and soak up the sun.
If you have time, join a surf lesson and learn to ride the waves like the locals! Or stroll along the coastal path that winds along the hills and beaches around Byron Bay. You can walk up to the Cape Byron Lighthouse, do some sightseeing, and get the best sunrise views.
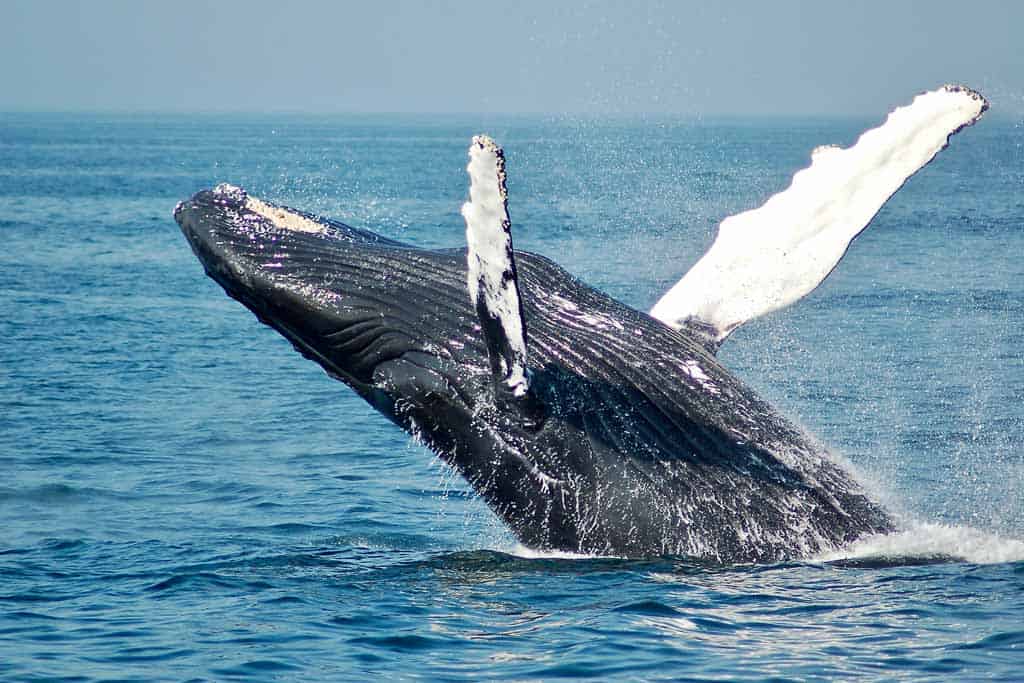
Surrounding Byron Bay are the protected waters of Cape Byron Marine Park, where marine life is abundant. Keep an eye out for dolphins and seals year-round or whales in the winter months.
18. Turquoise Bay, WA
Many travellers flock to Western Australia to explore the vibrant marine life and coral gardens of Ningaloo Reef.
Ningaloo Reef is a UNESCO World Heritage site with exceptional snorkeling opportunities. One of the top places to enjoy the rich biodiversity is Turquoise Bay.
This beautiful beach in Cape Range National Park near Exmouth, Western Australia, has crystal-clear waters where you can snorkel in Ningaloo Reef directly from the shore.
The bay’s famous “drift snorkel” allows visitors to effortlessly glide over vibrant coral gardens teeming with diverse marine life, including reef fish, sea turtles, and rays.
Turquoise Bay is a highlight of Western Australia, especially for marine life enthusiasts!
Find more amazing places to visit in Western Australia.
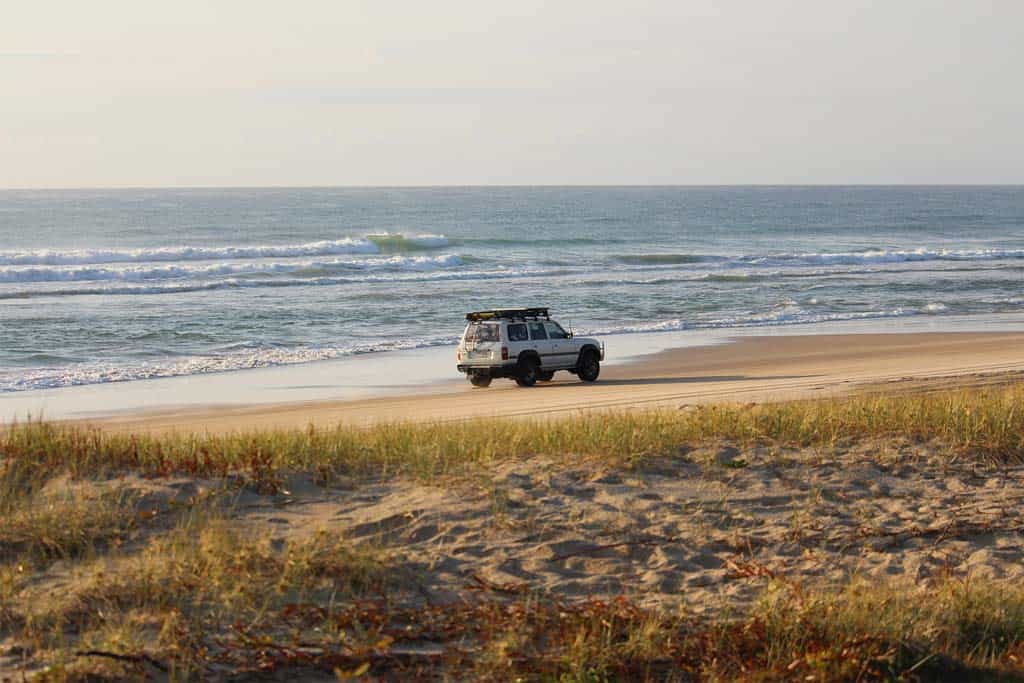
19. 75 Mile Beach, QLD
Another spot on our list of the best beaches in Australia is 75 Mile Beach on K’gari (Fraser Island).
This incredibly long strip of pristine golden sand lines almost the entire eastern side of K’gari, which is the world’s largest sand island and a UNESCO World Heritage Site.
75 Mile Beach is not a swimming beach, as the currents off K’gari are quite dangerous. But it still has to be on our list of these spectacular beaches, because it is absolutely breathtaking. It’s also one of the few places where you can drive or camp on the beach!
With a 4WD vehicle, you can cruise up and down this beautiful beach and admire the ancient sand dunes, lush forests, coloured sands, and wild dingos on K’gari.
So although 75 Mile Beach is an unpatrolled beach, it’s one of the many hidden gems on the glorious island of K’gari. Head here for wilderness camping and untouched natural beauty!
See the best of K’gari on a 3-day tour from Hervey Bay!
20. Vivonne Bay, SA
Vivonne Bay is another one of the local favourite beaches on Kangaroo Island, South Australia.
With white sands and pristine waters, Vivonne Bay is a fabulous place for a refreshing swim while on the southern shore of Kangaroo Island.
Vivonne Bay offers excellent opportunities for swimming, surfing, and fishing, with Point Ellen nearby providing panoramic views of the rugged coastline.
If you are able to spend longer on Kangaroo Island than just a day trip, do it! You’ll have more time to explore Vivonne Bay, Stokes Bay, and the other beautiful places on this incredible island.
Spend more time here with our 3 day Kangaroo Island itinerary!
21. Nudey Beach, QLD
Another one of the most spectacular beaches in Australia is Nudey Beach on Fitzroy Island.
This little slice of paradise on the Great Barrier Reef is known for its mountainous terrain and crystal clear waters.
Fitzroy Island is a quick and easy day trip from Cairns by boat. Once you arrive, spend the day exploring the lush rainforest hiking trails, snorkelling with the marine life offshore, and enjoying the beaches!
The #1 beach on Fitzroy Island is Nudey Beach. It has soft white sand, tranquil waters, amazing snorkelling, and overall picturesque views. The towering green forests behind the beach make for stunning photos as well!
Nudey Beach is definitely one of the best beaches in Tropical North Queensland!
22. Binalong Bay, TAS
Binalong Bay, situated at the southern end of Tasmania’s Bay of Fires, is renowned for its striking white sands, vibrant blue waters, and the iconic orange-lichen-covered granite boulders that dot its shoreline.
The area is ideal for swimming, snorkeling, and exploring the numerous secluded coves along the coast.
Nearby, Cosy Corner and Jeanneret Beach provide additional scenic spots for beachgoers seeking serenity and natural beauty.
Binalong Bay serves as a gateway to the broader Bay of Fires region, and it’s an absolutely beautiful beach to add to your Tasmania itinerary!
DISCLAIMER: Some of the links in this article are affiliate links, which means if you book accommodation, tours or buy a product, we will receive a small commission at no extra cost to you. These commissions help us keep creating more free travel content to help people plan their holidays and adventures. We only recommend the best accommodations, tours and products that ourselves or our fantastic editorial team have personally experienced, and regularly review these. Thanks for your support, kind friend!